Home Accent Pillow Cover

Home Accent Pillow Cover Embroidery Project

By   Linda Mills   on   May 16, 2019
  • SKILL LEVELIntermediate
  • TIME REQUIRED01:30
  • FINISHED SIZE13 x 13 inches
Description

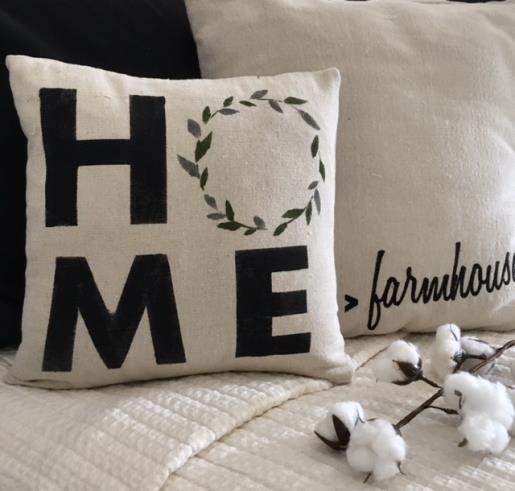
This charming accent pillow cover features the word 'HOME' with a decorative wreath as the letter 'O'. Perfect for adding warmth to any home décor setting. Step-by-step instructions are included.

Step of

Materials

Project Preview Video

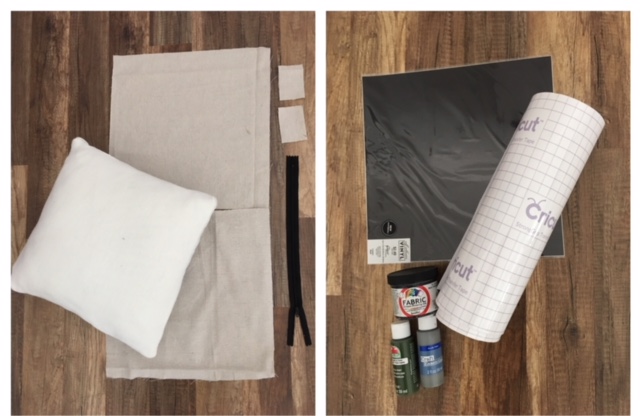
Materials
  • 13” PILLOW INSERT
  • HEAVY COTTON PAINTERS DROPCLOTH ( PURCHASE AT HARDWARE STORES, ETC)
  • (2) 14” X 14” CUT PIECES
  • (2) 2” X 3” CUT PIECES
  • 16” OR LONGER ZIPPER
  • 12” X 12” PIECE OF VINYL ( FOR STENCIL)
  • TRANSFER TAPE( PAPER)
  • 3 COLORS OF FABRIC PAINT
  • PAINT BRUSH
  • MASKING TAPE ( OPT)
  • CUTTING MACHINE ( I.E CRICUT, SILHOUETTE CAMEO)

  • Designs used in this project

    Final Product: What You Will Create

    Preface:
    A Print Art/SVG Wreath file brings this project together with just the right added touch that will bring added warmth to your “Home” décor.  


    Step 1:
    Gather all supplies and review instructions before beginning.
     
    * BASIC KNOWLEDGE OF A CUTTING MACHINE AND HOW TO PREPARE VINYL FOR STENCIL IS REQUIRED. 

    (Click Image to Enlarge)


    Step 2:
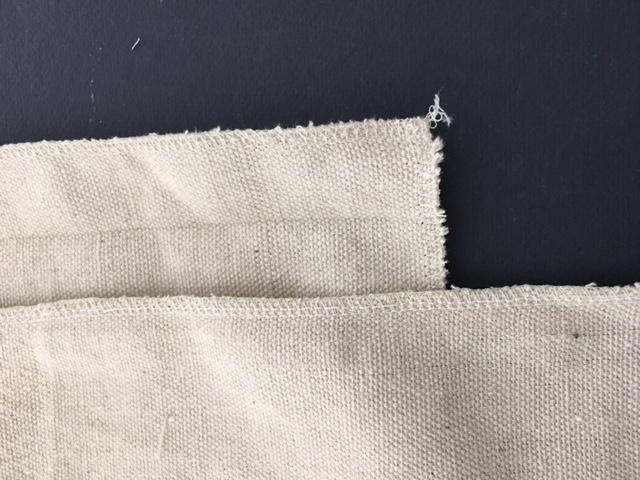
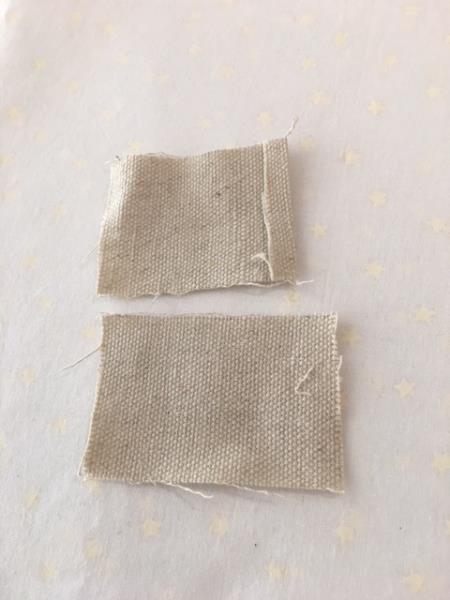
    Cut (2) 14 “ x 14” and (2) 2”x 3” pieces from your drop cloth. Serge/zig zag all raw edges on your 14”x 14” pieces. Prevents fraying and makes it easier to work with. 

    (Click Image to Enlarge)


    Step 3:
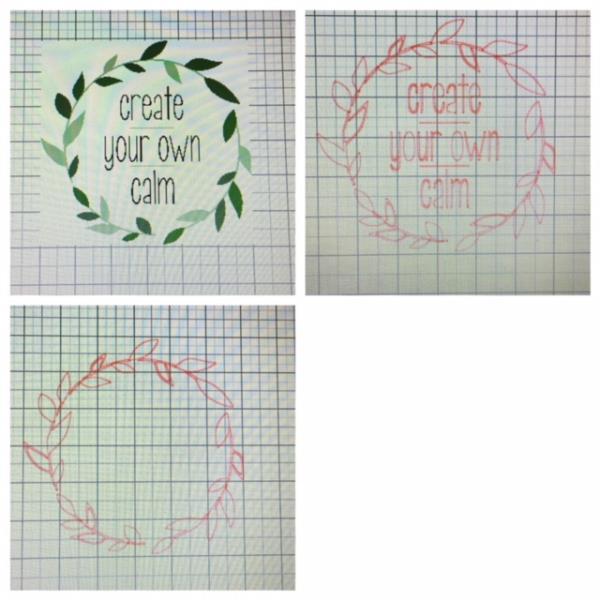
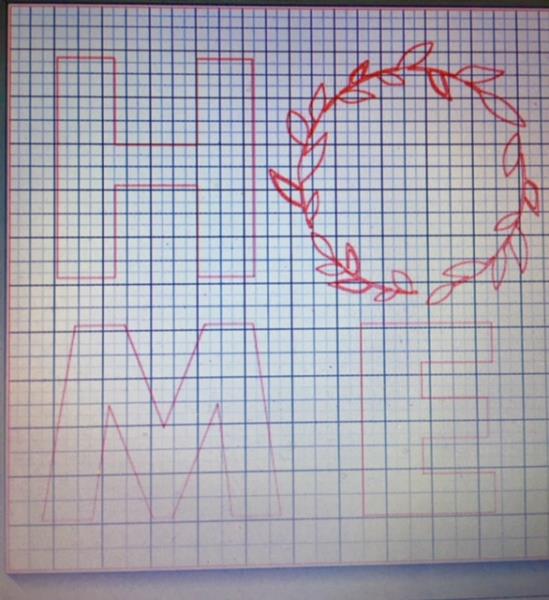
     Load SVG/Print Art design into your cutting machine’s software program per your program’s instructions . Edit this design by erasing the words .
     
    *For silhouette cameo owners/users: If your silhouette machine has not been updated to allow working with an SVG (cuttable) file.. You can work around this by downloading the print art design as a jpeg or png file. You will find instructions on how to work around to “cut” your design by reviewing step 4 of my Thanksgiving Themed Wood Art/SVG project tutorial. 

    (Click Image to Enlarge)


    Step 4:
    Add the letters H, M, E to create the word “HOME” using the font files from your cutting machine software program. The font used in this tutorial: Aharoni .The wreath design will be the letter “O”. Position the letters according to the picture. You will be cutting this as one file so when creating this design file stay within your 12” x 12” vinyl sheet allowance and center. 

    (Click Image to Enlarge)


    Step 5:
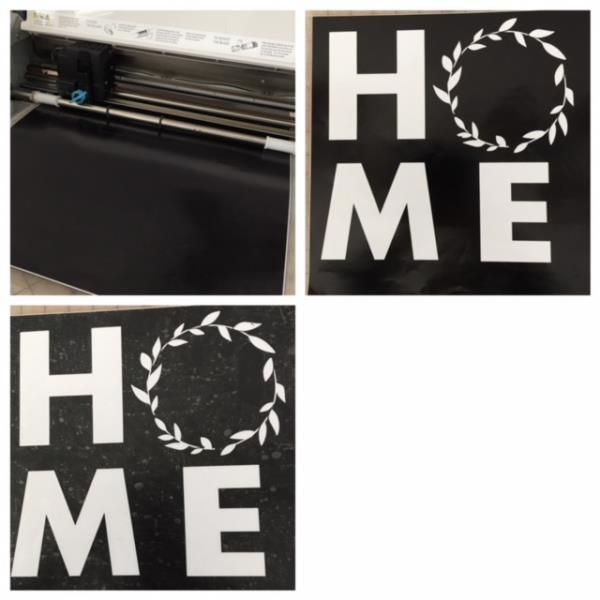
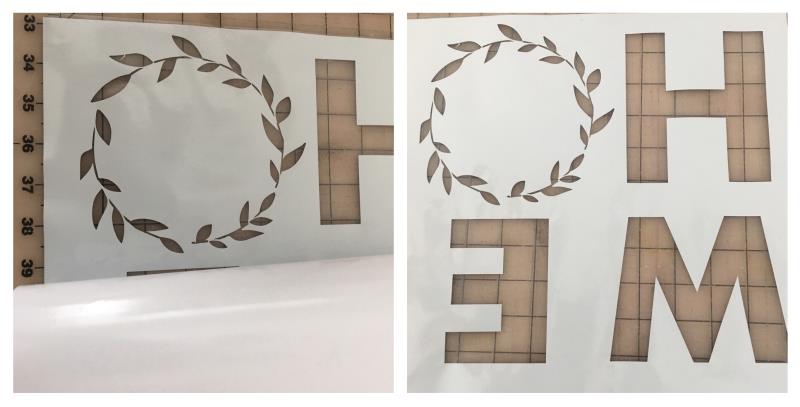
    Cut your design using any color vinyl.   Weed your cut vinyl for a stencil and apply transfer tape.
     
    (WEEDING VINYL IS THE PROCESS OF REMOVING THE UNWANTED VINYL FROM YOUR CUT DESIGN.

    (Click Image to Enlarge)


    Step 6:
    Remove back paper from your weeded stencil.  

    (Click Image to Enlarge)


    Step 7:
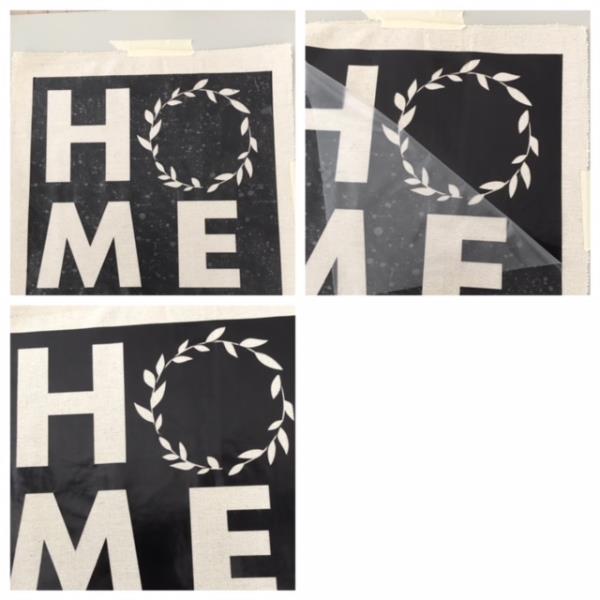
    Center your stencil onto top of one of your cut 14” x 14” piece. Press to secure. Remove your transfer tape slowly. Apply masking tape if needed as shown in picture. 

    (Click Image to Enlarge)


    Step 8:
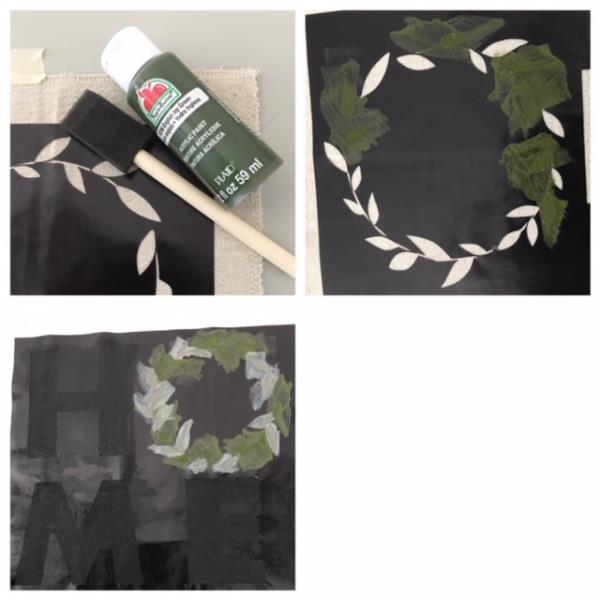
    Using your selected paint colors.... ( 3 colors were used in this tutorial) Begin painting by lightly dabbing the paint onto the open (weeded) areas.  

    (Click Image to Enlarge)


    Step 9:
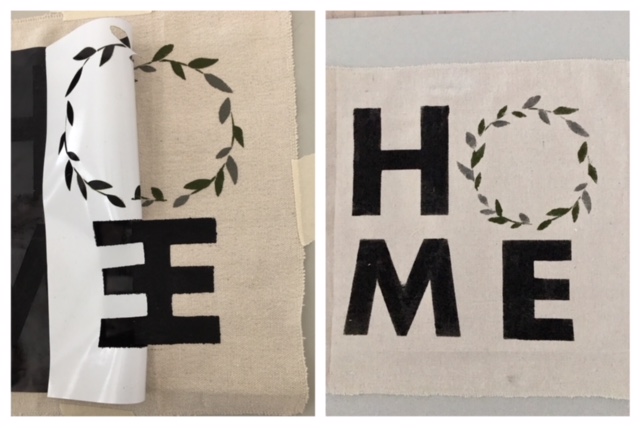
    Allow for the paint to completely dry. Remove stencil slowly. 

    (Click Image to Enlarge)


    Step 10:
    Installing the zipper

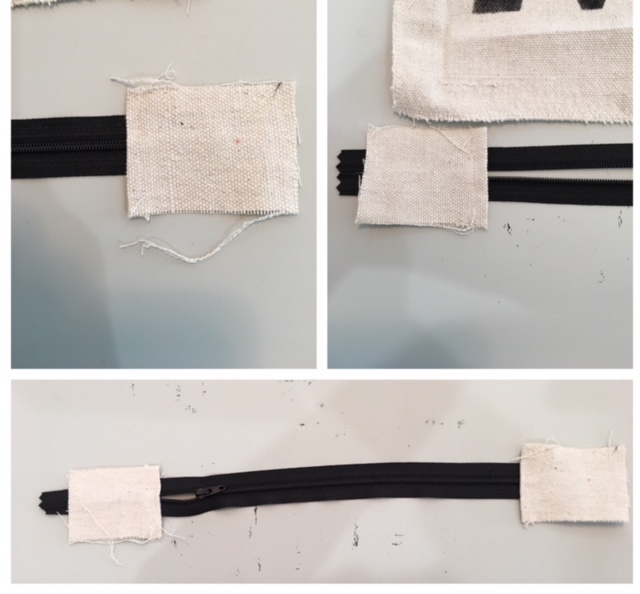
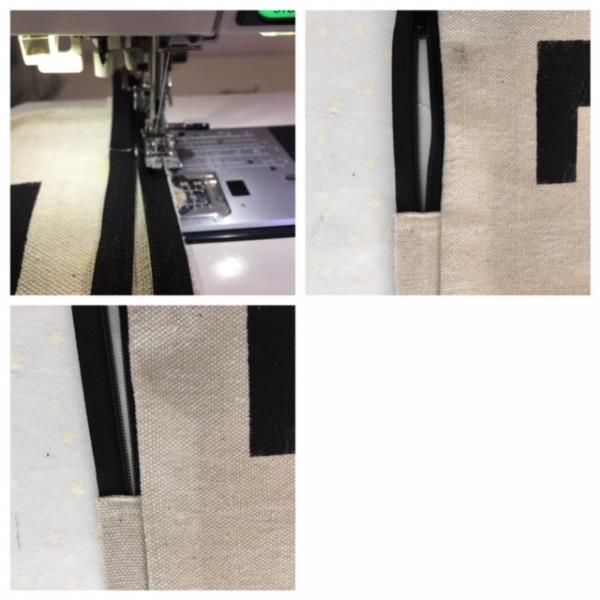
    Using the 2” x 3” pieces… turn down ¼” and straight stitch. 

    (Click Image to Enlarge)


    Step 11:
    Apply one to each end of zipper. Approx. 2”in from end. Edge stitch close to folded edge. Trim side excess.

    (Click Image to Enlarge)


    Step 12:
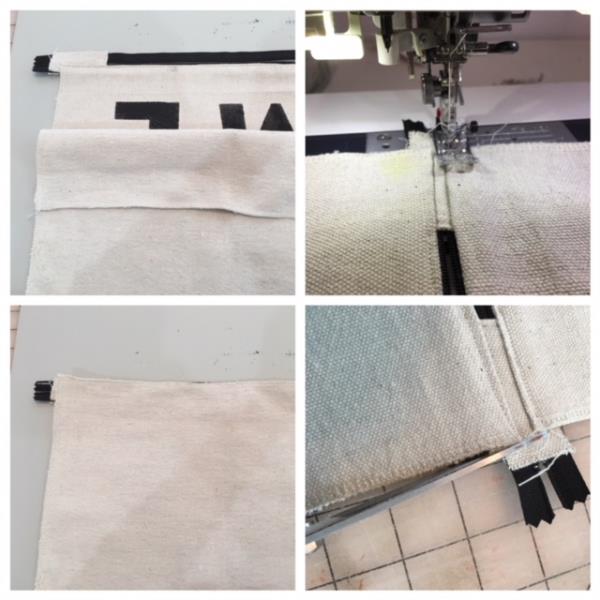
    You will be attaching the zipper to bottom edge of pillow. Center and place zipper matching edges right sides together. Stitch using 1/8” seam allowance.
     
    Flip over to right side. Finger press down and top stitch. 

    (Click Image to Enlarge)


    Step 13:
    Using the other 14” x 14” piece ( pillow back ) Attach zipper in the same manner. Trim excess ends. 

    (Click Image to Enlarge)


    Step 14:
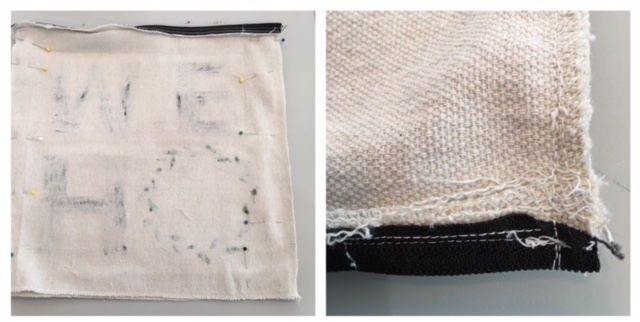
    Pillow front and back      Right sides together. ( unzip zipper halfway to be able to turn right side out) Match up side edges and bottom edge . Pin in place. Stitch using ¼” seam allowance. Stitch through zipper.

    (Click Image to Enlarge)


    Step 15:
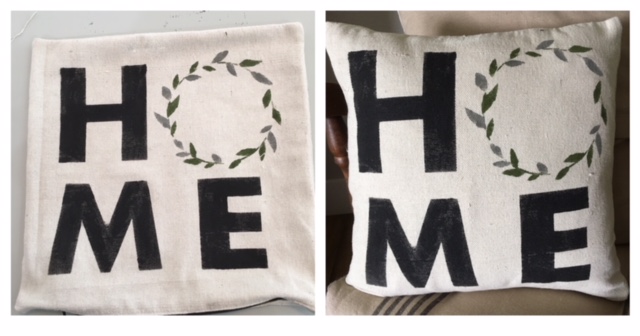
    Turn right side out. Push out corners. Insert pillow form. Viola! You did it!

    (Click Image to Enlarge)

    Meet the Author: Linda Mills
    Linda Mills
    Linda loves to create by sharing her different sewing and machine embroidery techniques so others can utilize their machines to the fullest
    More From This Author
    Link is Broken, Please check the URL
    Exclusive Embroidery Offers!
    Copyright © {{ currentDate | date:'yyyy'}} - EmbroideryDesigns.com
    GET 50% OFF! ×