Quilt Organza Butterfly Decor

Quilt Organza Butterfly Decor Embroidery Project

By   Pat Williams   on   July 06, 2025
  • SKILL LEVELSome Experience
  • TIME REQUIRED00:40
Description

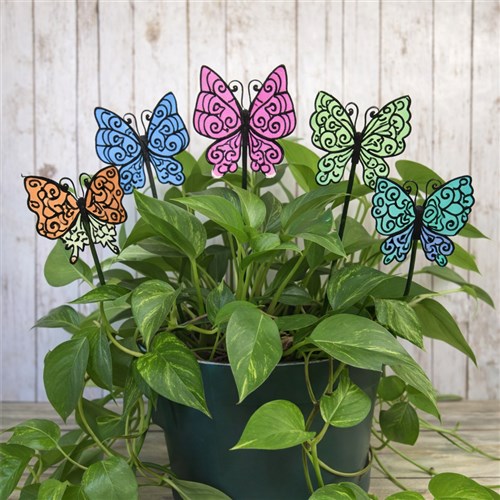
Enhance your indoor plants with these vibrant organza butterflies. Easy to make and perfect for adding a touch of color to your home or gifting to friends. Step-by-step instructions are included.

Step of

Materials

Project Preview Video

Materials
  • For each Butterfly:
  • 5” x 7” embroidery hoop
  • 3 6” x 6” layers of nylon organza in 2 coordinating colors
  • 2 layers of fibrous water soluble stabilizer to fit your hoop
  • Emerald Black polyester thread
  • Spray Adhesive
  • Wood Burning Tool
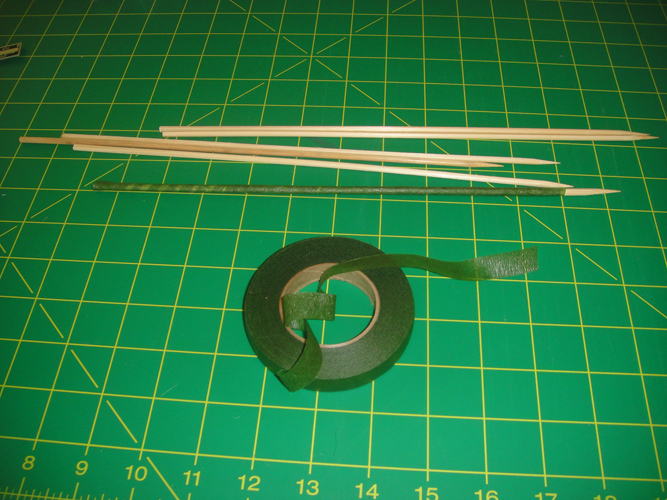
  • Wood Bar-b-que Skewer
  • Floral Stem wrapping tape or green acrylic paint
  • Optional: Water soluble thread
  • Hot glue gun – Low Temp is fine

  • Designs used in this project

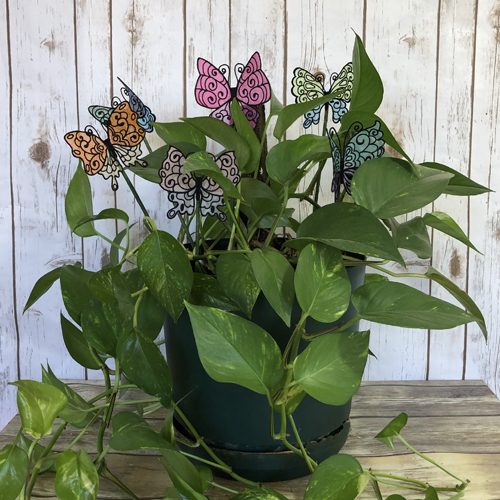
    Final Product: What You Will Create

    Preface:
    Nylon organza is a must have for these projects, polyester organza won’t do. Do use polyester thread. The wood burning tool isn’t essential if you are very careful in trimming your appliques. The wood burning tool is just used to clean up any stray organza threads after the butterfly is completed.  The time given does not include drying time.


    Step 1:
    (Click Image to Enlarge)
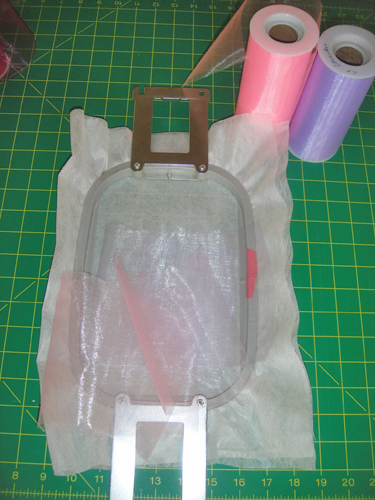
    Tautly hoop two layers of fibrous water soluble stabilizer in your hoop. Cut 3 6” squares of nylon organza in two coordinating colors.  


    Step 2:
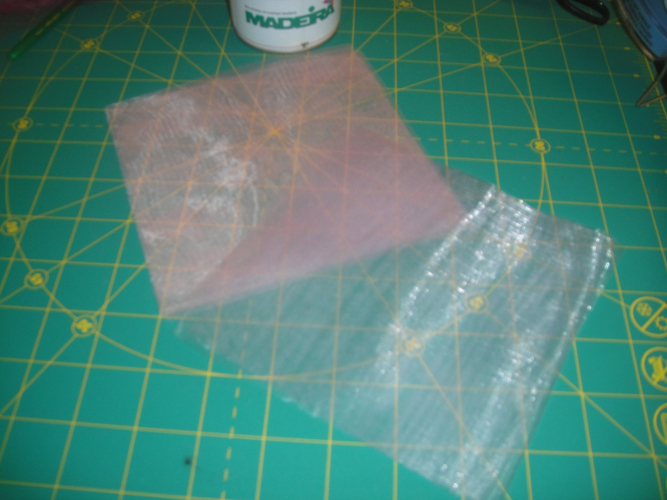
    Spray the organza with adhesive and adhere the 3 layers of each color together. Note, you can use more layers if you like to deepen the colors of pastels. 6” squares are enough organza to do more than one butterfly, but I tell you to use 6” squares as they are easier to handle.

    (Click Image to Enlarge)


    Step 3:
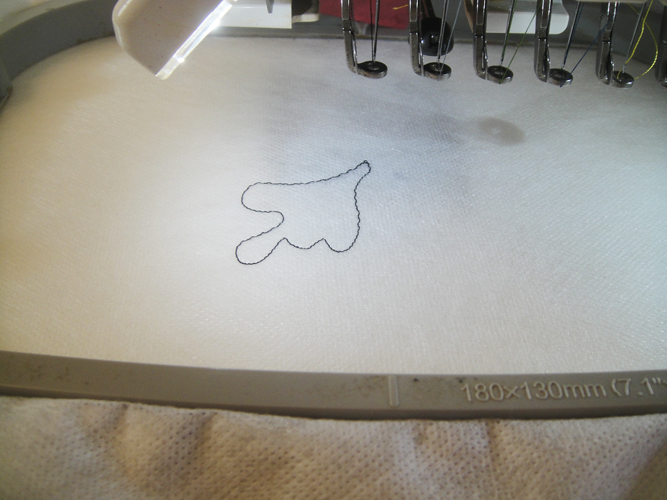
    Run the 1st color stop (CS 1) in Emerald Black thread or water soluble thread as a placement line for the 1st lower wing. If you use water soluble thread instead of black thread for the placement lines and tack down stitches you will get rid of the tie in and tie off tails on the back of the work when you remove the water soluble stabilizer from the project. I have used black thread in these photos so that you can see it better.

    (Click Image to Enlarge)


    Step 4:
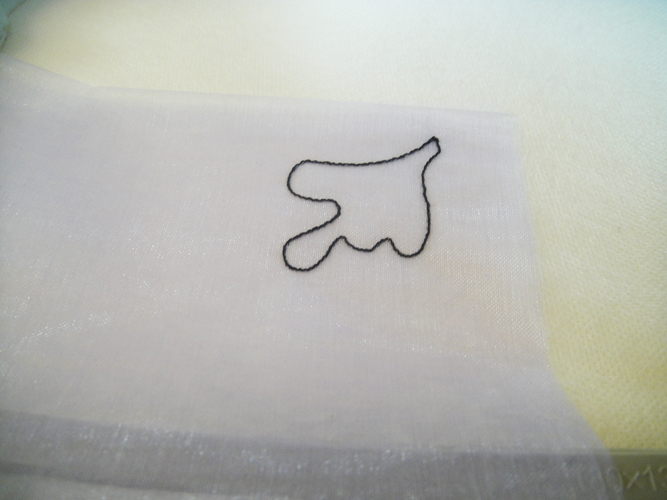
    Spray adhesive on a corner of the layered organza and position over the placement lines.
    Run CS 2 in Emerald Black or water soluble thread to tack down the organza.

    (Click Image to Enlarge)


    Step 5:
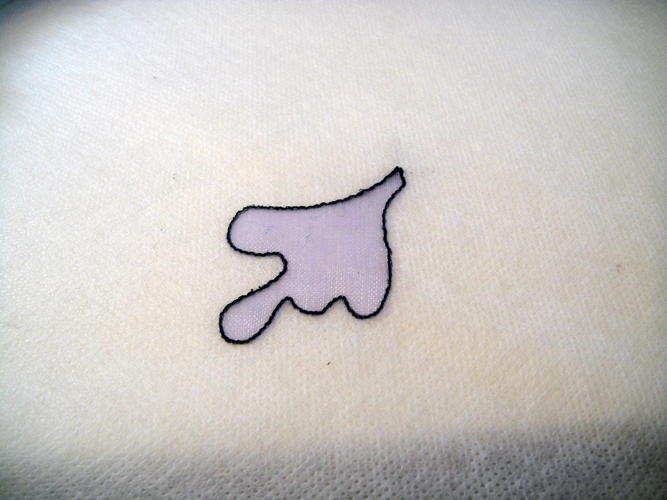
    Trim the applique right up next to the outline stitches. If you have used black thread to stitch the placement and tack down stitches, turn the hoop over and trim off the tails from those stitches.

    (Click Image to Enlarge)


    Step 6:
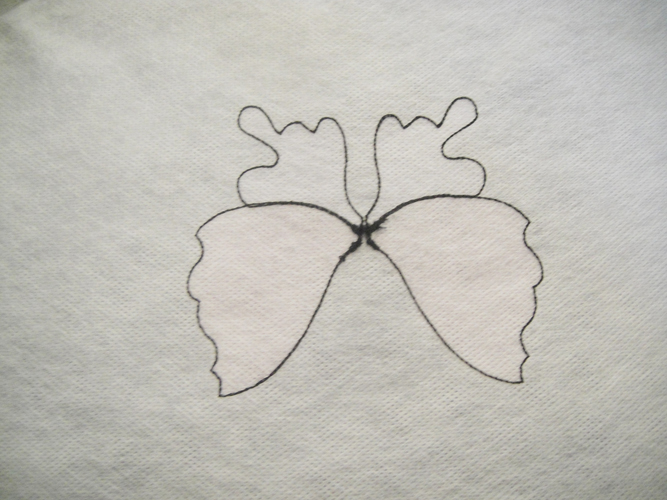
    Repeat Steps 3, 4 and 5 to place the organza appliques for the other three wings. Remember to turn the hoop over and trim away the thread tails on the back of the work before running the last CS in Emerald Black to complete the butterfly.

    (Click Image to Enlarge)


    Step 7:
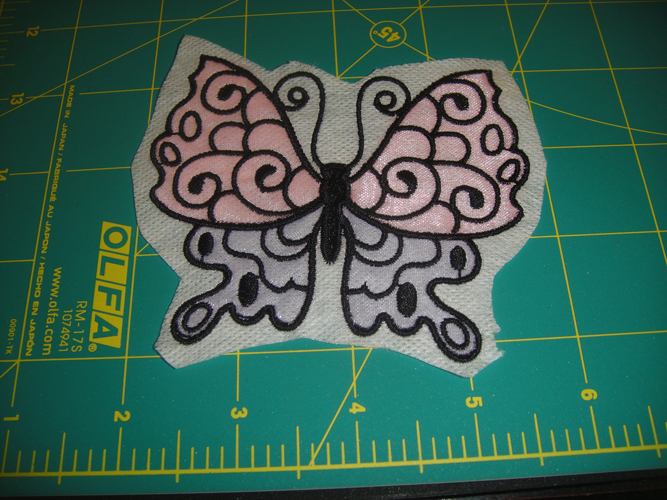
    Trim around the stabilizer about ¼” away from the butterfly.

    (Click Image to Enlarge)


    Step 8:
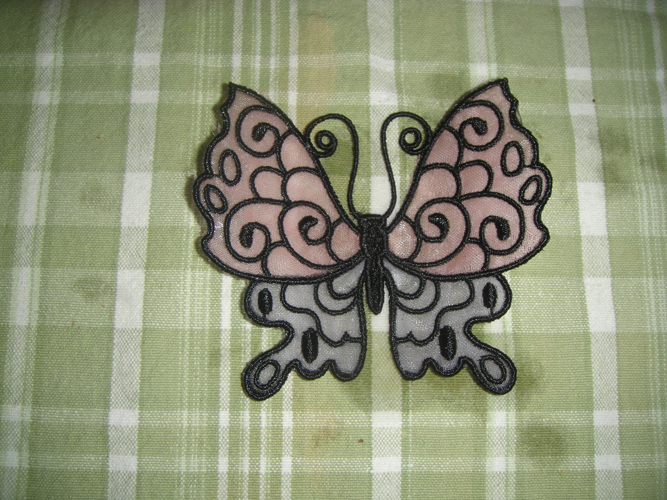
    Hold the butterfly under hot running water for less than a minute to remove the stabilizer. The antennae will be fragile at this point so handle them gently. Place the butterfly on a dry, smooth cotton towel. Press down the body and the antennae, but encourage the wings to curl up a little as they dry. Allow to dry completely.

    (Click Image to Enlarge)


    Step 9:
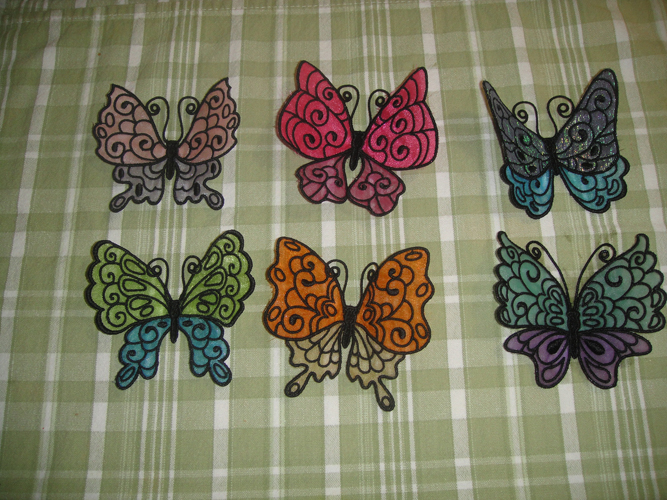
    All of the other organza butterflies are made using the above instructions.

    (Click Image to Enlarge)


    Step 10:
    While the butterflies dry, paint your skewers with green acrylic paint or wrap them with green florist tape.

    (Click Image to Enlarge)


    Step 11:
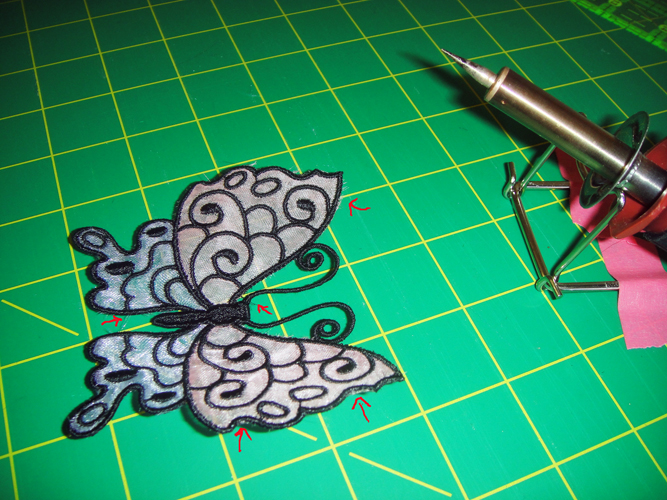
    Heat up your wood burning tool. Remove any stray threads by running the tip of the wood burning tool around the edges of the butterfly.

    (Click Image to Enlarge)


    Step 12:
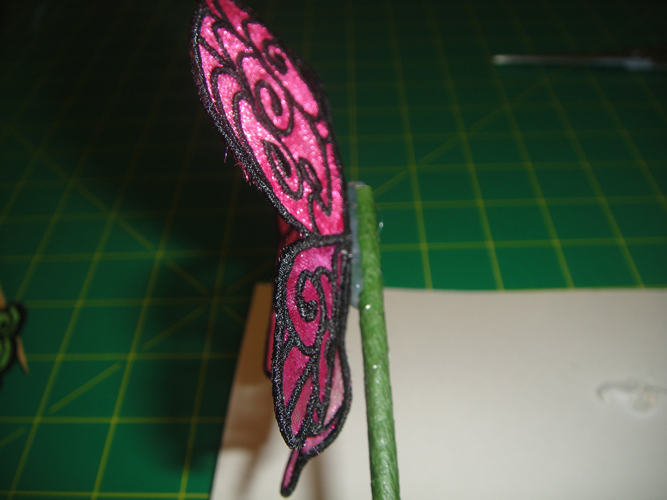
    Apply a little hot glue to the blunt end edge of the skewer and stick the body of the butterfly to the stick.

    (Click Image to Enlarge)


    Step 13:
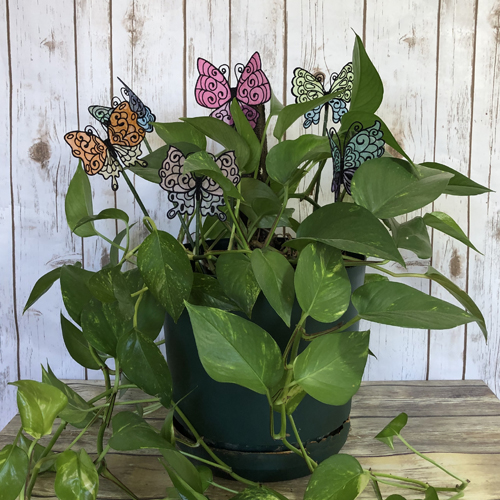
    Arrange the butterflies in and indoor plant. The butterflies of course can also be glued to a head band, a barrette, a broach or attached to a wall hanging with made for fabric Velcro. Congratulations your organza butterfly collection is complete!

    For the love of embroidery…
    Pat Williams
    Meet the Author: Pat Williams
    Pat Williams
    Award winning Digitizer, Embroidery Educator, Author and a Consultant to the Industry, Pat Williams has 30 years of experience in the embroidery industry. Pat has won multiple awards for her digitizing expertise including the 2007 Impressions Awards Grand Championship, Best of Show as well as the 1st and 2nd Place Awards. Pat’s love of digitizing has afforded her the opportunity to write numerous articles for Impressions magazine in the United States and Images Magazine in Europe. In 2001 Pat was named “Embroidery Educator of the Year.” For many years Pat taught digitizing seminars at the ISS Shows in Long Beach, CA and for Compucon software. She now resides in Tucson, AZ.
    More From This Author
    Link is Broken, Please check the URL
    Exclusive Embroidery Offers!
    Copyright © {{ currentDate | date:'yyyy'}} - EmbroideryDesigns.com
    GET 50% OFF! ×