Applique Hanging Herb Pocket Planter

Applique Hanging Herb Pocket Planter Embroidery Project

By   Linda Mills   on   May 07, 2019
  • SKILL LEVELIntermediate
  • TIME REQUIRED03:30
Description

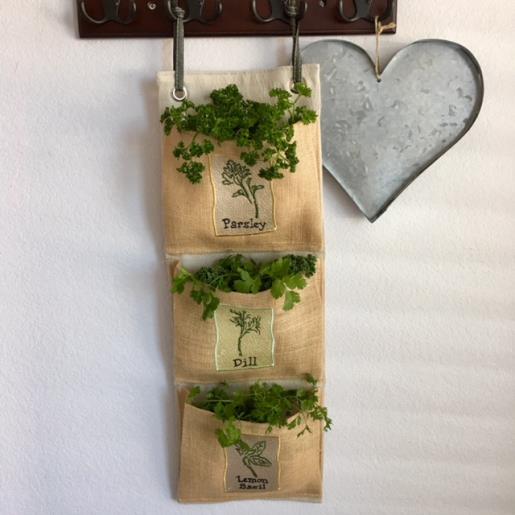
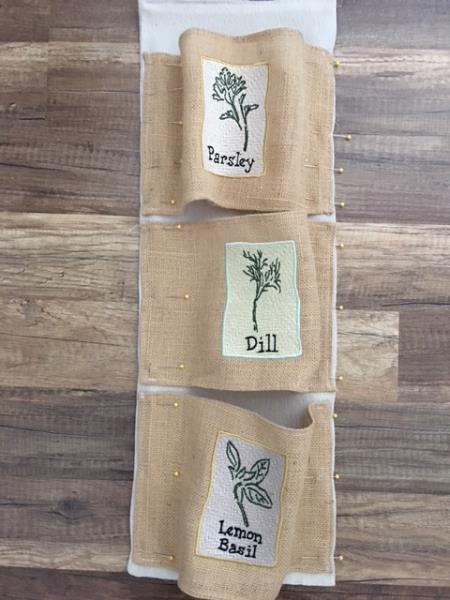
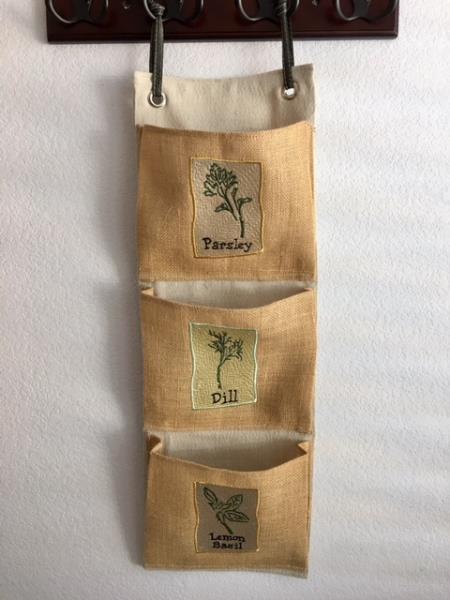
Enhance your indoor or outdoor space with this charming hanging burlap pocket planter. Each pocket features an applique and embroidered label displaying the plant name, perfect for growing fresh herbs. Step-by-step instructions are included.

Step of

Materials

Project Preview Video

Materials
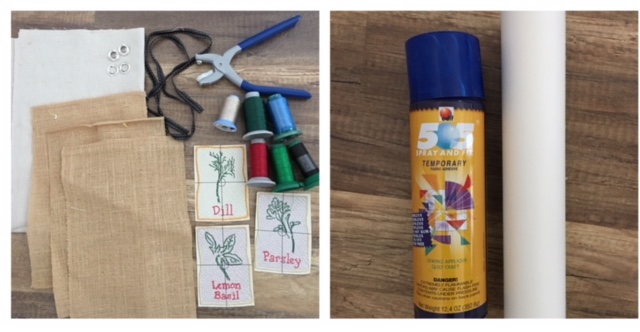
  • (1) 18” x 27” heavy cotton fabric ( i.e denim, cotton drop cloth, utility )
  • (3) 8” x 12” burlap
  • (1) 30” leather strapping ( 3/8” wide)
  • (2) grommets 3/8” ( 9mm)/kit
  • Grommet setter tool (opt)
  • Embroidery thread
  • Sewing thread
  • Straight pins
  • Tear away stabilizer
  • Temporary adhesive spray
  • Embroidery Software Program

  • Designs used in this project

    Final Product: What You Will Create

    Preface:
    This project easily comes together once your embroidering is complete. You will be embroidering three designs that will take approximately 45 minutes each based on your embroidery machine and what speed is set for your SPM ( stitches per minute). SPM used for this tutorial : 700


    Step 1:
    Gather all supplies and review instructions before beginning. 

    (Click Image to Enlarge)


    Step 2:
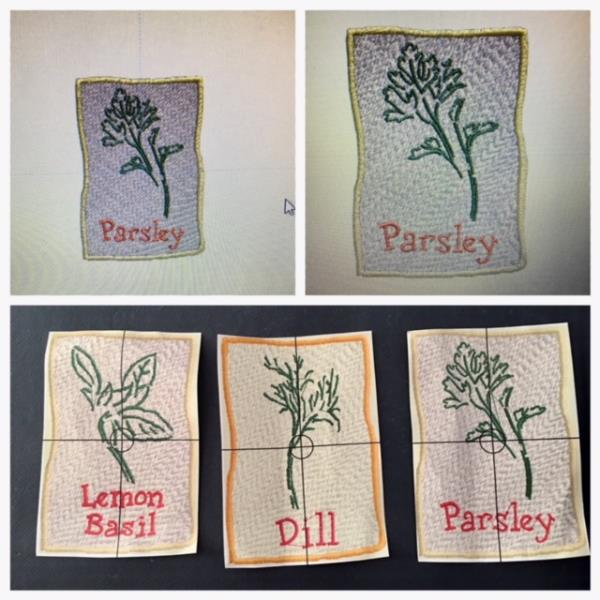
    Enlarge each of the embroidery designs to size approximately 3.310” x 4.734” per your embroidery program software. Print out each design template for review.  

    (Click Image to Enlarge)


    Step 3:
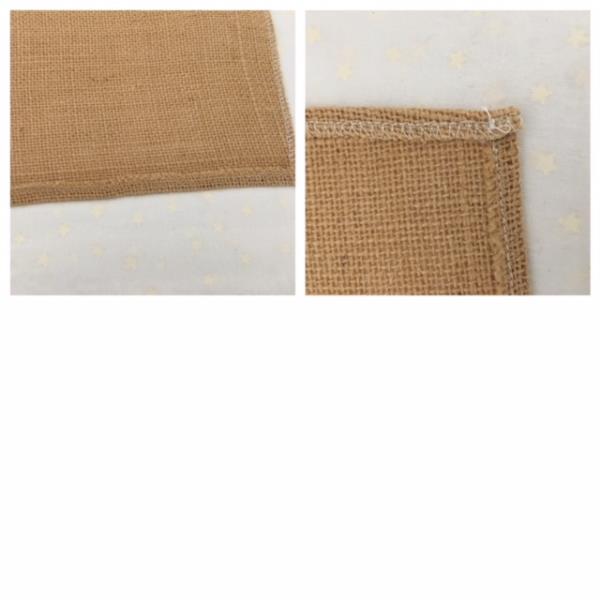
    Press your heavy cotton/utility fabric and burlap. Cut fabric pieces to size as stated in the material list. You should have four pieces, the body and four pockets. Serge /zigzag all raw edges of cut pieces to prevent fraying. (This method will help make it easier to construct as both fabrics used in this tutorial have a tendency to fray)


    Step 4:
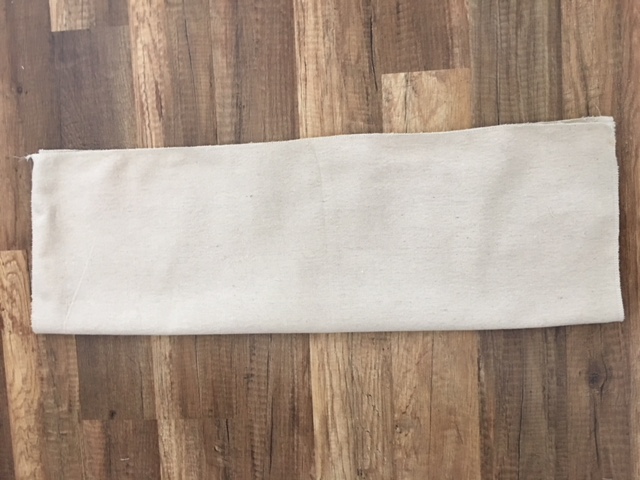
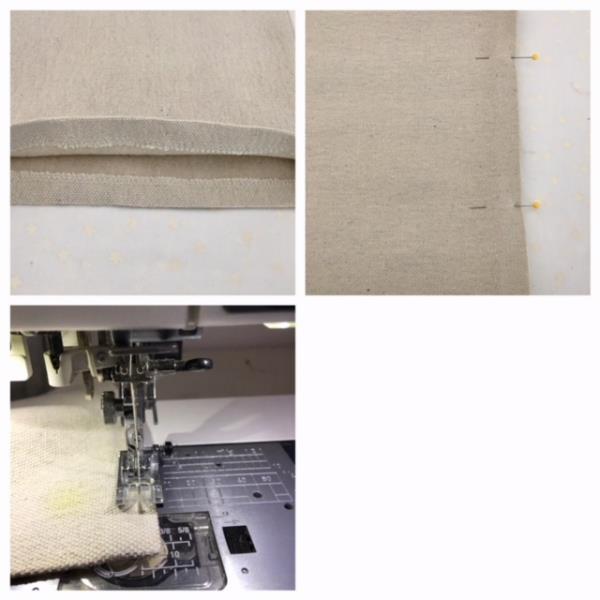
    Fold the body piece in half lengthwise matching up raw edges. Using ¼” seam allowance stitch together top and side raw edges. Turn right side out and press. Push out corners if needed.  

    (Click Image to Enlarge)


    Step 5:
    Fold down raw edges at open end of body ¼” – ½” creating a “hem”. Match up folded edges and press. Pin in place and stitch close using ¼” seam allowance. Set body piece aside as we prepare pockets. 

    (Click Image to Enlarge)


    Step 6:
    Fold in all four sides (hem) of pocket down ¼” and press. Stitch in place. Do this to all 3 pockets.  

    (Click Image to Enlarge)


    Step 7:
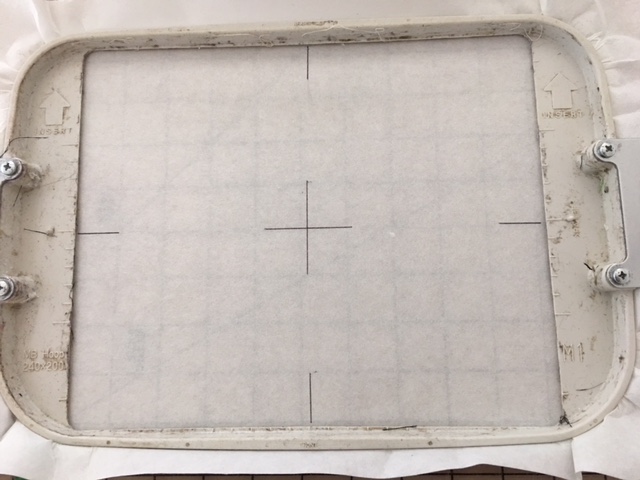
    Hoop tear away stabilizer. Mark center with crosshair. Mark all sides, top, and bottom axis lines. 

    (Click Image to Enlarge)


    Step 8:
     Centering pocket onto stabilizer
     
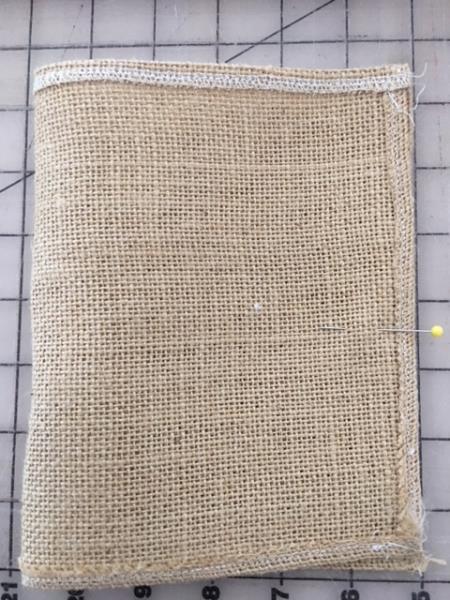
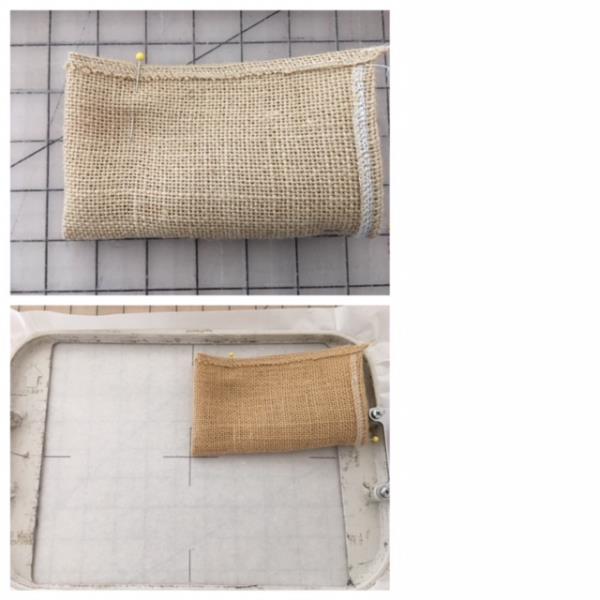
    With one of your pockets. Fold in half ( right sides together) Pin.

    (Click Image to Enlarge)


    Step 9:
    Then quarter fold and pin. Spray temporary adhesive spray onto stabilizer. Center the folded corner of pocket to top right corner of crosshair aligning with axis point.  

    (Click Image to Enlarge)


    Step 10:
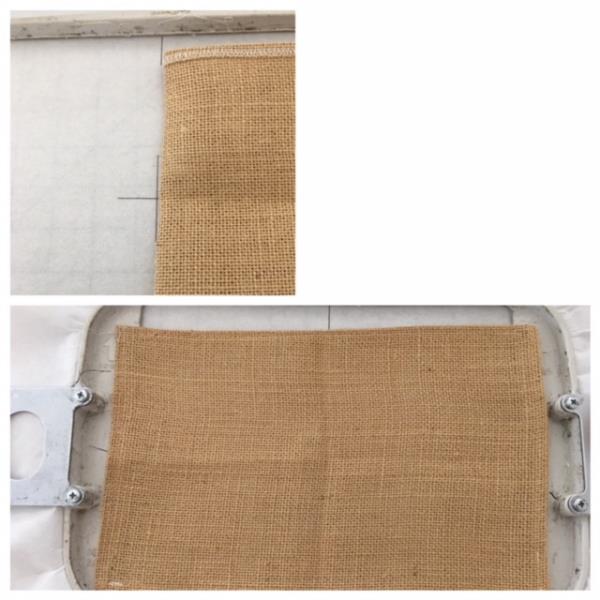
    Unfold and finger press onto stabilizer to secure. 

    (Click Image to Enlarge)


    Step 11:
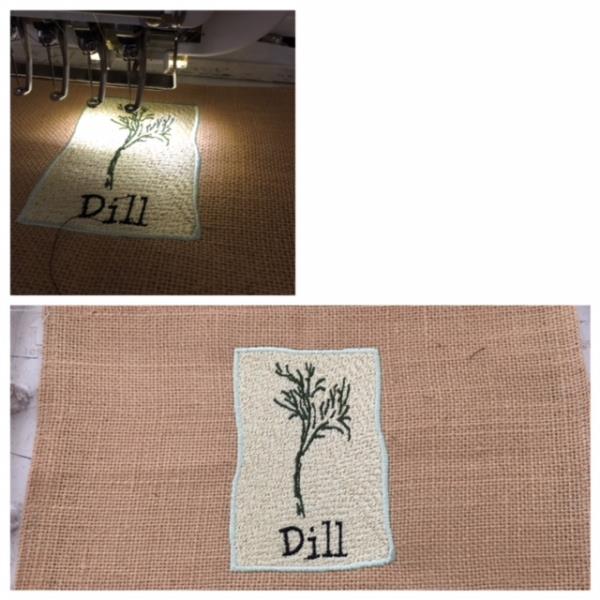
    Load  embroidery design into your machine. Attach hoop. Confirm center placement per your machines instructions. Begin the embroidering process. Embroidering complete: Remove hoop. Cut and trim all jump stitches. Remove stabilizer. Repeat for the other two designs on the remaining two pockets. 

    (Click Image to Enlarge)


    Step 12:
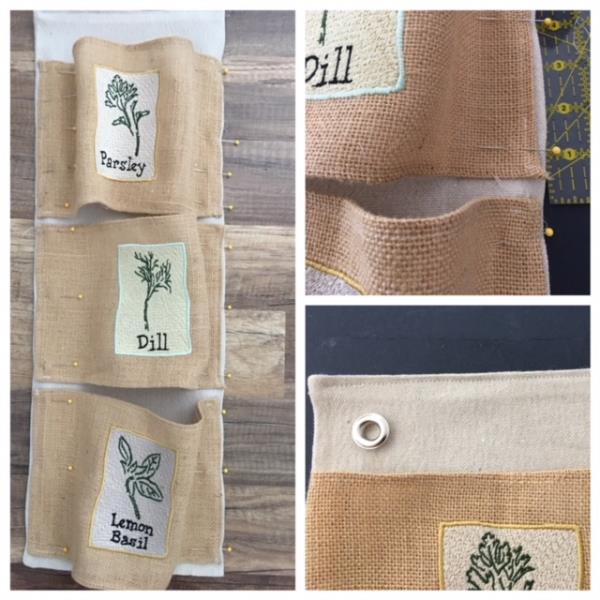
    Position the embroidered pocket pieces on top of body. Lay the bottom pocket first ½” above the lower body edge and ¼” in from each body sides. Pin in place. Space the next two pockets evenly with ½” space in between pockets. When placing the top pocket allow a space of 2 ½” down from top edge of body for the placement of the grommets. 

    (Click Image to Enlarge)


    Step 13:
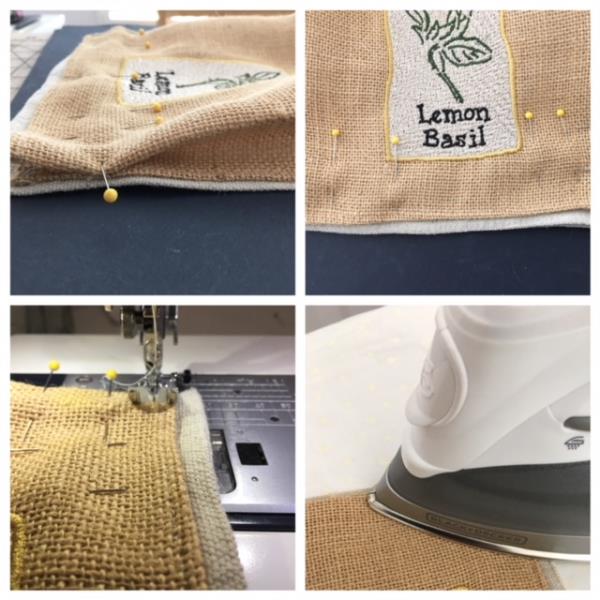
    Straight stitch all pocket sides in place using ¼” seam allowance. 

    (Click Image to Enlarge)


    Step 14:
    Single fan fold each side edge of pocket and pin in place. Straight stitch across bottom edge of pocket using ¼” seam allowance. Press fold. Repeat for the other two pockets.

    (Click Image to Enlarge)


    Step 15:
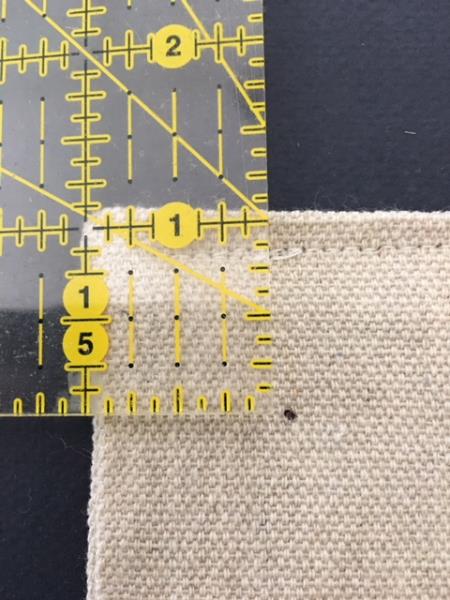
    Preparing the grommet placement: Mark each top corner 1” in from side and 1” down from top.

    (Click Image to Enlarge)


    Step 16:
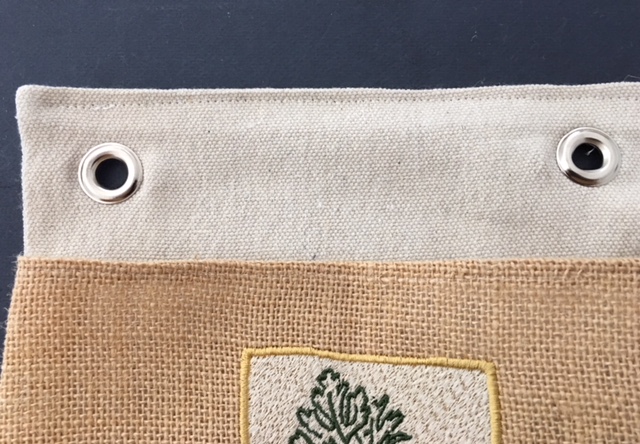
    Per grommet manufacturer’s instructions set each grommet. 

    (Click Image to Enlarge)


    Step 17:
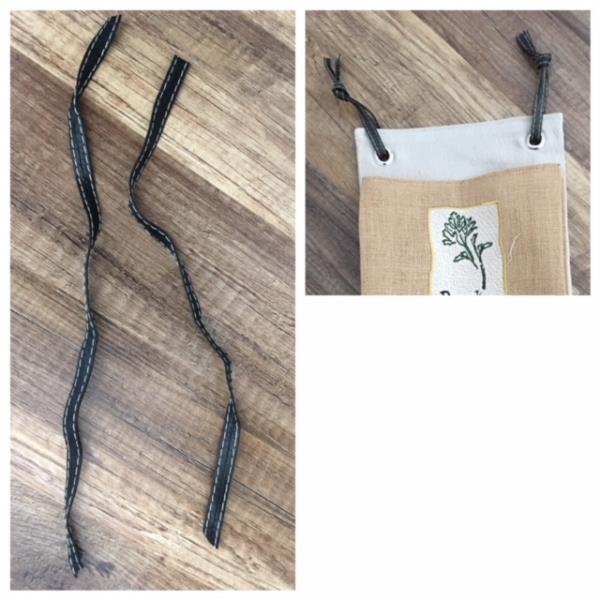
    Cut from your leather strapping two 15” strips. Feed through each grommet and make a knot .

    (Click Image to Enlarge)


    Step 18:
    Congratulations! Your hanging fabric planter complete with pockets is now finished! Time to start growing some fresh herbs!   

    (Click Image to Enlarge)

    Meet the Author: Linda Mills
    Linda Mills
    Linda loves to create by sharing her different sewing and machine embroidery techniques so others can utilize their machines to the fullest
    More From This Author
    Link is Broken, Please check the URL
    Exclusive Embroidery Offers!
    Copyright © {{ currentDate | date:'yyyy'}} - EmbroideryDesigns.com
    GET 50% OFF! ×