











































PROJECT INSTRUCTIONS


PROJECT INSTRUCTIONS

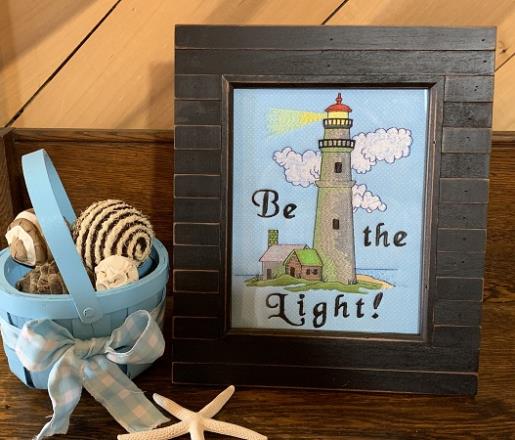
Applique Lighthouse Picture in Frame Embroidery Project
By
Marisa Littleton
on
May 01, 2019
Description
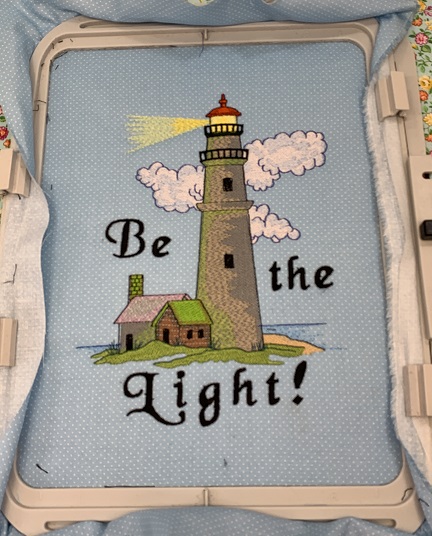
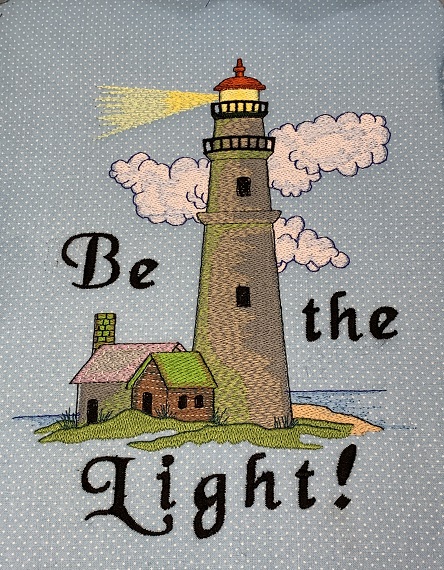
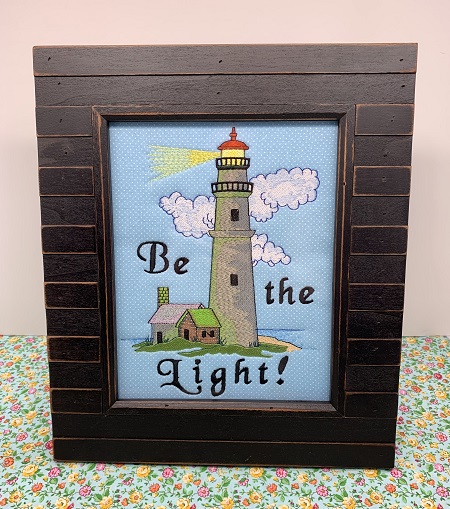
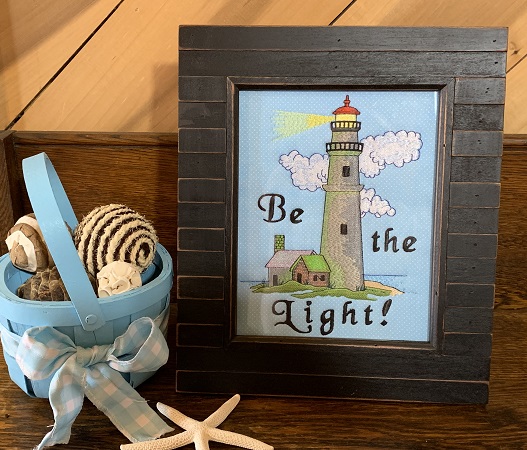
Inspire to 'Be the Light'. A scenic lighthouse that reminds you of windy beaches, sailing ships, and far away places.
Step
of
Materials
Project Preview Video

QUICK VIEW
Black Chancery Embrilliance
$14.99
$7.50
Circle Price: $7.50

QUICK VIEW
LIGHTHOUSE SCENE
$9.44
$4.72
Circle Price: $4.57

QUICK VIEW
Embrilliance Essentials - Software Download
$139.00
$125.10
Circle Price: $125.10

Cut Away Stabilizer - 2.5 Oz wt.
$8.94
Circle Price: $8.05

Cut Away Stabilizer - 2 oz wt.
$8.52
Circle Price: $7.67



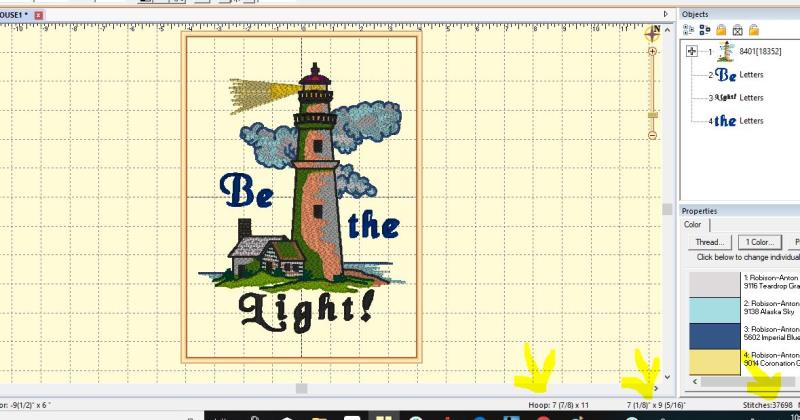
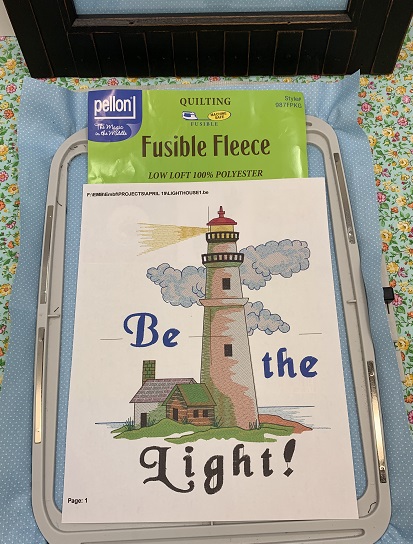
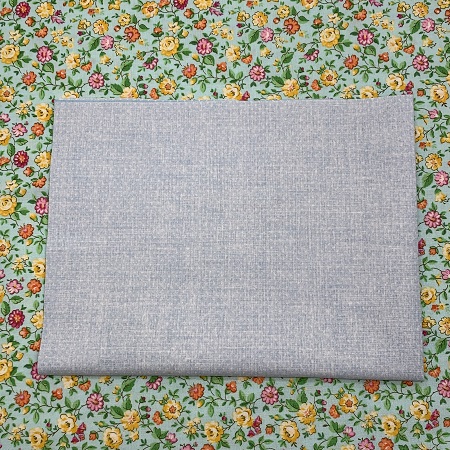
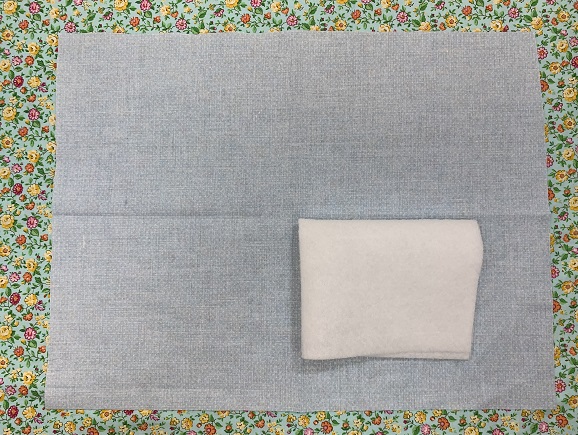
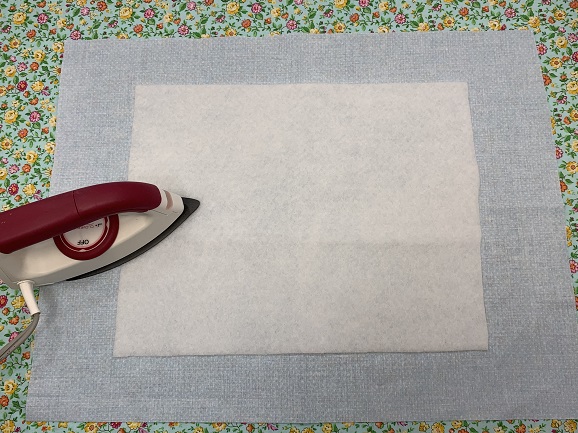
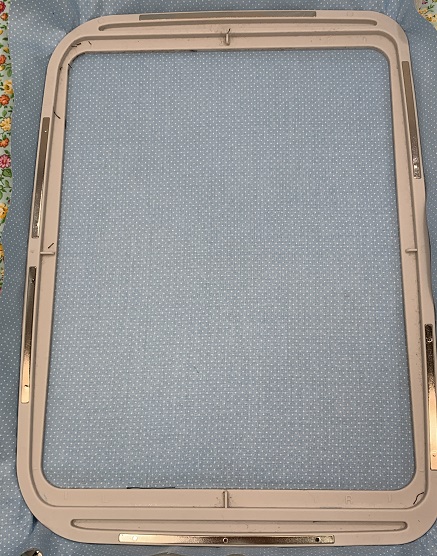
| Materials Design Template Font 90/14 Embroidery needle One 12"x 16" piece of neutral blender fabric (quilt shop quality) One 8"x12" piece of fusible fleece One piece of No Show mesh stabilizer to fit hoop 8"x12" embroidery hoop 40 wt. embroidery thread (Robison-Anton) per color chart or preference Embroidery Software program (Embrilliance Essentials) 8"x10" picture frame |
| Designs used in this project |
| Final Product: What You Will Create |
 |
|
Learn by teaching... Marisa Littleton |
Projects You May Like
Meet the Author:
Marisa Littleton

Marisa Littleton is a retired educator with a love for teaching and learning. Interests include machine embroidery, hand embroidery, quilting, cooking, and antiques.
Feedback
Characters Remaining
Please Login to Submit a Feedback
Invalid Characters, Please enter a valid Comment
Please enter a valid Comment
Reviewed On
Link is Broken, Please check the URL