















































PROJECT INSTRUCTIONS


PROJECT INSTRUCTIONS
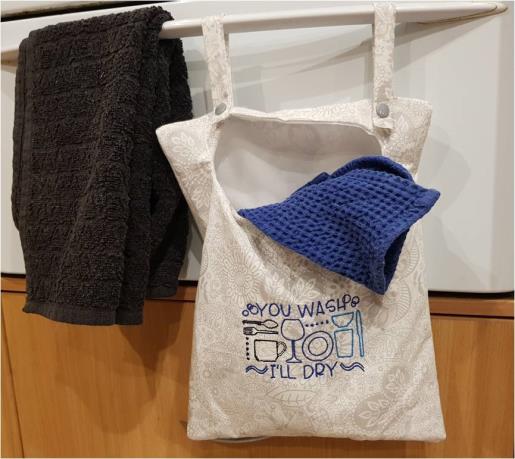
Kitchen Towel Holder Bag Embroidery Project
By
Kylie Burke
on
April 29, 2019
Description
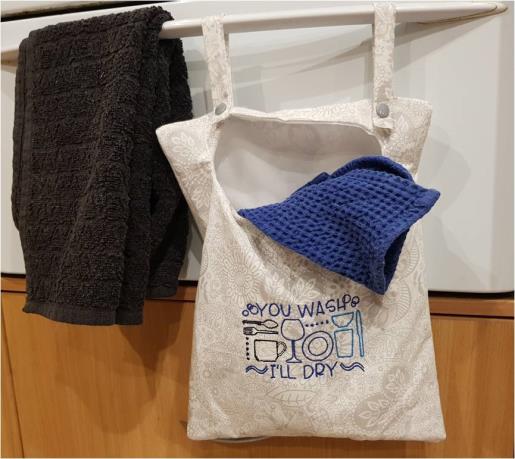
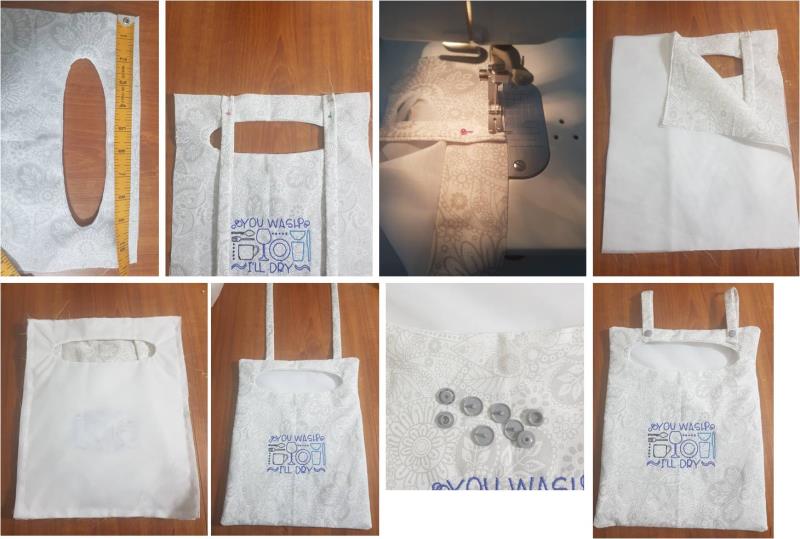
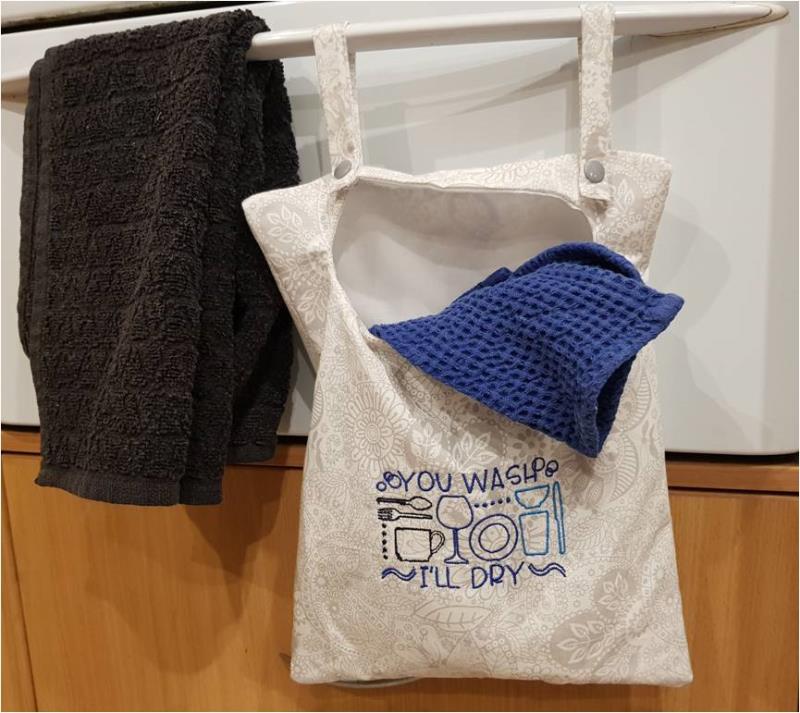
A practical bag designed for the kitchen to store your used tea towels while cooking. The bag is lined and features an open top design to allow airflow, preventing odors. Step-by-step instructions are included.
Step
of
Materials
Project Preview Video

You Wash, I''ll Dry
$3.89
Circle Price: $2.92

QUICK VIEW
Tear Away Stabilizer
$7.98
Circle Price: $7.18
{{ item.name }}
{{ item.listPriceDisplay }}{{ item.salePriceDisplay }}
Circle Price:
{{ item.clubPriceDisplay }}


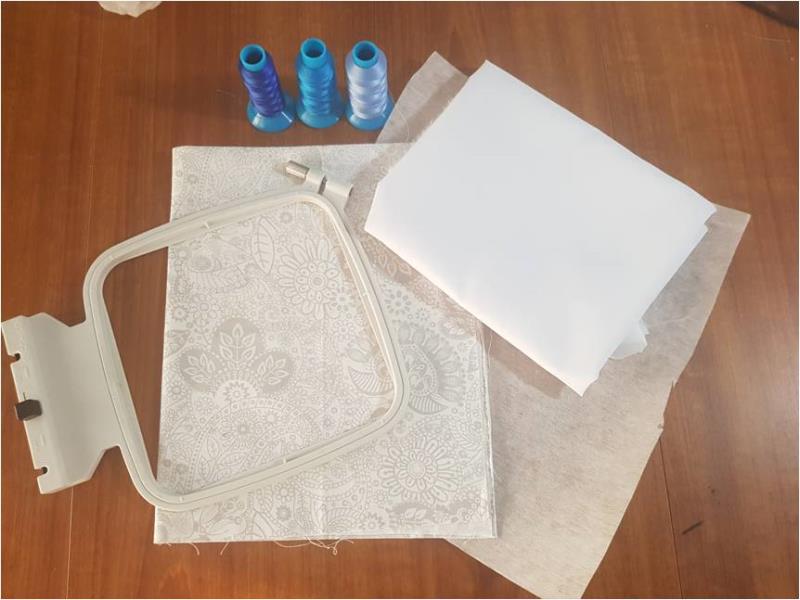
| Materials 1 fat quarter of cotton fabric ½ meter of lining fabric (PUL, clear vinyl or any water resistant/proof type fabric) 3 thread colors of your choice Tearaway stabilizer 4” hoop Matching sewing thread Snap closures |
| Designs used in this project |
| Final Product: What You Will Create |
 |
|
Projects You May Like
Meet the Author:
Kylie Burke

Kylie is based in Australia and loves creating and sharing her unique pieces.
Feedback
Characters Remaining
Please Login to Submit a Feedback
Invalid Characters, Please enter a valid Comment
Please enter a valid Comment
Reviewed On
Link is Broken, Please check the URL