Border OptionsHugging border, circle, square, or rectangle — with a 3mm satin stitch.
Backing OptionsAvailable with iron-on, sew-on, or velcro backing.
Fast ShippingShipped quickly from the USA.
Free Online Tools
Powerful embroidery utilities that save time and prevent costly mistakes.
Stitch AssistantRECOMMENDED
Get the exact stabilizer, machine settings, needle, and thread color sequence for every embroidery design you purchase — based on that design's stitch density, dimensions, and color count.
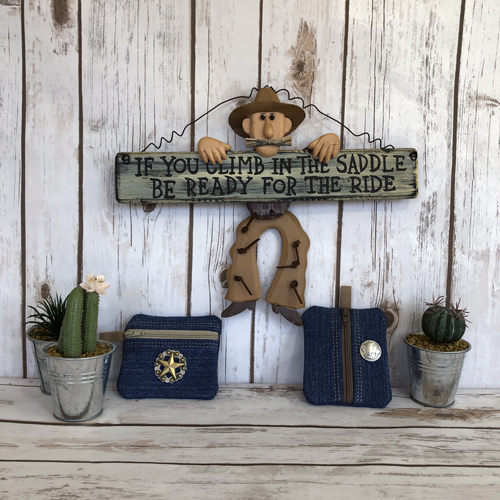
Create a charming set of coin pouches made from recycled denim and lined with repurposed cowboy shirts. These in-the-hoop pouches offer a rustic yet practical solution for organizing coins and small items. Perfect for adding a touch of western flair to your accessories. Step-by-step instructions are included.
Apparently, I’m looking at my home state of Arizona for inspiration lately. Nothing speaks of Arizona more than jeans and a cowboy shirt. If you don’t own jeans and a cowboy shirt a trip to your local thrift shops should allow you to look for these garments that can be recycled. Please pre-wash these garments before using in this project. The color stops in this design are just to sew different parts of the project together, you will use the same color thread throughout the project.
Step 1:
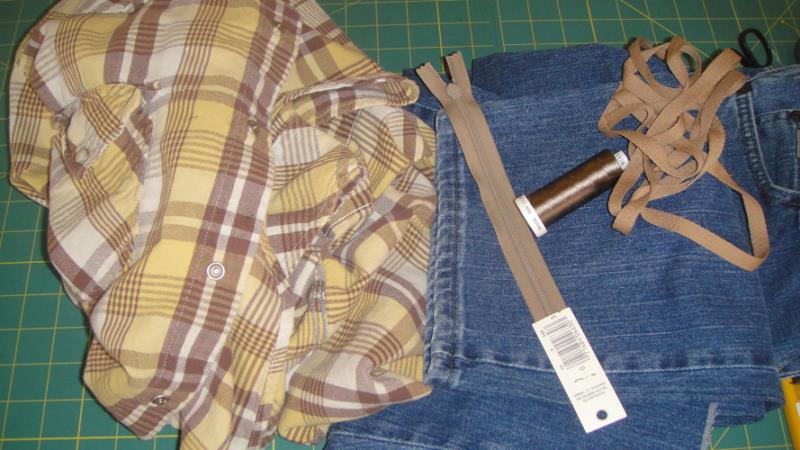
Gather your materials for the project, the old cowboy shirt, the jeans and coordinating thread. You will need about 8” cut off of the bottom of the leg of the jeans and one front of the shirt to make one bag.
(Click Image to Enlarge)
Step 2:
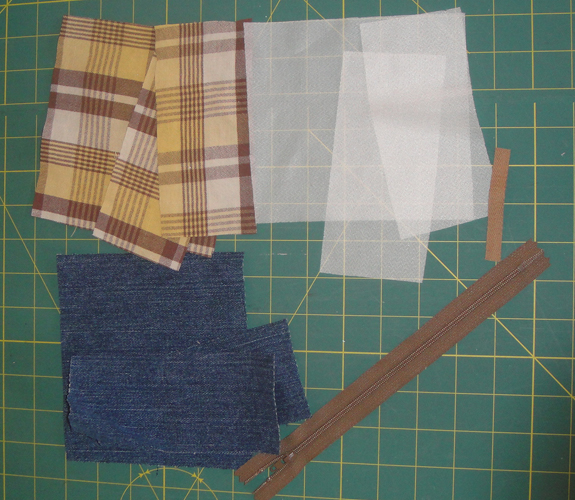
The first bag DCP01 has a centered zipper, DCP02 has a zipper that is closer to one side of the pouch. The bags are made following the same steps, but the placement lines are in different positions so the cutting of the fabrics is a little different for each. For pouch DCPO1 cut: a. 1 denim, lining and fusible knit interfacing 5 ½” by 6” b. 2 rectangles of denim, lining and fusible knit interfacing 2 ¾” x 6” c. 1 3” section of twill tape For pouch DSP02 cut: a. 1 denim, lining and fusible knit interfacing 5 ½” by 6” b. 1 rectangle of denim, lining and fusible knit interfacing 2” x 6” c. 1 rectangle of denim, lining and fusible knit interfacing 3 ½” x 6” d. 1 3” section of twill tape
(Click Image to Enlarge)
Step 3:
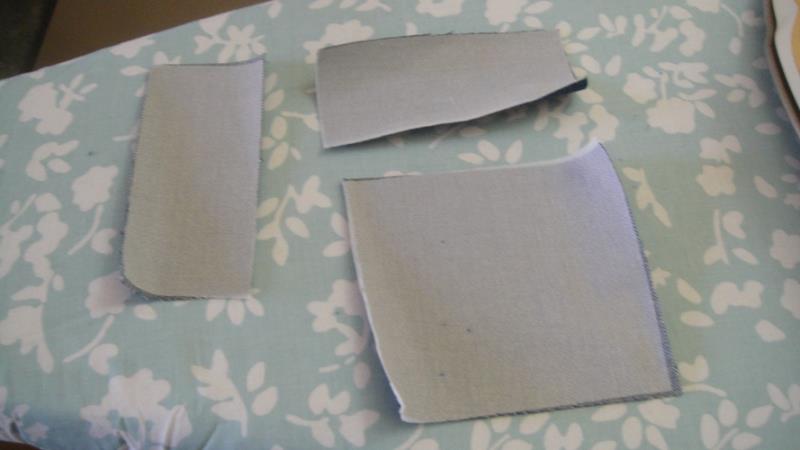
Following the manufacturer’s instructions fuse the knit interfacing to the wrong side of the denim pieces.
(Click Image to Enlarge)
Step 4:
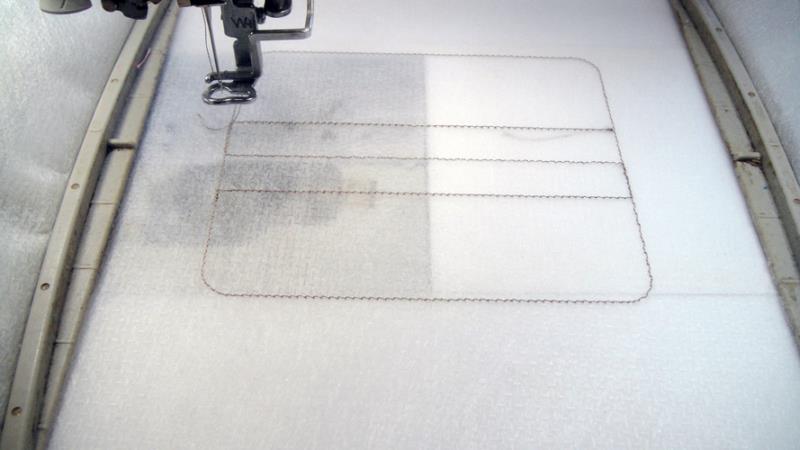
Tautly hoop the no show stabilizer and run color stop (CS) 1 as an outline of the coin purse and placement line for the zipper.
(Click Image to Enlarge)
Step 5:
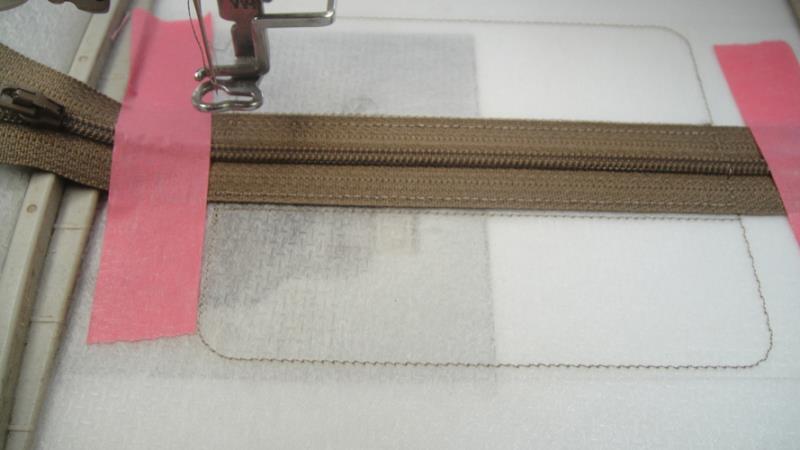
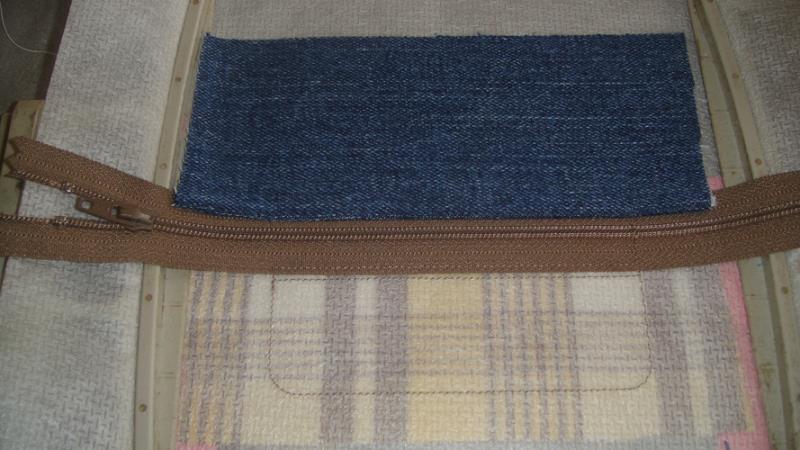
Tape a nylon or polyester zipper right side up over the placement lines, do not use a metal or heavy plastic zipper. Have the zipper extend over both sides of the hoop by a good margin and tape into place with embroidery tape. The tape should be outside of the outline of the coin purse. The pull on the zipper should be to the left of the hoop. Run CS 2 to tack down the zipper.
(Click Image to Enlarge)
Step 6:
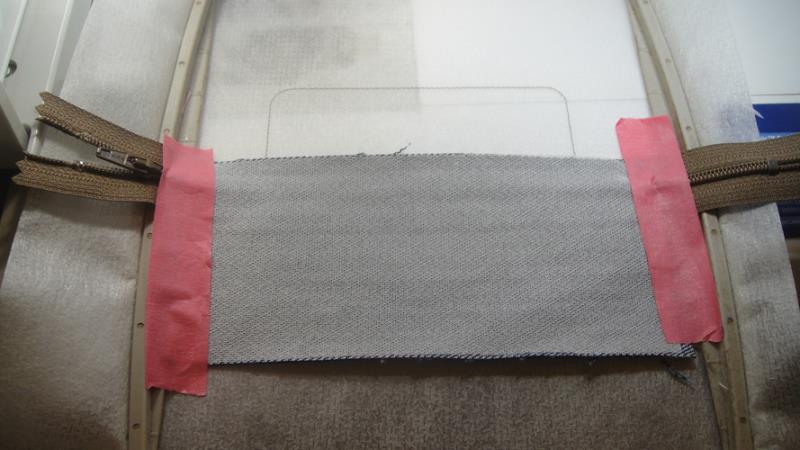
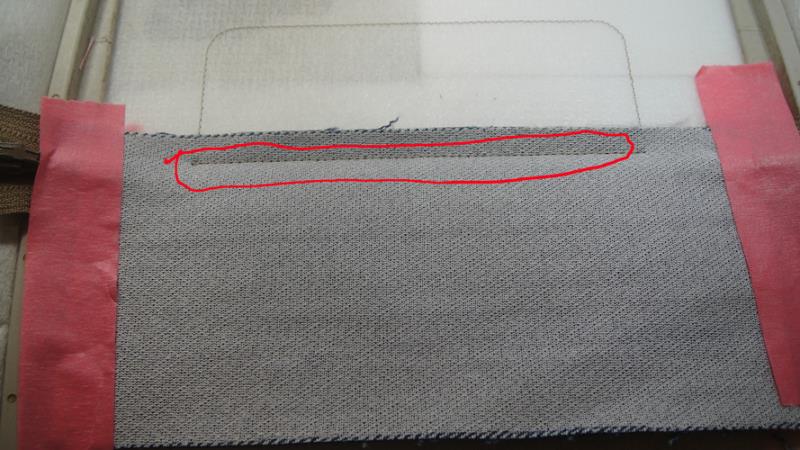
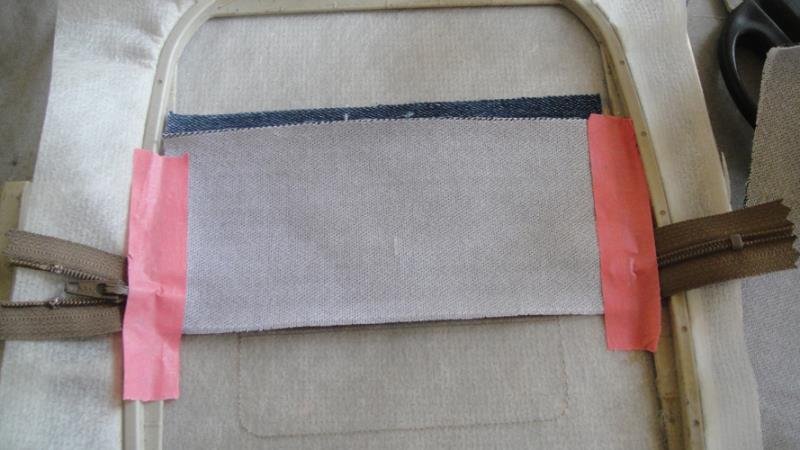
Remove the hoop from the machine, do not unhoop. For DCP01 use a 2 ¾” rectangle of denim. For DCP02 use the 2” rectangle of denim. Align the denim face down with the top side of zipper and tape the side edges in place.
(Click Image to Enlarge)
Step 7:
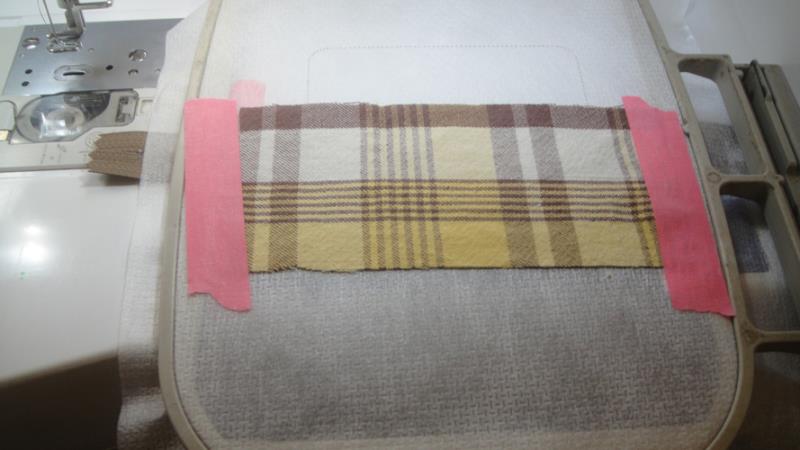
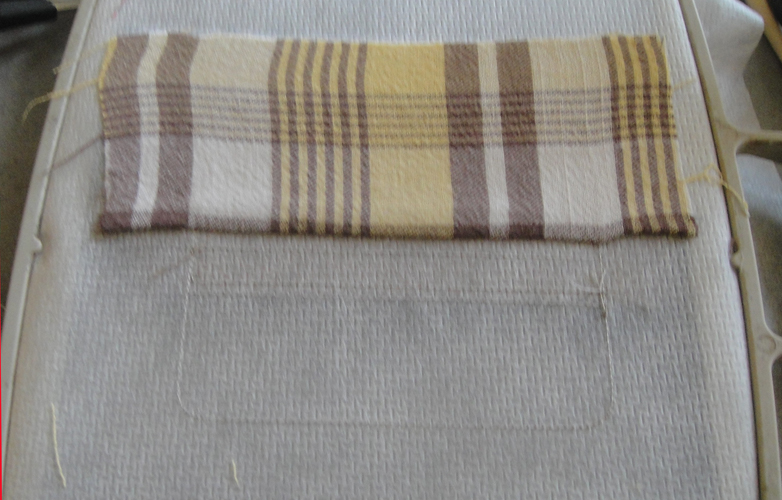
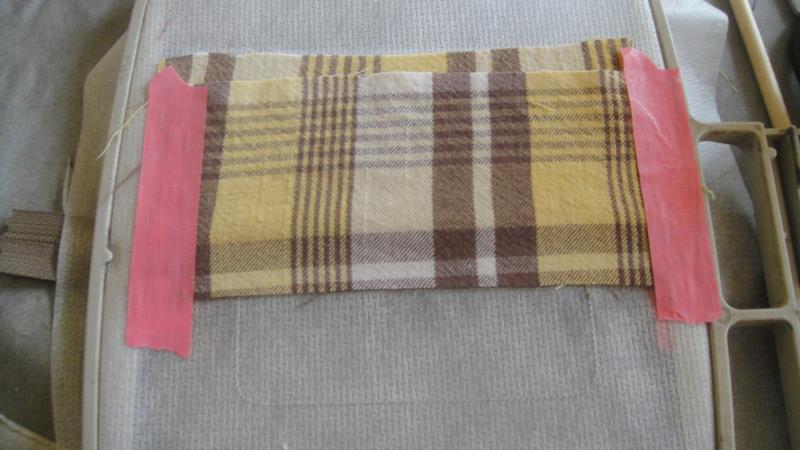
Lay the hoop facedown on a flat surface. Align the corresponding piece of lining face down with the top edge of the zipper and tape the sides to the hoop.
(Click Image to Enlarge)
Step 8:
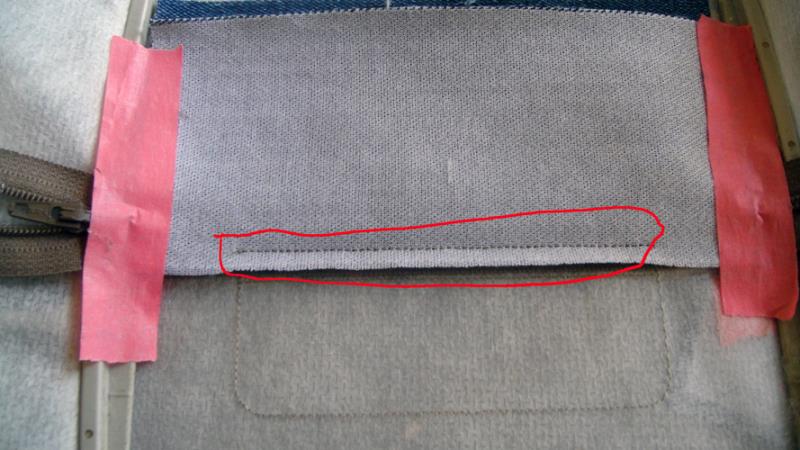
Return the machine to the hoop and run CS 3 to seam the fabrics.
(Click Image to Enlarge)
Step 9:
Remove the hoop from the machine, do not unhoop. Remove the tape from the denim and the zipper. Spray adhesive on the stabilizer above the denim and smooth the denim securely over the stabilizer making sure that the fabric is tautly pulled back from the zipper.
(Click Image to Enlarge)
Step 10:
Turn the hoop over and repeat Step 9 with the lining fabric.
(Click Image to Enlarge)
Step 11:
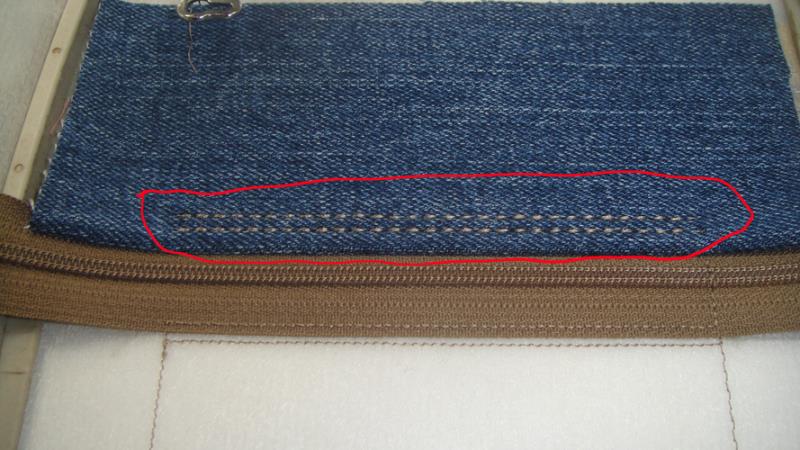
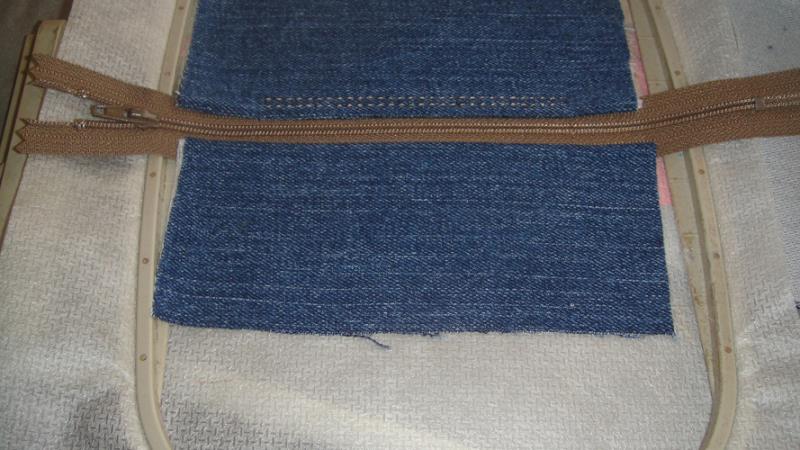
Return the hoop to the machine and run CS 4 to stitch the two rows of top stitching.
(Click Image to Enlarge)
Step 12:
Remove the hoop from the machine, do not unhoop. For DCP01 use a 2 ¾”x 6” rectangle of denim. For DCP02 use the 3 ½” x 6” rectangle of denim. Align the bottom edge of the denim face down with the bottom edge of the zipper and tape the side edges in place.
(Click Image to Enlarge)
Step 13:
On the back of the hoop tape the corresponding rectangles of lining fabric in the same manner.
(Click Image to Enlarge)
Step 14:
Return the hoop to the machine and run CS 5 to seam the fabrics.
(Click Image to Enlarge)
Step 15:
Remove the tape from the front and back and with spray adhesive smooth down the fabrics as you did in Step 9.
(Click Image to Enlarge)
Step 16:
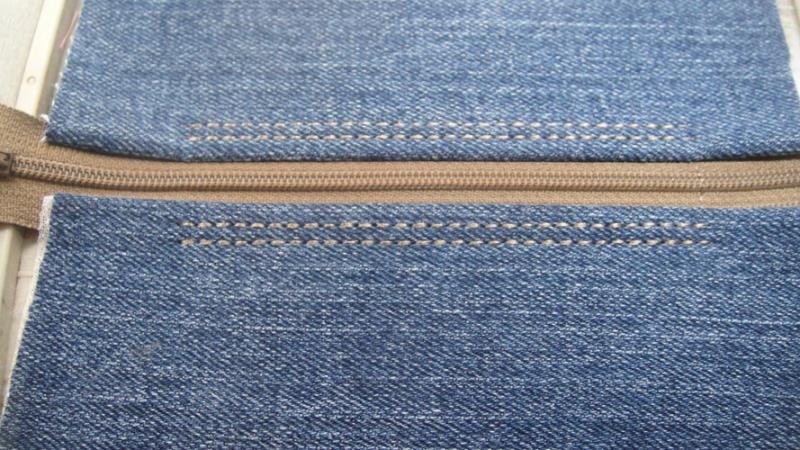
Return the hoop to the machine and run CS 6 to stitch the topstitching.
(Click Image to Enlarge)
Step 17:
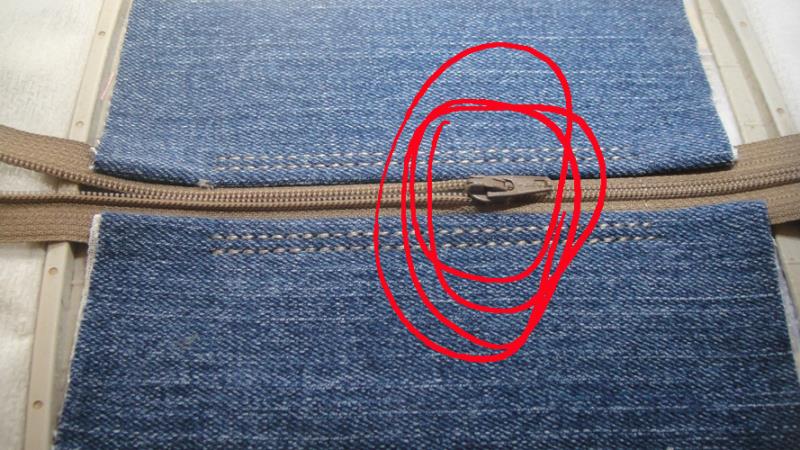
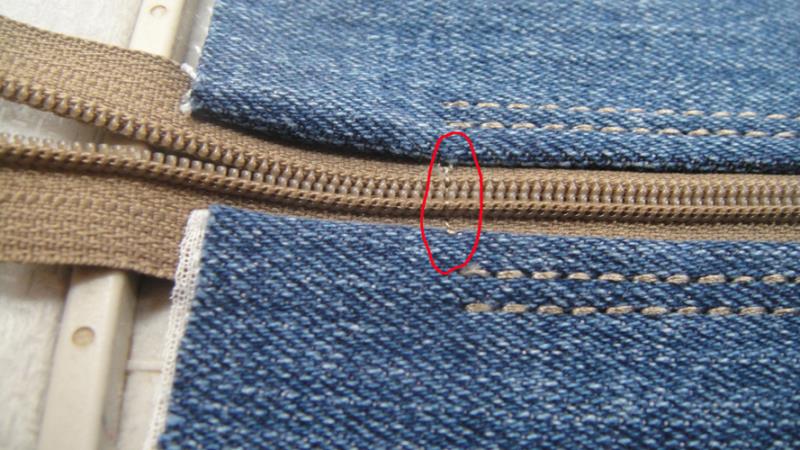
IMPORTANT: Unzip you zipper about ½ to ¾ of the way across the pouch. If you do not do this now you will not be able to unzip the bag.
(Click Image to Enlarge)
Step 18:
Run CS 7 as a placement line for the tab.
(Click Image to Enlarge)
Step 19:
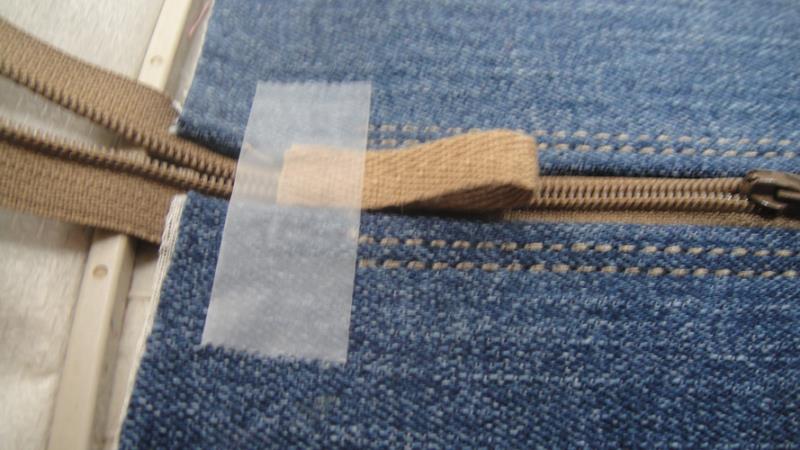
Fold the twill tape in half, place the raw edges about 3/8th” to the left of the placement stitches, secure with cellophane tape. Cellophane tape is used as it is easier to remove if it gets stitched over than the embroidery tape is. Run CS 8 to tack down the tab. Remove the tape.
(Click Image to Enlarge)
Step 20:
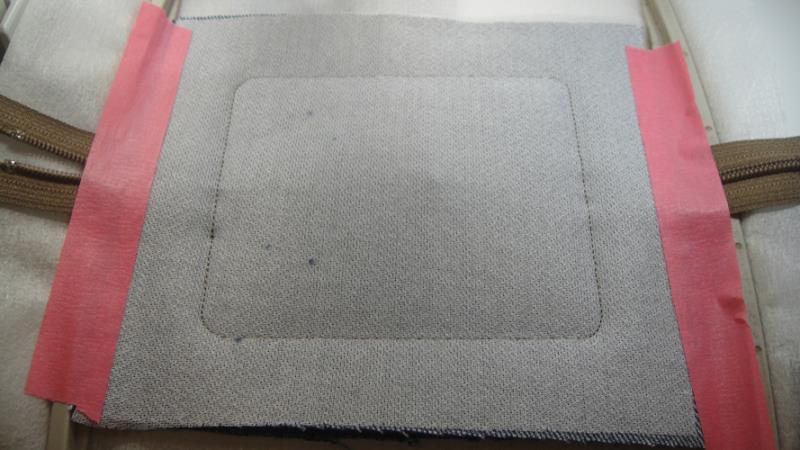
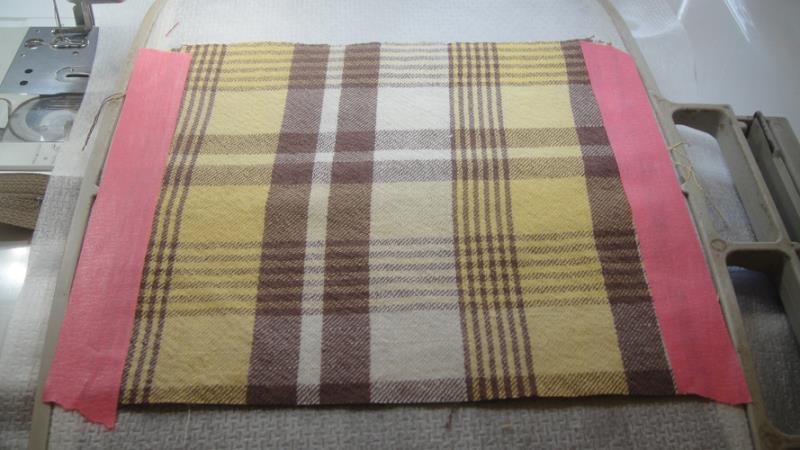
Place the back denim fabric face down over the project and tape in place. Run CS 9 to seam down the fabric.
(Click Image to Enlarge)
Step 21:
Remove the hoop from the machine, do not unhoop. Lay the hoop face down on a flat surface, tape the back fabric face down over the project. Run CS 10 to stitch the final seam which will leave an opening in the pouch for turning.
(Click Image to Enlarge)
Step 22:
DO NOT RUN CS 11, it is just an extra final color stop to prevent your machine from returning to the center of the design.
Step 23:
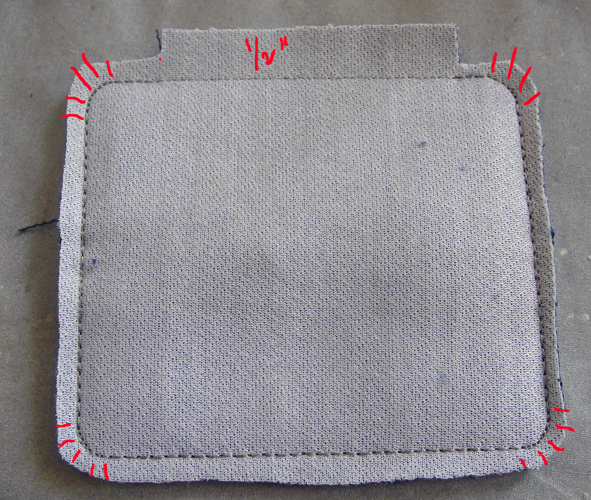
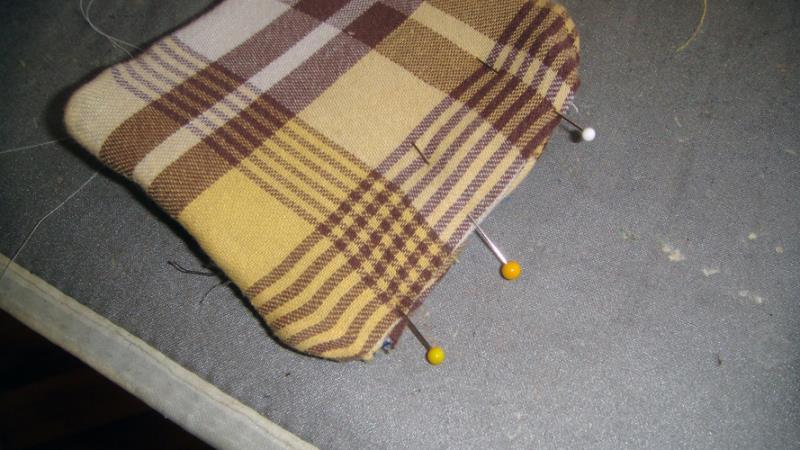
Remove the project from the hoop, trim around the design with a ¼” seam allowance except leave ½” seam allowance over the opening left for turning. Clip the curves.
(Click Image to Enlarge)
Step 24:
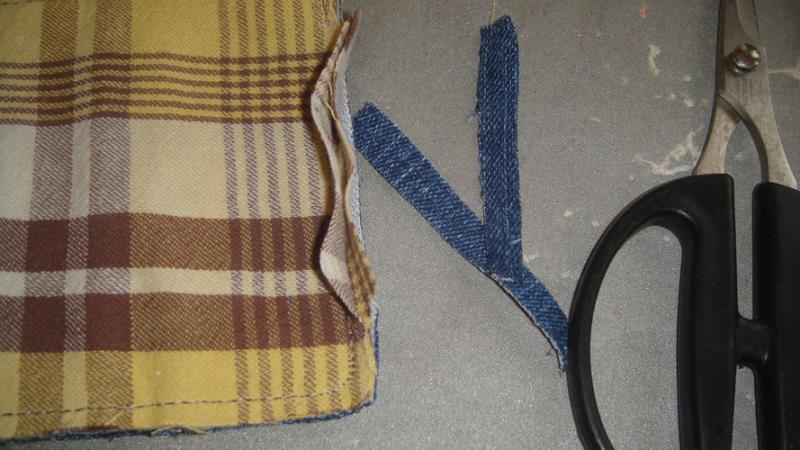
You can trim off half of the ½” seam allowance of the denim fabric to reduce bulk. Leave the ½” seam allowance of the lining fabric intact.
(Click Image to Enlarge)
Step 25:
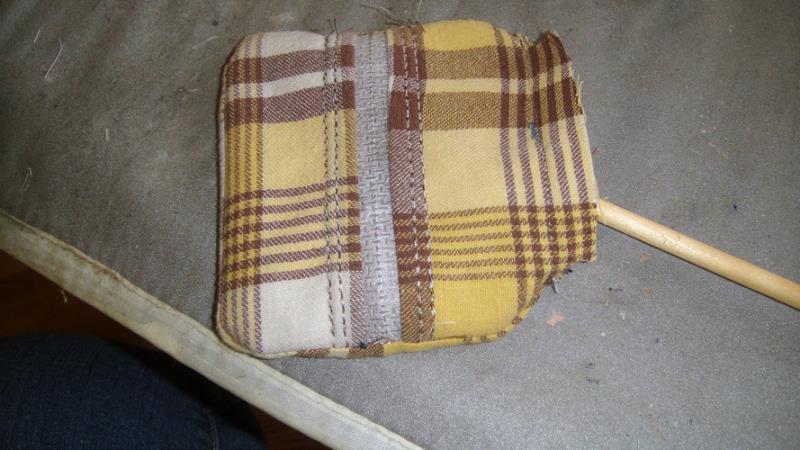
Turn the project right side of the lining out through the opening. You can use a wooden dowel or another object to help push the corners out.
(Click Image to Enlarge)
Step 26:
Fold in the lining seam allowances and slip stitch together.
(Click Image to Enlarge)
Step 27:
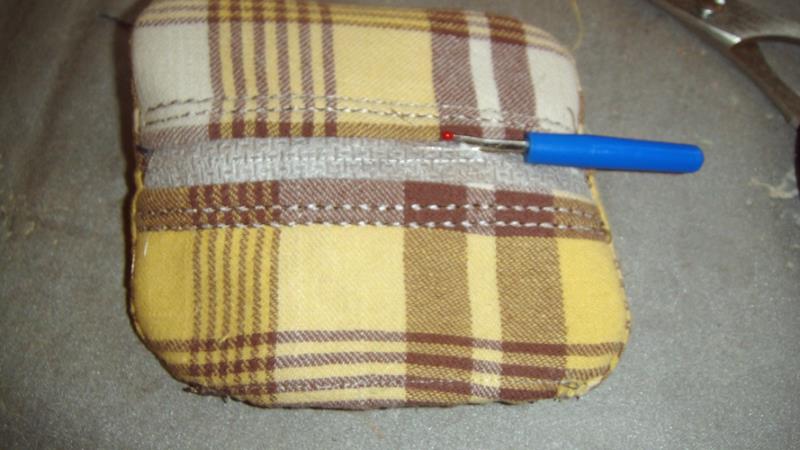
With a seam ripper or small scissors lift and trim away the stabilizer from over the zipper.
(Click Image to Enlarge)
Step 28:
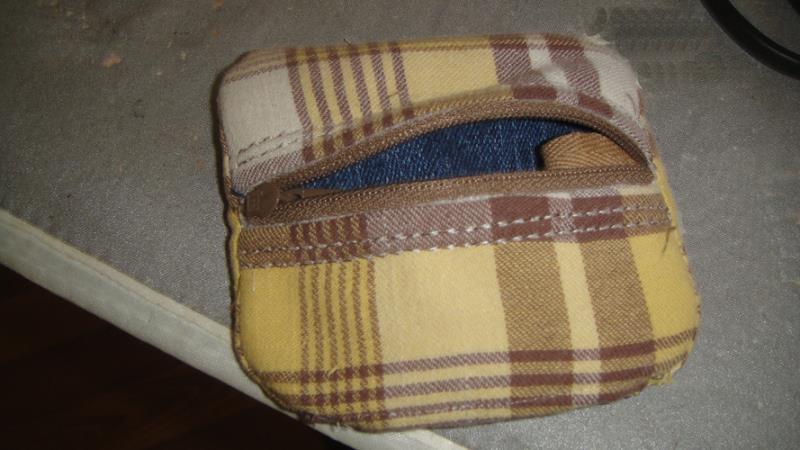
Open the remainder of the zipper and turn the project right side out using your dowel or tool to round out the corners. Press the side seams with a steam iron.
(Click Image to Enlarge)
Step 29:
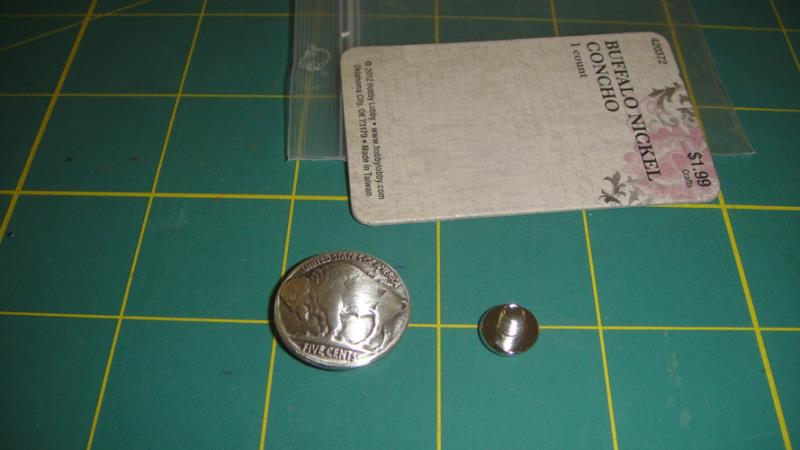
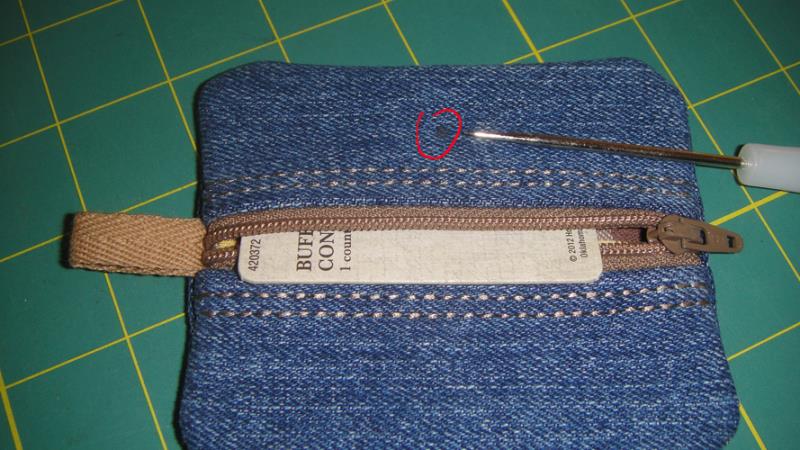
Open your Concho package you should have the Concho and a screw. Decide where you want your Concho on your coin purse or pouch and mark a dot on fabric.
(Click Image to Enlarge)
Step 30:
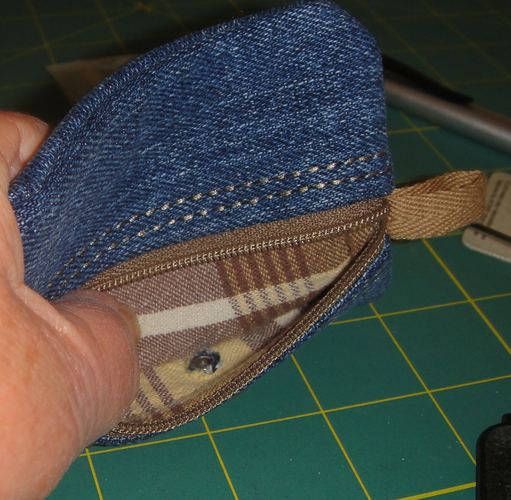
Being mindful of where you put your fingers push the awl through the fabric and lining. I placed the cardboard from the Concho package inside the project too just to make sure I did not push the awl through the back of the project. My awl didn’t make quite a large enough hole for the base of the Concho to fit through so I made 4 1/8” slits around the edges of the awl made a hole just enough so that the base of the Concho fit snuggly through the hole.
(Click Image to Enlarge)
Step 31:
With fingers and or a screw drive put the screw in the back of the Concho.
Step 32:
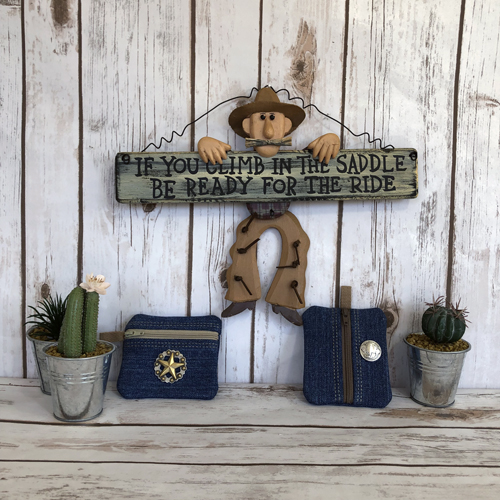
Congratulations your Authentic Cowboy Coin Purse or Pouch is complete!
Award winning Digitizer, Embroidery Educator, Author and a Consultant to the Industry, Pat Williams has 30 years of experience in the embroidery industry. Pat has won multiple awards for her digitizing expertise including the 2007 Impressions Awards Grand Championship, Best of Show as well as the 1st and 2nd Place Awards. Pat’s love of digitizing has afforded her the opportunity to write numerous articles for Impressions magazine in the United States and Images Magazine in Europe. In 2001 Pat was named “Embroidery Educator of the Year.” For many years Pat taught digitizing seminars at the ISS Shows in Long Beach, CA and for Compucon software. She now resides in Tucson, AZ.