














































PROJECT INSTRUCTIONS


PROJECT INSTRUCTIONS
Frog Bath Puppet Embroidery Project
By
Marisa Littleton
on
April 01, 2019
Description
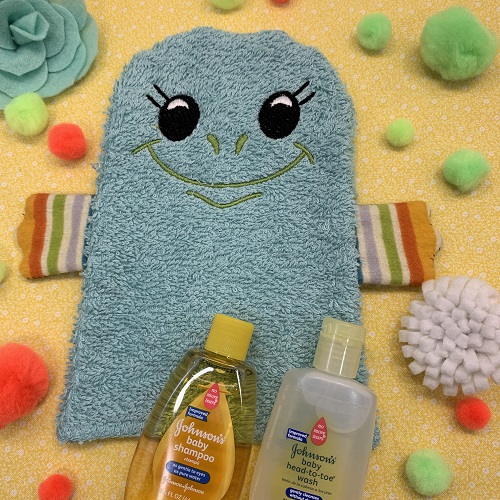
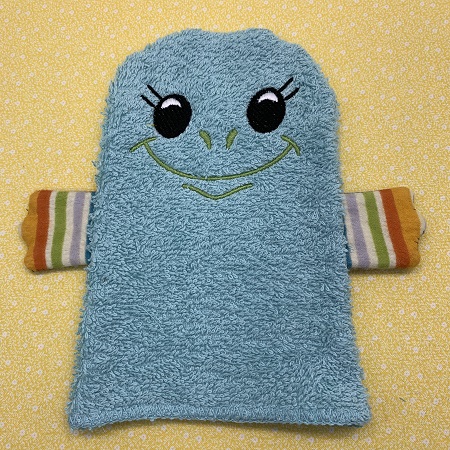
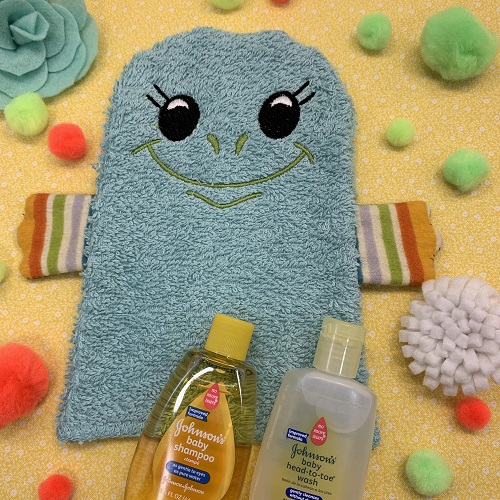
This fun and functional frog bath puppet is perfect for making bath time enjoyable for kids. Made with soft materials, it's gentle on the skin while adding a playful element to washing up. Step-by-step instructions are included.
Step
of
Materials
Project Preview Video

Frog Face
$12.00
$3.99
Circle Price: $3.84

QUICK VIEW
Cut Away Stabilizer - 2 oz wt.
$8.52
Circle Price: $7.67
{{ item.name }}
{{ item.listPriceDisplay }}{{ item.salePriceDisplay }}
Circle Price:
{{ item.clubPriceDisplay }}


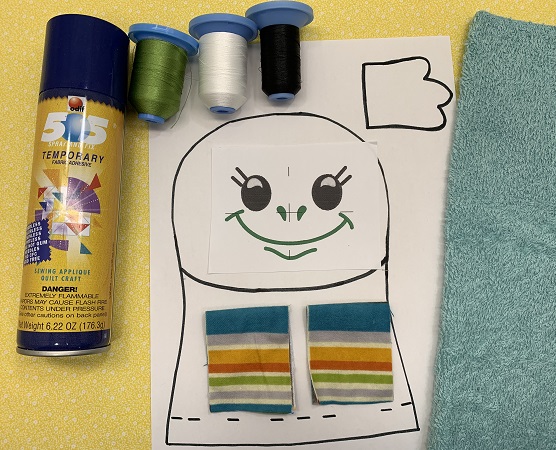
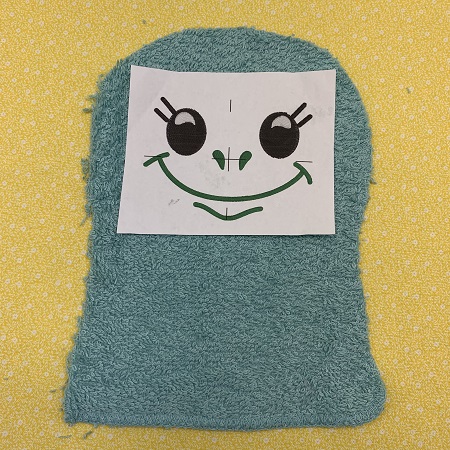
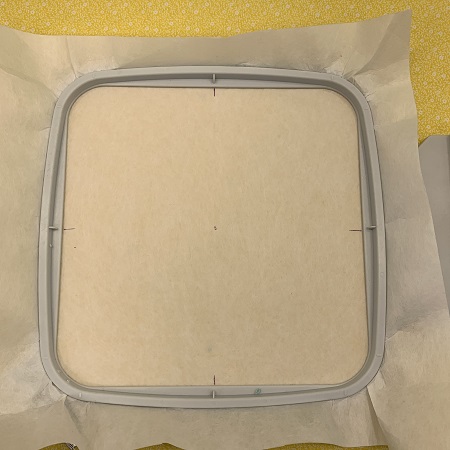
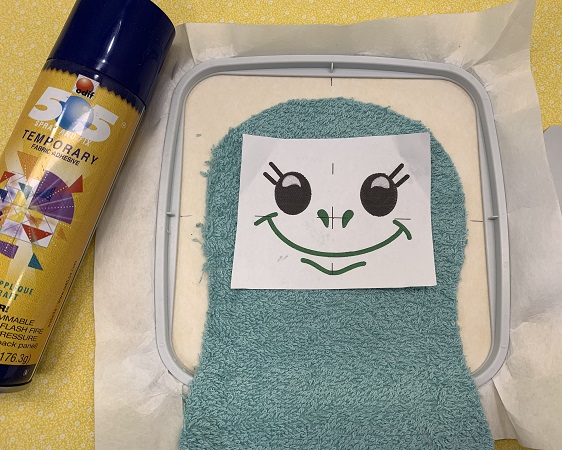
| Materials 4”X4” hoop Design template & color chart Frog Bath Puppet pattern (pdf file) Two pieces of 8”x5” terry cloth (washcloth) Four pieces 3”x3” flannel Two pieces 3”x3” of Bosal foam Lightweight (2.0) cut-away stabilizer Water soluble topping 40 wt. Embroidery thread (Robison-Anton super brite poly) 505 Temporary Adhesive Spray Sewing Machine, thread |
| Designs used in this project |
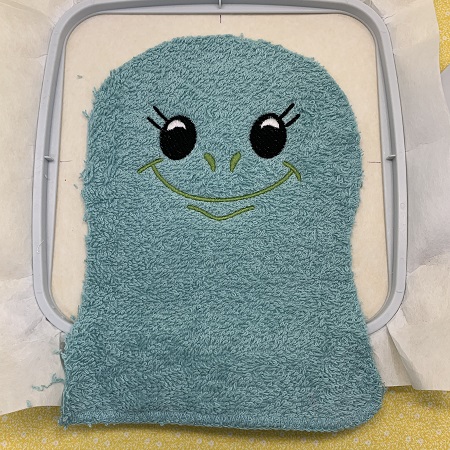
| Final Product: What You Will Create |
 |
|
Learn by teaching and sharing... Marisa Littleton |
Projects You May Like
Meet the Author:
Marisa Littleton

Marisa Littleton is a retired educator with a love for teaching and learning. Interests include machine embroidery, hand embroidery, quilting, cooking, and antiques.
Feedback
Characters Remaining
Please Login to Submit a Feedback
Invalid Characters, Please enter a valid Comment
Please enter a valid Comment
Reviewed On
Link is Broken, Please check the URL