Border OptionsHugging border, circle, square, or rectangle — with a 3mm satin stitch.
Backing OptionsAvailable with iron-on, sew-on, or velcro backing.
Fast ShippingShipped quickly from the USA.
Free Online Tools
Powerful embroidery utilities that save time and prevent costly mistakes.
Stitch AssistantRECOMMENDED
Get the exact stabilizer, machine settings, needle, and thread color sequence for every embroidery design you purchase — based on that design's stitch density, dimensions, and color count.
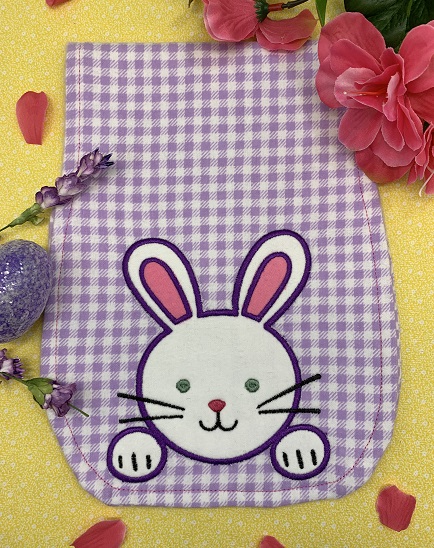
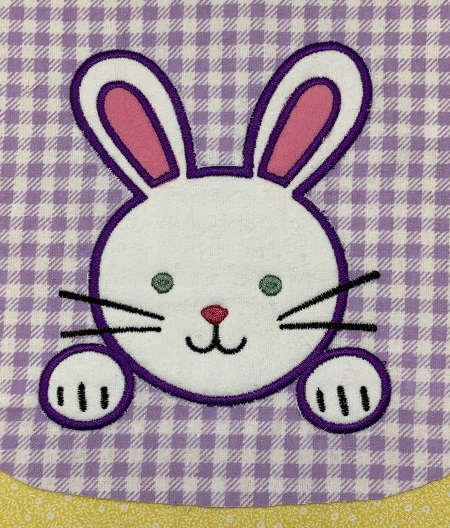
Create a charming burp cloth featuring an adorable bunny applique on soft flannel. Perfect for adding a personal touch to baby essentials, this project requires basic sewing skills. Step-by-step instructions are included.
Applique a bunny on a flannel burp cloth. A sewing machine is needed to make the burp cloth. The pattern is very simple and easy to make. The appliqued bunny design is very cute, but there is a problem with the color chart. The color chart for the appliqued bunny DOES NOT have the color changes needed for the applique to stop the machine between steps. It's very easy to correct; just follow the steps in the directions.
Step 1:
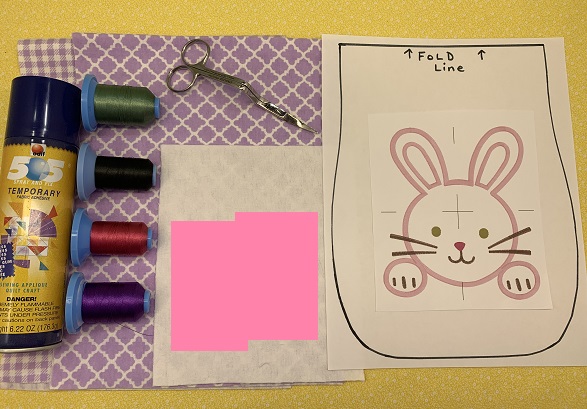
Gather the materials and prepare the materials needed for the 'Bunny Burp Cloth'. Read the directions carefully especially the tips for fixing the color chart. Print out a design template and the burp cloth pattern. The pdf pattern can be found with the directions.
(Click Image to Enlarge)
Step 2:
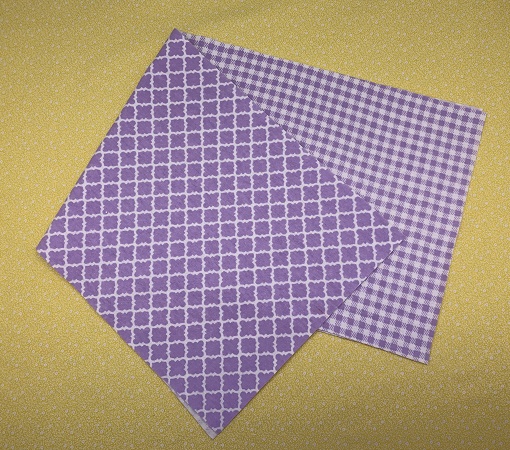
Put the two pieces of 9” x 23” pieces of fabric with wrong sides together. Fold the fabric in half leaving 9”x11.5” size.
Step 3:
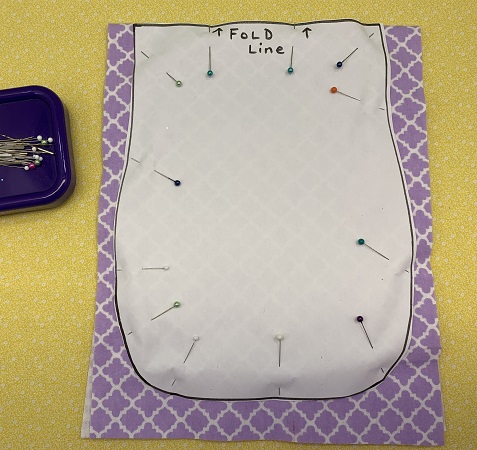
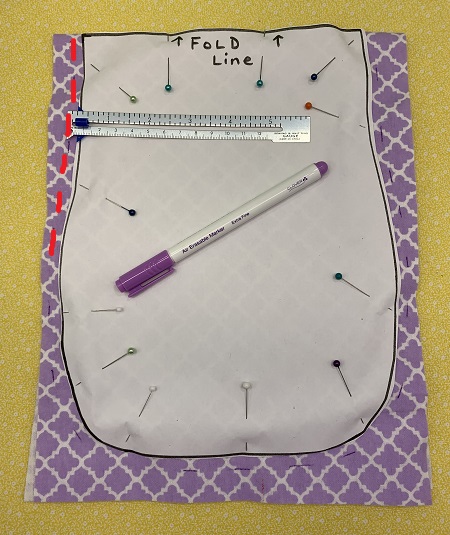
Pin the burp cloth pattern onto the fabric. Make sure to match the fold lines on the pattern and fabric.
Step 4:
Allow for 1/4" seam allowance around the burp cloth pattern. If needed, mark 1/4" around the edge of the burp cloth pattern as a cutting guide.
(Click Image to Enlarge)
Step 5:
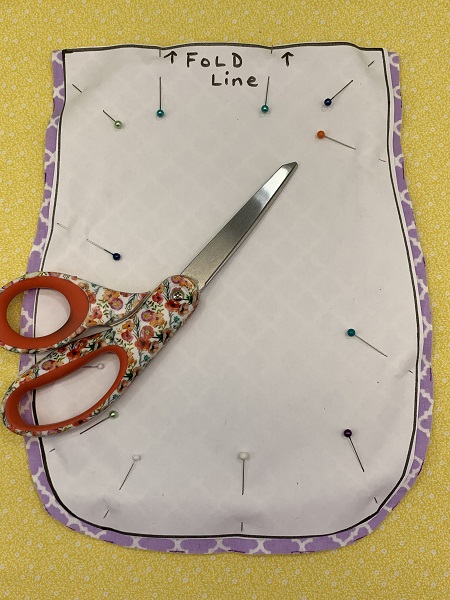
Cut out the burp cloth.
(Click Image to Enlarge)
Step 6:
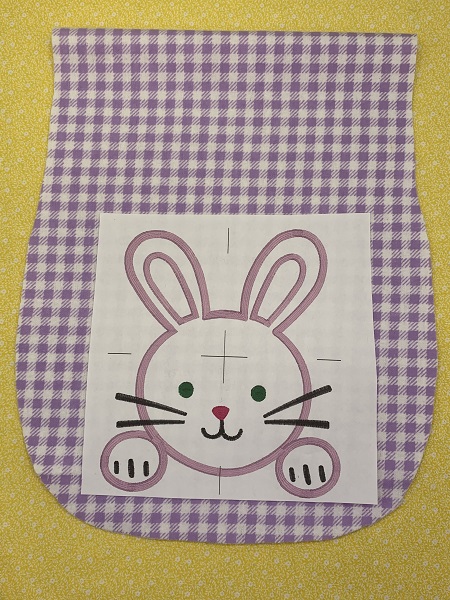
Place one of the burp cloth pieces on a flat surface with the right side of fabric facing you. Use the design template to find the center and axis points on the fabric. A quick tip is to align the points using the design template and leave it in place with a tiny bit of spray adhesive on the back.
(Click Image to Enlarge)
Step 7:
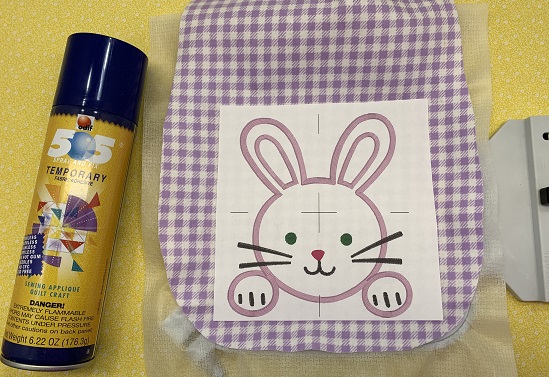
Hoop one piece of No-Show mesh stabilizer. Float the fabric on the stabilizer by matching the center and axis points. Adhere the fabric with a light mist of temporary adhesive spray.
(Click Image to Enlarge)
Step 8:
(Click Image to Enlarge)
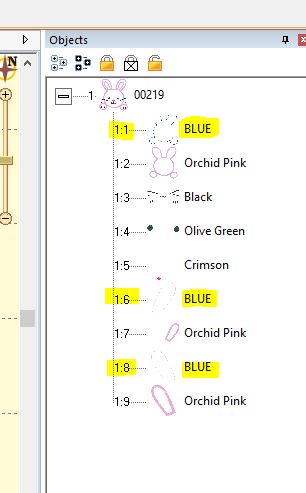
This step is about color changes for appliqued bunny. If you can change colors in the stitch out on your machine, change steps 1.1; 1.6; and 1.8 to a different color. This color change will tell your machine to stop between the applique steps. Another way to change the colors in the design is with an embroidery software program. Embrilliance Essentials software was used in the example. Finally, you can watch the color changes on your machine very closely, and know that you will have to pause at the end of these color steps.
Step 9:
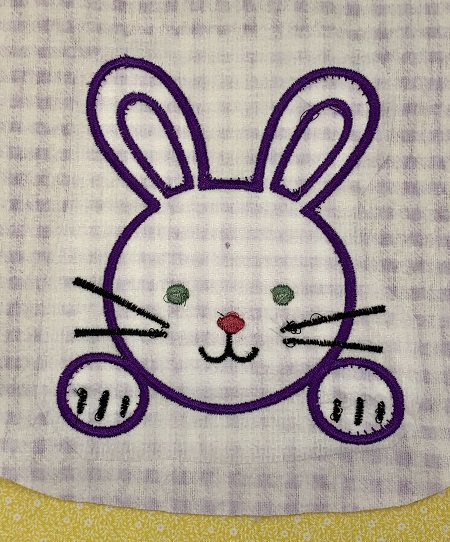
Load the design on your machine. Stitch the design.
(Click Image to Enlarge)
Step 10:
Remove the fabric from the hoop. Trim the stabilizer around the design leaving a 1/2" margin.
(Click Image to Enlarge)
Step 11:
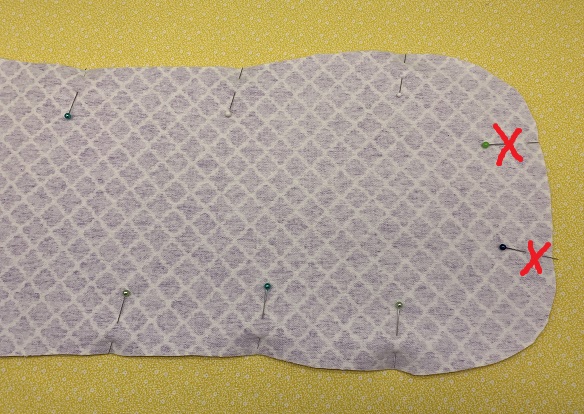
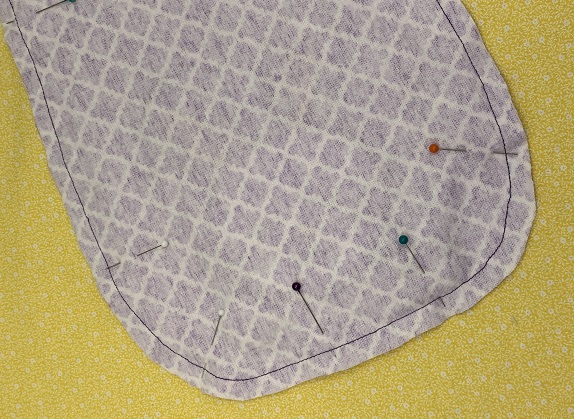
Pin the two pieces of the burp cloth with right sides facing each other. Leave about a 3" opening for turning the burp cloth.
(Click Image to Enlarge)
Step 12:
Stitch a 1/4" seam around the burp cloth leaving an opening for turning the burp cloth.
(Click Image to Enlarge)
Step 13:
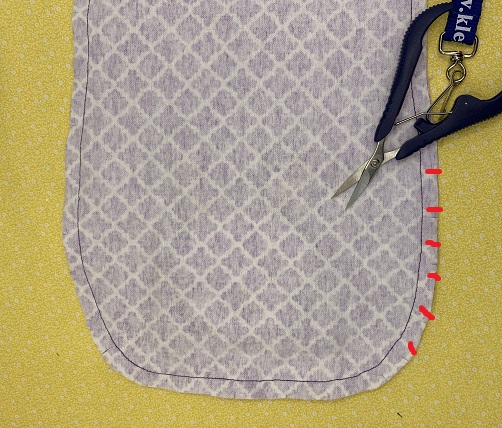
Clip around the edges of the burp cloth so that when turned the edges will lay smoothly. Make sure not to cut the stitches.
Step 14:
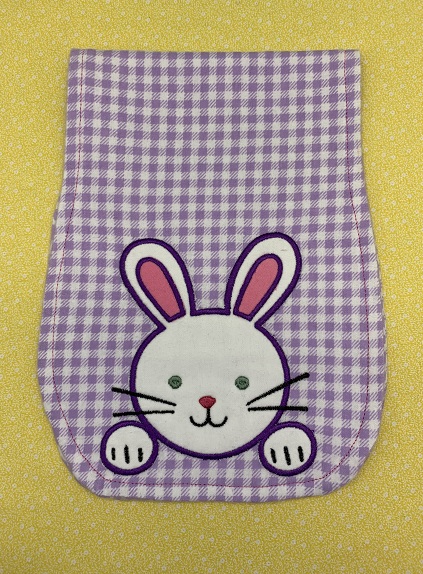
Turn the burp cloth right side out. Fold the edges of the opening inward. Press with an iron and pin in place. Topstitch around the edges.
(Click Image to Enlarge)
Step 15:
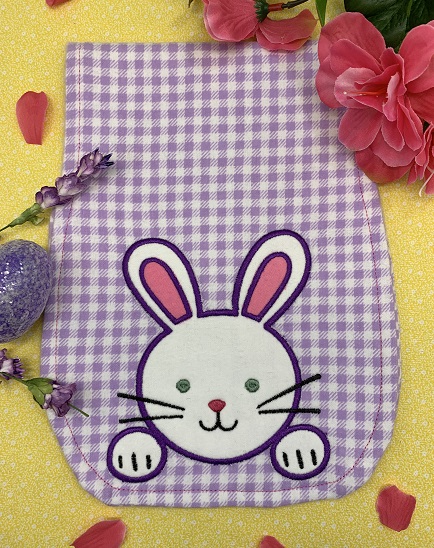
Happy Time! You have completed your 'Bunny Burp Cloth'. Great job!
Marisa Littleton is a retired educator with a love for teaching and learning. Interests include machine embroidery, hand embroidery, quilting, cooking, and antiques.