














































PROJECT INSTRUCTIONS


PROJECT INSTRUCTIONS
Personalized Stuffed Animal Buddy Embroidery Project
By
Embroidery Designs Team
on
March 11, 2019
Description
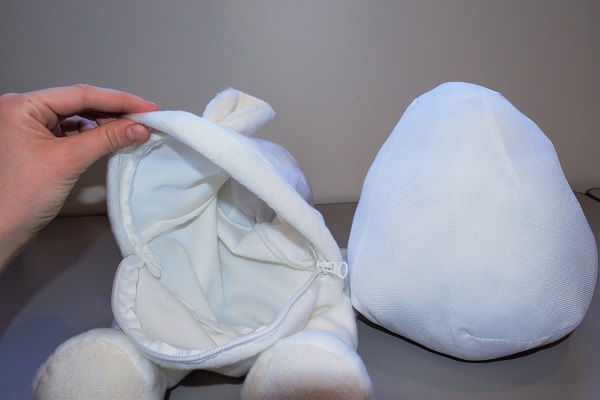
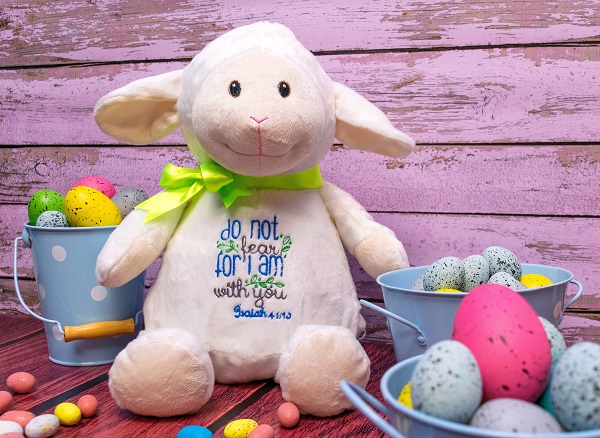
Create a heartfelt keepsake with our adorable stuffed animal buddy. Featuring a removable stuffing pod through a hidden zipper, it allows for easy customization on any embroidery machine. Perfect for personalized messages. Step-by-step instructions are included.
Step
of
Materials
Project Preview Video

QUICK VIEW
God Is With You
$4.00
Circle Price: $3.60

Cut Away Stabilizer - 2.5 Oz wt.
$8.94
$7.15
Circle Price: $7.15

QUICK VIEW
Water Soluble Stabilizer - 12" x 25 Yds
$32.46
$25.97
Circle Price: $25.97
{{ item.name }}
{{ item.listPriceDisplay }}{{ item.salePriceDisplay }}
Circle Price:
{{ item.clubPriceDisplay }}


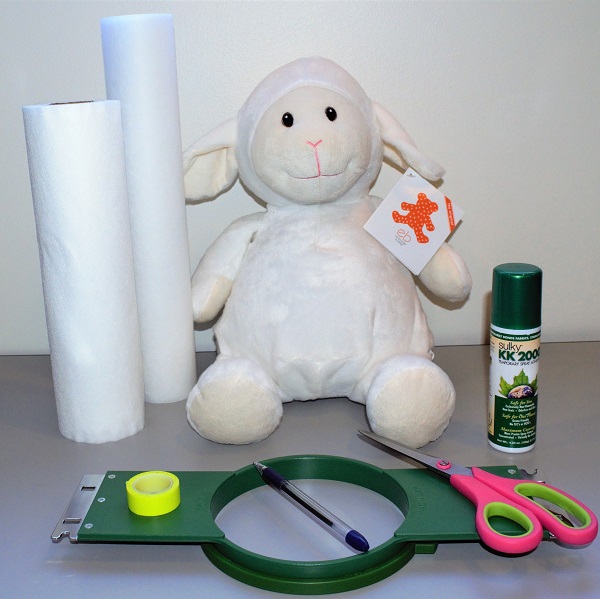
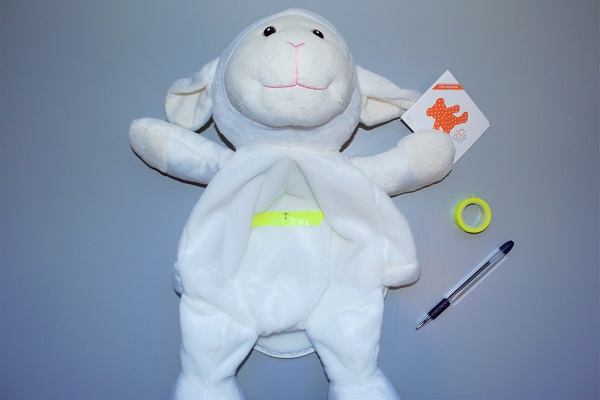
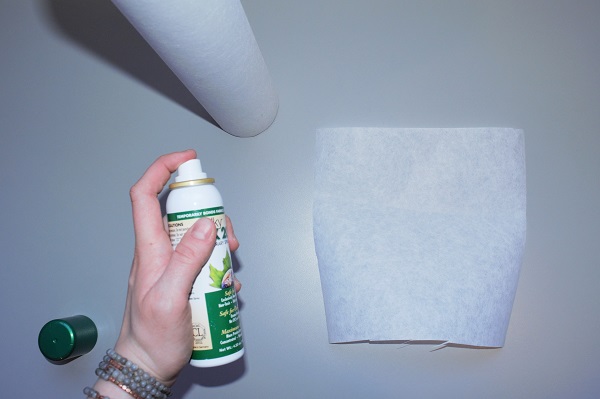
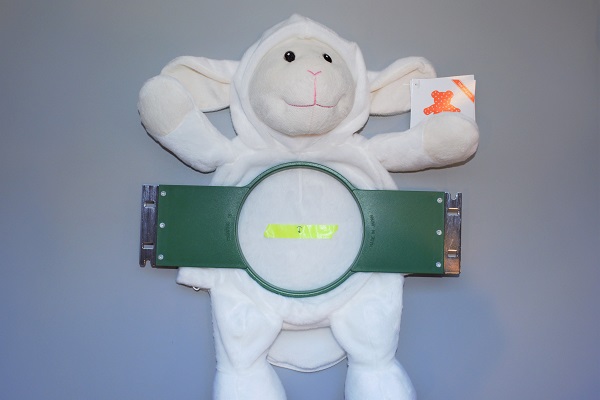
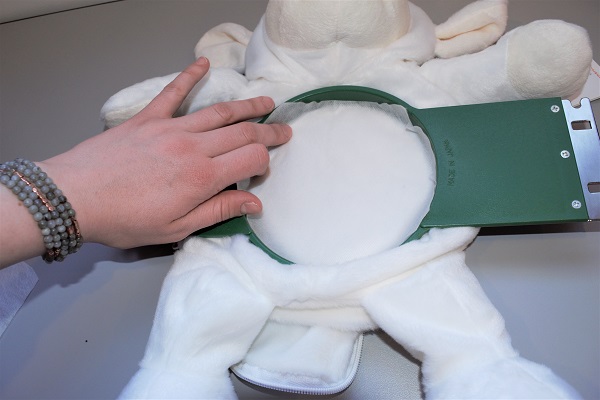
| Materials Embroider Buddy of your choice Tear-Away or Cut-Away Stabilizer Water-Soluble Stabilizer Temporary Spray Adhesive Painters Tape Marker/Pen Scissors |
| Designs used in this project |
| Final Product: What You Will Create |
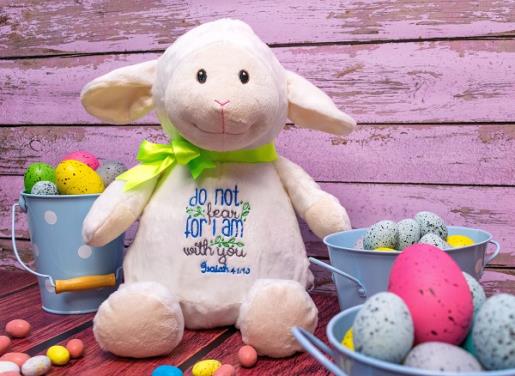 |
|
Projects You May Like
Meet the Author:
Embroidery Designs Team

The Embroidery Designs team loves working on new and creative projects. We love using embroidery in unexpected ways, and hope that you find our projects inspiring and fun!
Feedback
Characters Remaining
Please Login to Submit a Feedback
Invalid Characters, Please enter a valid Comment
Please enter a valid Comment
Reviewed On
Link is Broken, Please check the URL