Border OptionsHugging border, circle, square, or rectangle — with a 3mm satin stitch.
Backing OptionsAvailable with iron-on, sew-on, or velcro backing.
Fast ShippingShipped quickly from the USA.
Free Online Tools
Powerful embroidery utilities that save time and prevent costly mistakes.
Stitch AssistantRECOMMENDED
Get the exact stabilizer, machine settings, needle, and thread color sequence for every embroidery design you purchase — based on that design's stitch density, dimensions, and color count.
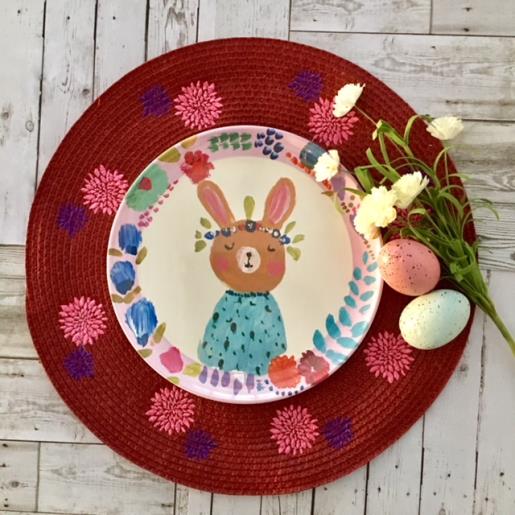
Brighten up the kids' dinner table at Easter with this charming circular placemat featuring a delightful applique bunny design. Perfect for adding a festive touch to your Easter meals. Step-by-step instructions are included.
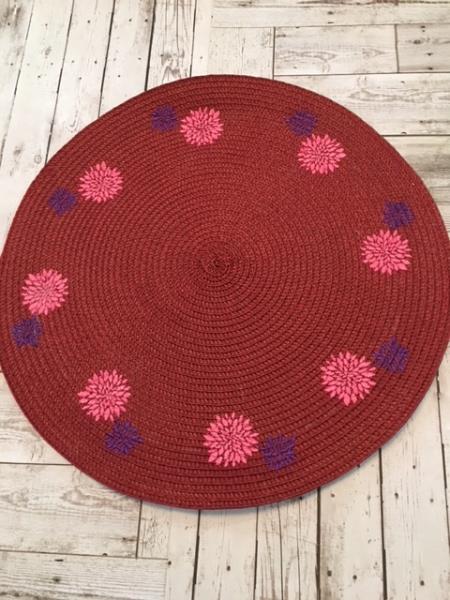
Embroider the Deco Mums design as a border on a circular synthetic straw placemat and for the finishing touch, add a matching plate for a cute focal point on the kids’ dinner table this Easter.
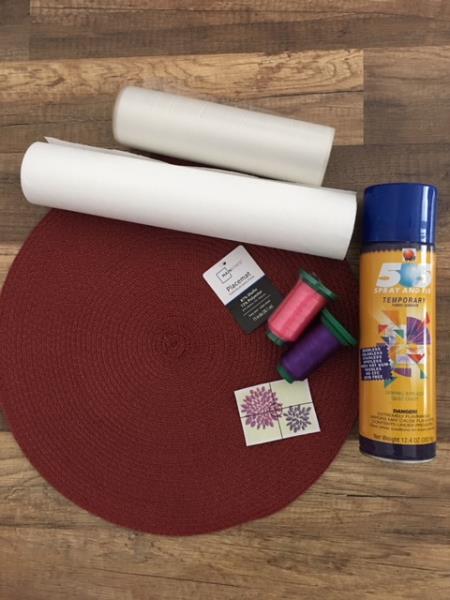
Step 1:
Gather all materials and review instructions before beginning.
(Click Image to Enlarge)
Step 2:
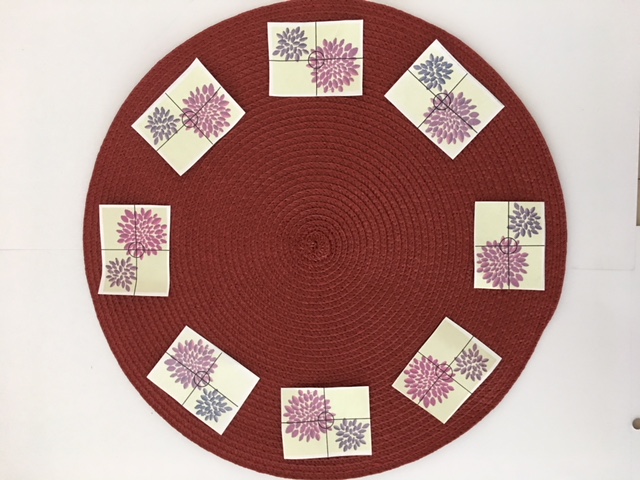
Print out a template of the embroidery design. Optional: you can print out as many templates as you will need to form the border around your circular placemat for review.
Note: Time stated is 1 1/2 hours for this tutorial as the Deco Mums design was stitched out 8 times to complete the border. Less design stitch out = less time.
(Click Image to Enlarge)
Step 3:
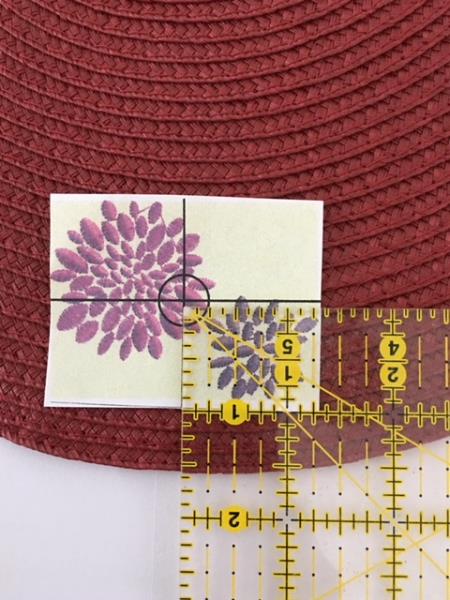
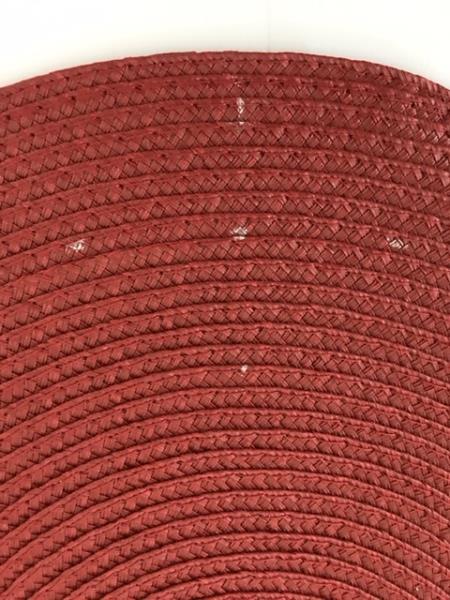
Placement of design template is 1 ½” from the center of the design to edge of the placemat.
(Click Image to Enlarge)
Step 4:
When you have your design template placed where you want it, mark the center and axis lines as shown in the picture.
(Click Image to Enlarge)
Step 5:
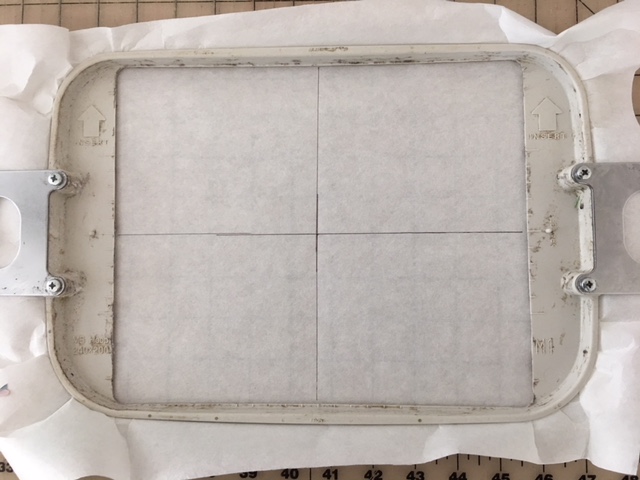
Cut a piece of tear away stabilizer a bit larger than your hoop. Hoop and mark with an axis line cross hair.
(Click Image to Enlarge)
Step 6:
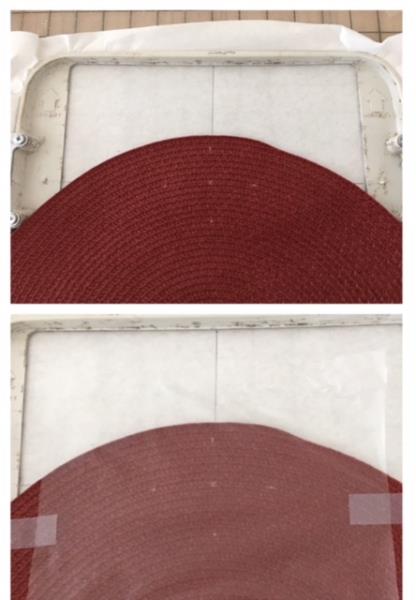
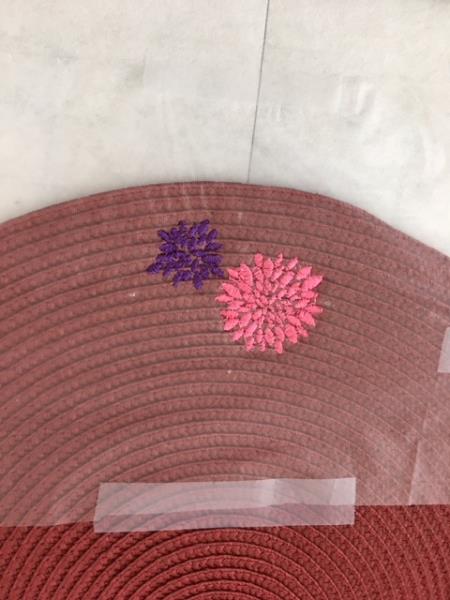
Spray hooped stabilizer lightly with temporary adhesive spray. Place onto stabilizer lining up your top, bottom, and side axis lines. Fingertip press to secure. Optional: cut a piece of lightweight soluble stabilizer and place on top securing with tape on sides to hold in place. Using a soluble stabilizer on top will help the stitches lay evenly as the synthetic straw placemat has ridges.
(Click Image to Enlarge)
Step 7:
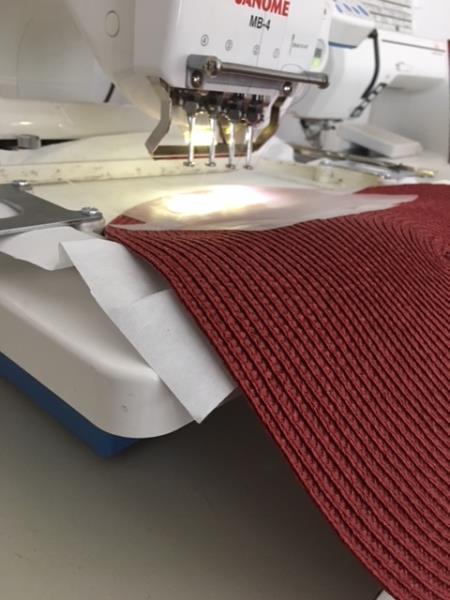
Load embroidery design into your machine. Attach hoop and begin the embroidering process.
(Click Image to Enlarge)
Step 8:
Embroidering complete. Remove hoop from the machine. Cut and trim all jump stitches and loose thread ends front and back. Remove tearaway and soluble stabilizer. If there are bits of soluble stabilizer remaining remove with a wet Q-tip. Repeat steps #4 through #7 for the remaining number of Deco Mums you wish to embroider to complete your border.
(Click Image to Enlarge)
Step 9:
Once you have embroidered your remaining Deco Mums for your border you are done! Enjoy the smiles on the kids’ faces when they sit down for Easter dinner!