Border OptionsHugging border, circle, square, or rectangle — with a 3mm satin stitch.
Backing OptionsAvailable with iron-on, sew-on, or velcro backing.
Fast ShippingShipped quickly from the USA.
Free Online Tools
Powerful embroidery utilities that save time and prevent costly mistakes.
Stitch AssistantRECOMMENDED
Get the exact stabilizer, machine settings, needle, and thread color sequence for every embroidery design you purchase — based on that design's stitch density, dimensions, and color count.
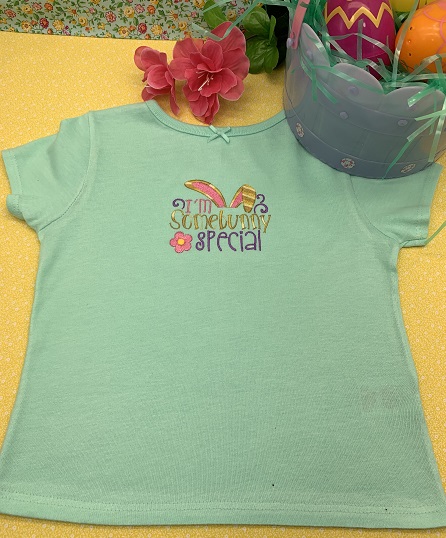
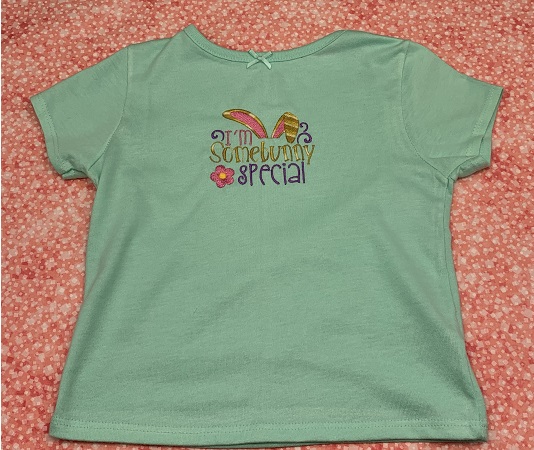
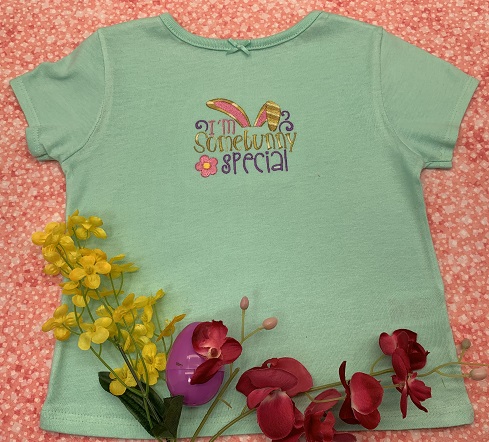
Transform a plain T-shirt into a festive Easter outfit with the Somebunny Special design. Perfect for celebrating the holiday with a touch of charm and personality. Step-by-step instructions are included.
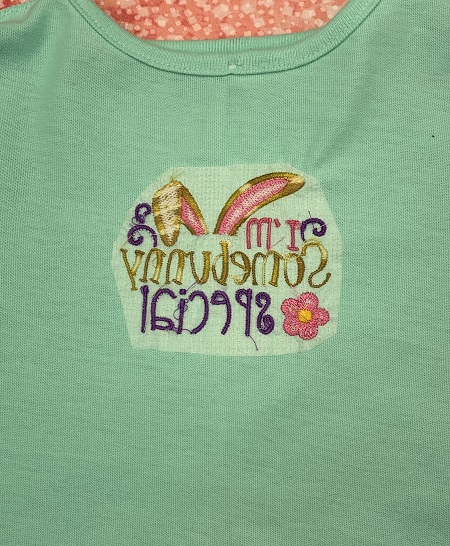
Step
of
Somebunny Special Easter T-Shirt
By Marisa Littleton
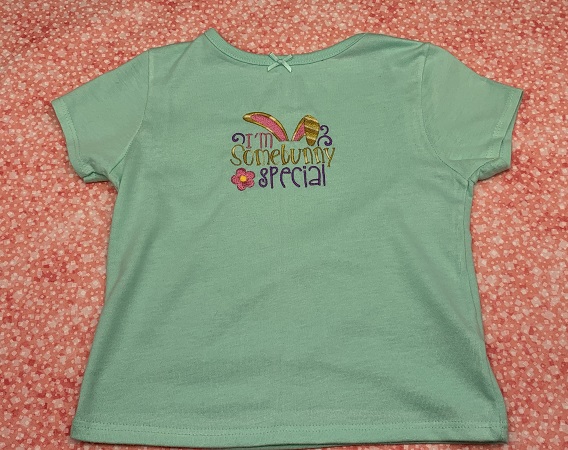
The I'm Somebunny Special design looks especially cute on a little girl's shirt for Easter. Baby Soft Iron On is used to protect tender skin. The design has 8,196 stitches with dimensions of 3 1/2 x 2 7/8.
Step 1:
Embroidery designs with open areas or a low stitch count will work best on T-shirt knits. Heavy designs make shirts sag, stiff and lumpy, often puckering around the edges because the fabric can’t support the dense stitches.
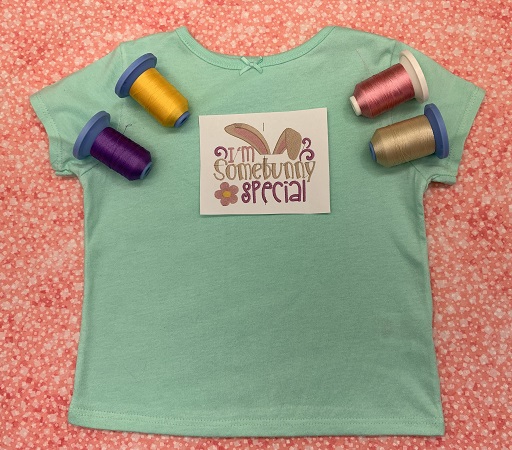
Gather the materials. Read through the instructions before beginning. Lightly starch and iron the T-shirt. Print out a copy of the design template and color sequence chart.
Step 2:
T-shirts are usually made of cotton or a cotton and polyester blend. T-shirts are stretchy and stitching needs support and stability. The increased strength of cutaway stabilizers means that you'll see less shifting and gapping while stitching and that it'll hold up better through washing and wearing, too.
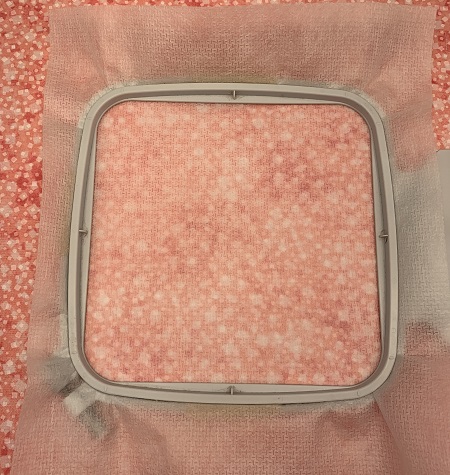
Hoop the no show mesh cut-away stabilizer. Use the grid template to mark the center and the axis on the stabilizer.
Step 3:
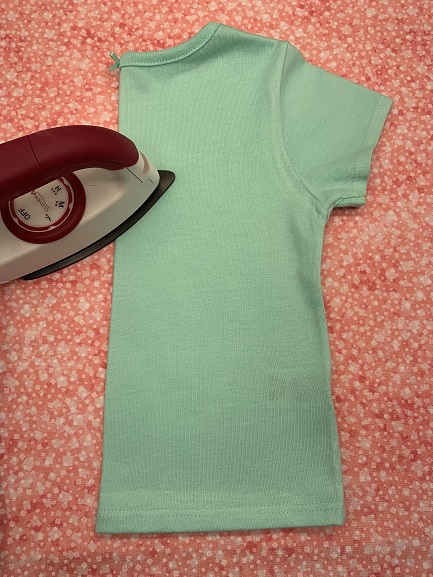
Fold the t-shirt in half matching shoulder and side seams. Press at the fold to make a crease.
(Click Image to Enlarge)
Step 4:
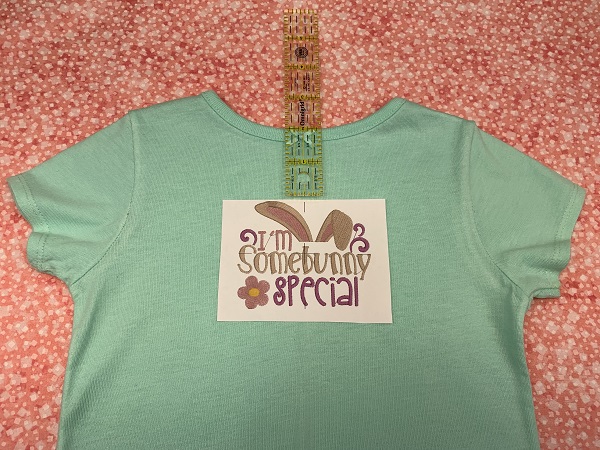
The paper design template is the actual size of the stitch out. Measure 2 inches from the neck and center from the left and right side seams. Use the template as a guide for placement and positioning of the design on the t-shirt.
(Click Image to Enlarge)
Step 5:
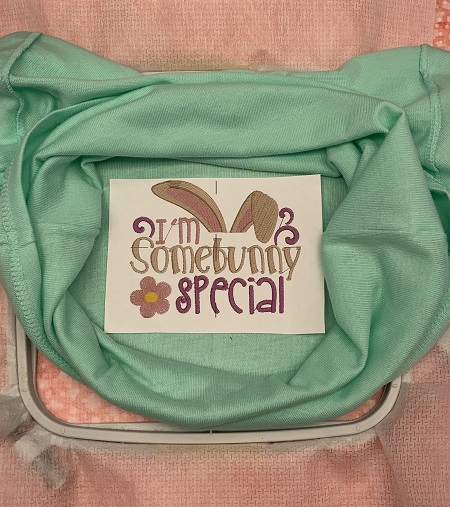
Turn the T-shirt inside out. Align the T-shirt with the center point and axis on the stabilizer. Lightly mist one side of the stabilizer with a temporary adhesive spray. Gently press the T-shirt down onto the stabilizer. Make sure the fabric is smooth and wrinkle-free. Repeat for the other side of the T-shirt.
Roll the shirt up so that it doesn’t get caught during stitching. Use pins or clips as needed to keep excess shirt out of the way.
Cover the stitching area with Water Soluble topping.
Step 6:
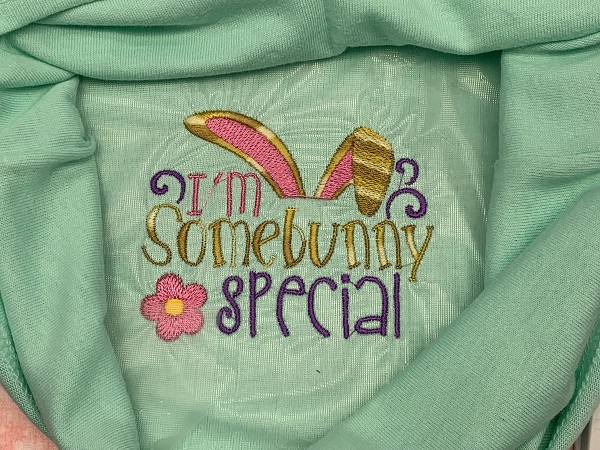
Load the embroidery design onto your machine. Attach your hoop. Embroider the design using the color sequence chart as a guide.
(Click Image to Enlarge)
Step 7:
Remove the T-shirt from the hoop. Gently tear away the water-soluble topping from around the stitching.
(Click Image to Enlarge)
Step 8:
Turn the T-shirt inside out and cut the excess stabilizer away. Leave about ½” of stabilizer around the design. Trim thread ends if needed. A lint roller is very helpful when tidying up the work area.
(Click Image to Enlarge)
Step 9:
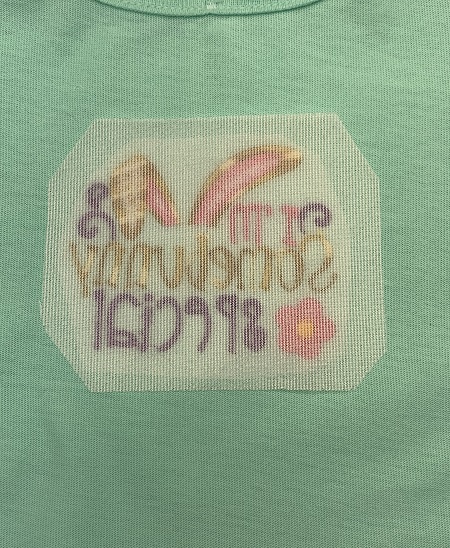
Cut a piece of Baby Soft Iron On cover slightly larger than the embroidered area.
(Click Image to Enlarge)
Step 10:
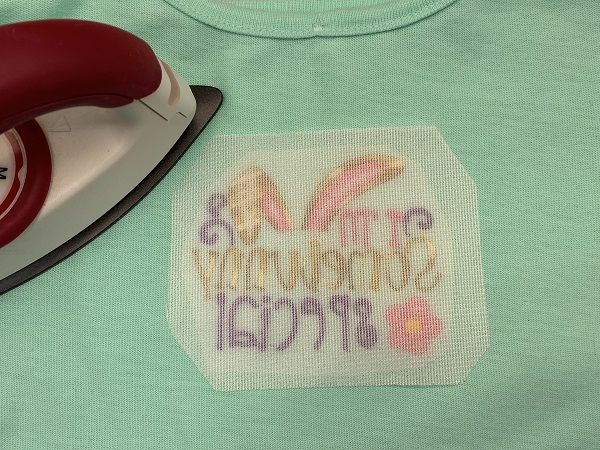
Follow the directions in the package to bond the Baby Soft Iron On cover with an iron.
(Click Image to Enlarge)
Step 11:
Congrats! Really nice! You have completed your project!
Marisa Littleton is a retired educator with a love for teaching and learning. Interests include machine embroidery, hand embroidery, quilting, cooking, and antiques.