Border OptionsHugging border, circle, square, or rectangle — with a 3mm satin stitch.
Backing OptionsAvailable with iron-on, sew-on, or velcro backing.
Fast ShippingShipped quickly from the USA.
Free Online Tools
Powerful embroidery utilities that save time and prevent costly mistakes.
Stitch AssistantRECOMMENDED
Get the exact stabilizer, machine settings, needle, and thread color sequence for every embroidery design you purchase — based on that design's stitch density, dimensions, and color count.
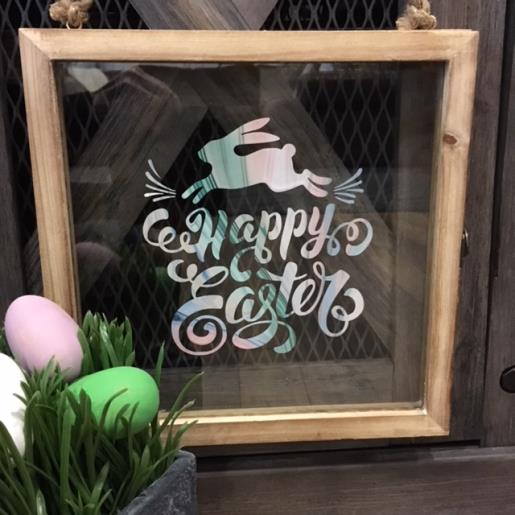
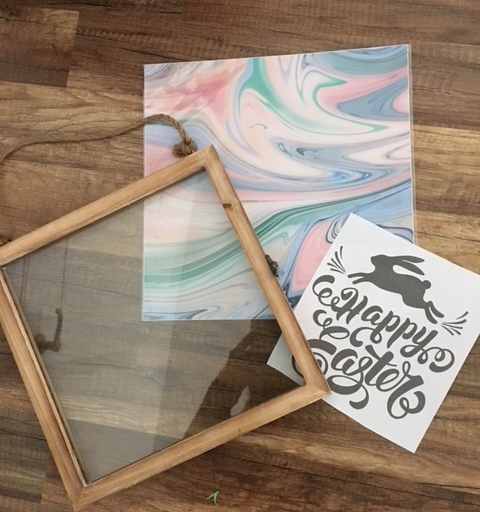
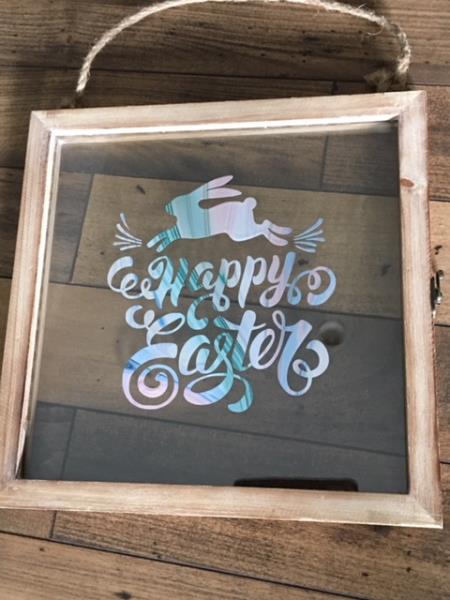
The SVG/Print Art “ Happy Easter” + Adhesive Vinyl for your cutting machine creates a decorative decal to apply to your floating glass frame for creating your custom Easter décor. *Basic knowledge of cutting machine ( Silhouette Cameo, Cricut) and vinyl decal preparation is needed for this project.
Step 1:
Gather all materials and read through instructions thoroughly before beginning.
Step 2:
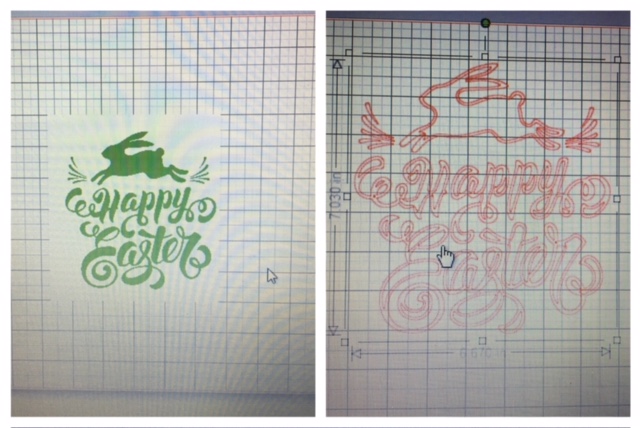
Bring the SVG/Print Art design into your cutting machine software. Enlarge design to approx. 7.030” x 6.670”. Print template.
For Silhouette Cameo owners/users: If your Silhouette machine has not been updated to allow working with an SVG ( cuttable ) file.. you can work around this by downloading the Print Art design as a JPEG or PNG file. You will find instructions on how to work around to “cut” your design by reviewing Step 4 of my Thanksgiving Themed Wood Art/SVG project tutorial.
(Click Image to Enlarge)
Step 3:
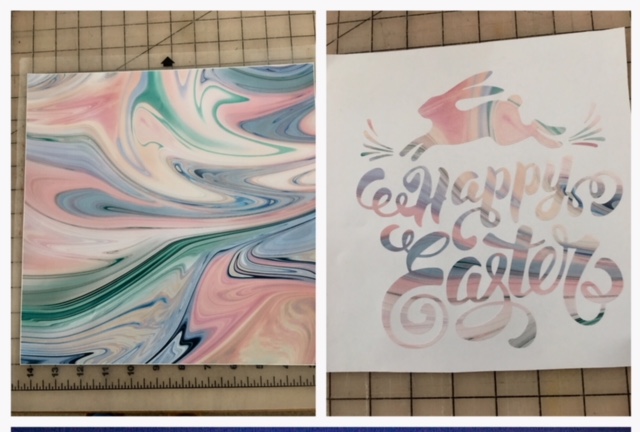
Per your cutting machines instructions: Prepare your adhesive vinyl for cutting. Load your vinyl into your cutting machine. Cut design. Weed your design for a decal. Use your printed template as a guide for review of design. “(Weeding vinyl is the process of removing the unwanted vinyl from your cut design)
(Click Image to Enlarge)
Step 4:
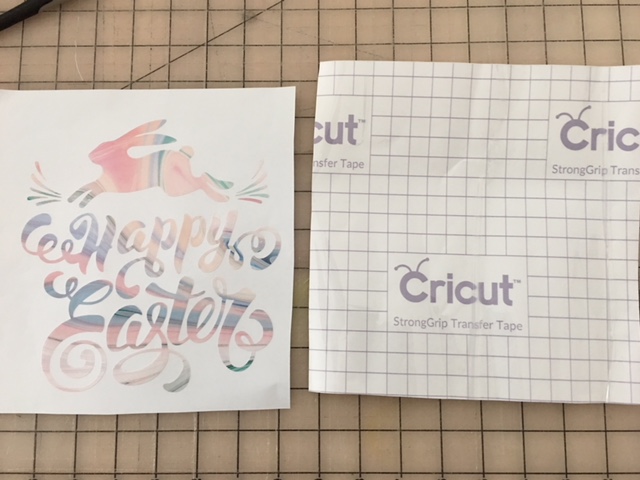
Cut an oversized piece of transfer paper to cover design. Apply transfer paper per manufacturer’s instructions on top of your weeded decal. ( As you can see in the picture I used a Cricut product transfer paper. Use transfer paper of choice)
(Click Image to Enlarge)
Step 5:
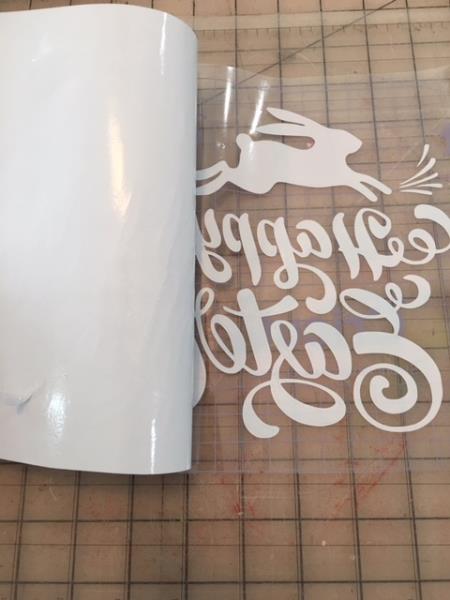
Slowly and carefully peel back the paper backing from the transfer tape and decal.
(Click Image to Enlarge)
Step 6:
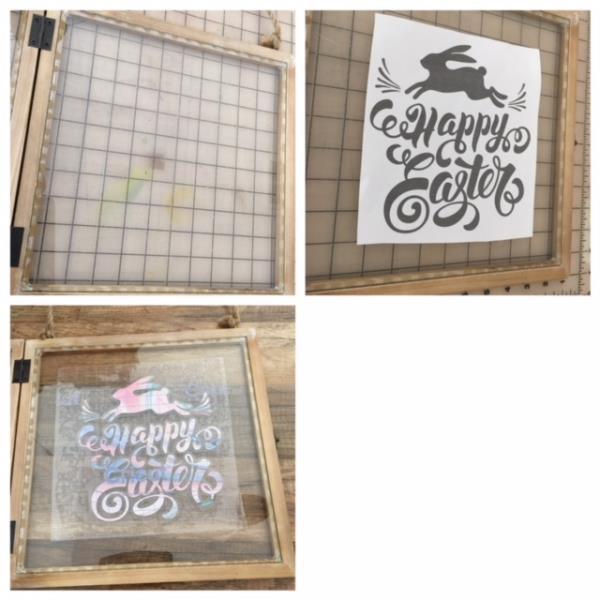
Open your floating glass frame. Clean glass surface. Place template for review for center placement of decal. When you have the exact placement for your decal, fingertip press down onto glass of frame and smooth the decal in place. (I placed my floating frame on top of cutting mat as a guide, centering frame within the grid measurements to help when centering template and decal.)
(Click Image to Enlarge)
Step 7:
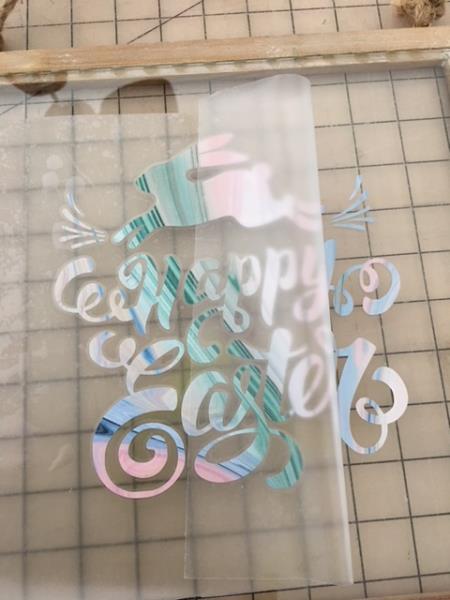
Slowly and carefully peel back the transfer paper from the decal ensuring the decal sticks to the glass.
(Click Image to Enlarge)
Step 8:
Close up your glass floating frame and Viola your Happy Easter signage is complete. Congratulations and a job well done!