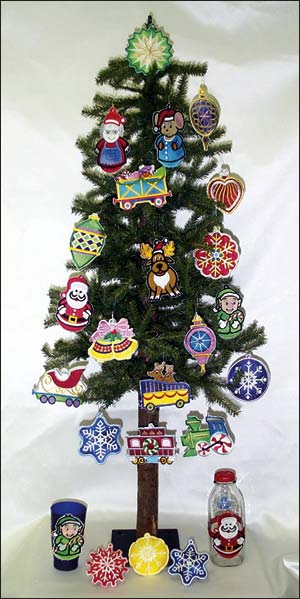
Christmas is the most wonderful time of the year — and you can make
it even more festive with eye-catching appliqué ornaments. Whether you
use prepackaged appliqué kits or start from scratch, make your holiday
season an unforgettable one with these fun, easy projects. Appliqué ornaments can be used for much more than just
hanging decorations for Christmas trees. These colorful pieces also make
great coasters, bottle embellishments, and package decorations. Stuff
them with potpourri or fiberfill to give them a three-dimensional look
and scent the air. No matter how you use them, premade kits make the process
simpler. You can purchase kits that include precut pieces and a sew
disk that will automatically embroider the embellishments and sew a
satin stitch border around the outside edge. The sew disk also
automatically sews a loop out of thread to use for hanging or if you
choose not to use the loop, this step can be easily skipped when sewing
it out. If you want to create an ornament from scratch, simply
choose your shape, fabric, and what type of embroidered embellishment
you want and custom digitize the outline and the decoration.
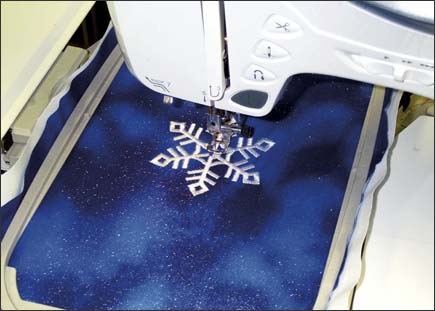
Tree Ornaments This process is as easy to do as it is great looking. Hoop your
precut appliqué piece or chosen fabric with medium-weight tearaway
backing. Next, using the sew disk or your custom digitized disk, stitch
an outline. Next, sew the ornament’s embellishments, followed by a satin
stitch border. That’s it! Just cut out the ornament and it’s ready to
go. Because the item is free-standing, meaning it’s not
being sewn onto something like an appliqué normally is, you’ll want to
use a satin stitch border, which won’t fray and unravel like a ziz-zag
or running stitch. You also have the option of adding a backing piece of
fabric such as an organza or a something in a complementary color. You
may opt for this if the back of the ornament will be seen. If you want
to have the embroidered embellishment show on the front and the back of
the ornament, be sure and that your bobbin thread color matches the top
thread. Coasters Another great holiday decorative option is to make
attractive coasters from appliqué ornaments. Choose a design that is
circular like a snowflake or globe. Start by hooping the fabric with a
piece of medium-weight tearaway. Sew an outline stitch, followed by the
ornament’s embellishment stitches. Unhoop the fabric and rehoop with a
piece of clear vinyl on the backside. Sew a satin border stitch around
the perimeter. Trim the coaster and you’re done! An important note: You want to add the embellishment
on the top piece before you sandwich the vinyl piece together because if
you try to embroider with the vinyl layer at the bottom, it has a
tendency to unattractively scrunch up. By adding the vinyl last, you
avoid this problem. Stuffed Ornaments Many ornament shapes can be stuffed by adding an
extra piece of fabric on the back—a great 3-D decorative option. First,
hoop a piece of fabric (the piece should be larger than the hoop) with
medium-weight tearaway backing. If you’re using the kit’s sew disk,
you’ll skip the first sew step which makes the loop for hanging the
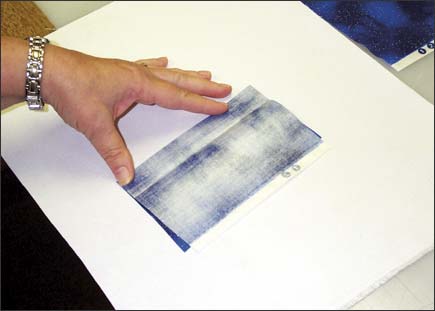
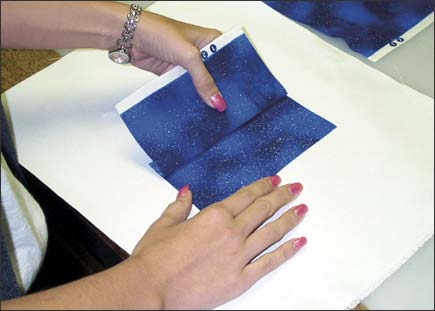
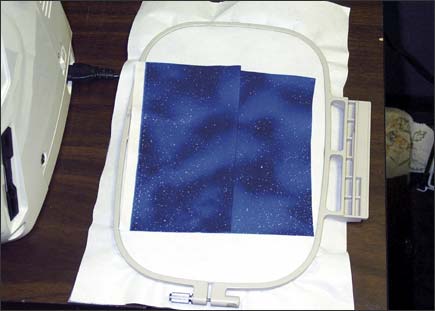
ornament. Sew the outline and the inner embellishments. For the ornament’s back side, cut two rectangles of
fabric. Make sure that the two pieces are larger than the ornament.
Place the two pieces face to face, and fold the left-hand side of only
the top piece over so that it overlaps the bottom piece by ½ inch. Turn
both pieces over so that the fabric’s “wrong side” faces up, and apply
spray glue on the back side of the pieces. Use a light amount of
adhesive — only enough so the pieces don’t move during stitching. Take
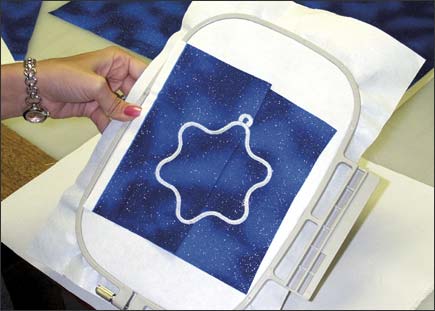
the hooped piece off the machine (leaving it in the hoop), turn it over,
and press the overlapping extra pieces of fabric pieces to its back
side. Press it down on the backside making sure you are cover the entire
appliqué shape. Return the hoop to the machine, and sew the satin
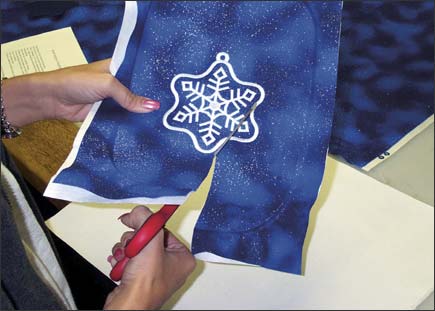
border stitch. Next, remove the ornament from the hoop and cut
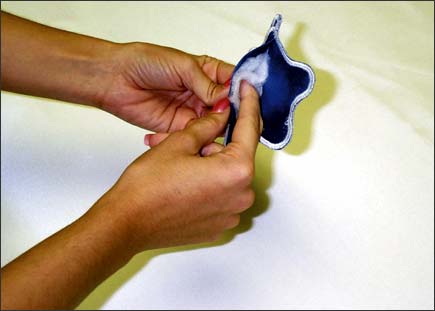
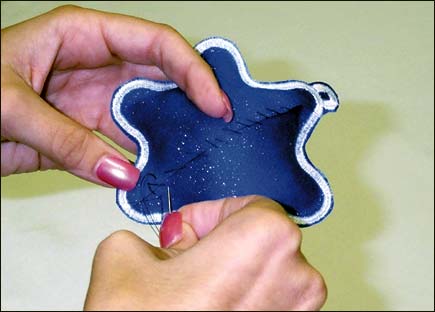
around its outside edge. On the back of the ornament, gently separate
the overlapped fabric and fill it with or fiberfill or potpourri. Don’t
overstuff the ornament or you won’t be able to close the folds over each
other. Finally, use a sewing needle to whip stitch the two pieces. Package Decorations The directions for making a package decoration are
exactly the same as the tree ornament. If you put a solid color backing
on the ornament, you can use a fine line permanent marker to write a
“to: and from:” or a special note. The loop makes it easy to attach to
the package ribbon. Bottle Embellishments Another twist is using the appliqué ornament to
decorate bottles. For example, make a Santa or a train design and attach
a piece of elastic to the back. Slip the ornament over a wine, bubble
bath, specialty vinegar, or other bottle to make an attractive,
one-of-a-kind gift decoration. |