Border OptionsHugging border, circle, square, or rectangle — with a 3mm satin stitch.
Backing OptionsAvailable with iron-on, sew-on, or velcro backing.
Fast ShippingShipped quickly from the USA.
Free Online Tools
Powerful embroidery utilities that save time and prevent costly mistakes.
Stitch AssistantRECOMMENDED
Get the exact stabilizer, machine settings, needle, and thread color sequence for every embroidery design you purchase — based on that design's stitch density, dimensions, and color count.
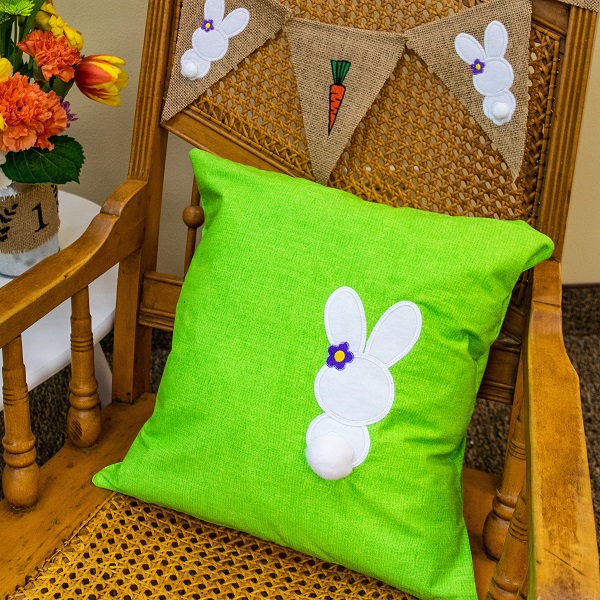
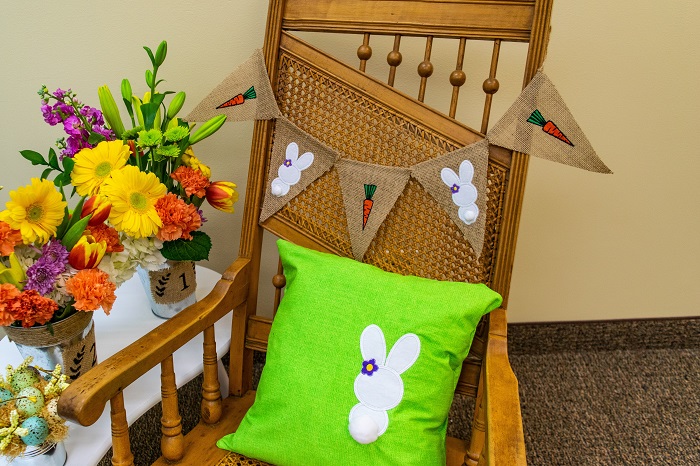
Create a delightful 3D Applique Bunny Pillow to add charm to your spring decor. This project features a playful bunny design on a vibrant backdrop, perfect for enlivening any space. Step-by-step instructions are included.
Step
of
Applique Bunny Pillow for Spring
By Martha Montgomery
Add a touch of spring time to any room with this precious 3D Applique Bunny Pillow. You can make the 3D applique bunny pennant, too! The project can be found by looking on this website under my name as “author.”
Step 1:
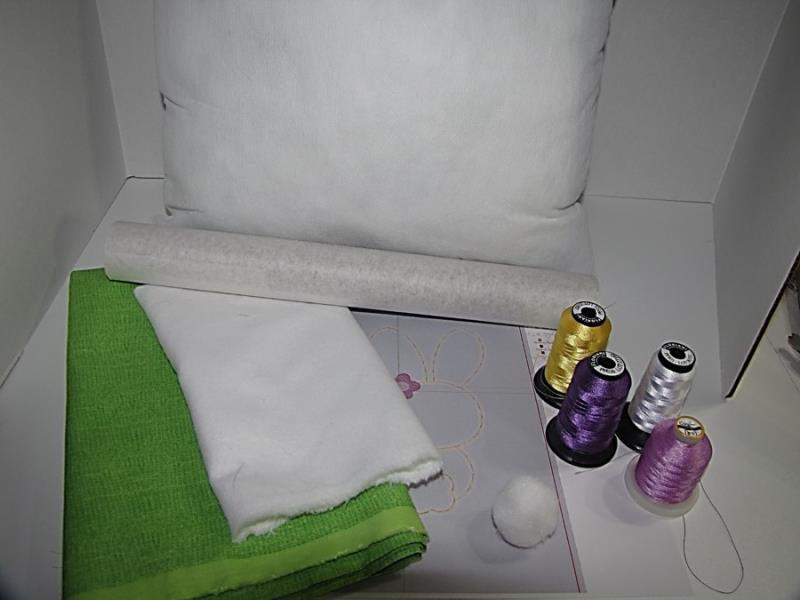
Gather the materials and read through the instructions before beginning. Print out a paper template of the design and color sequence.
(Click Image to Enlarge)
Step 2:
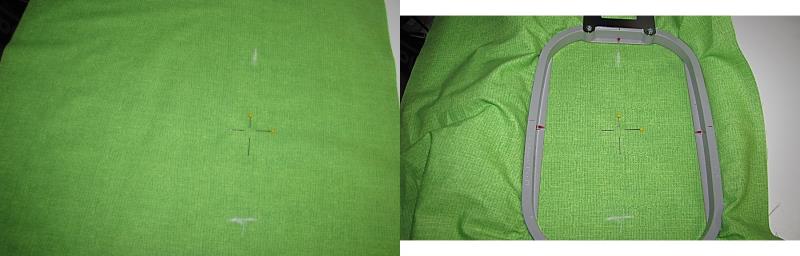
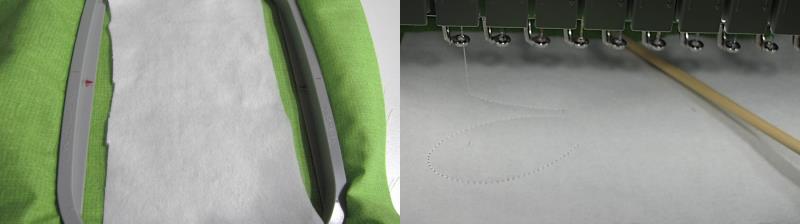
Mark the desired placement of the applique bunny on the fabric for the pillow front before hooping. This bunny is offset to one side of the pillow, but you can place it anywhere you’d like. Or add some friends on different parts of the pillow!
Hoop the fabric, centering the design placement on the hoop.
(Click Image to Enlarge)
Step 3:
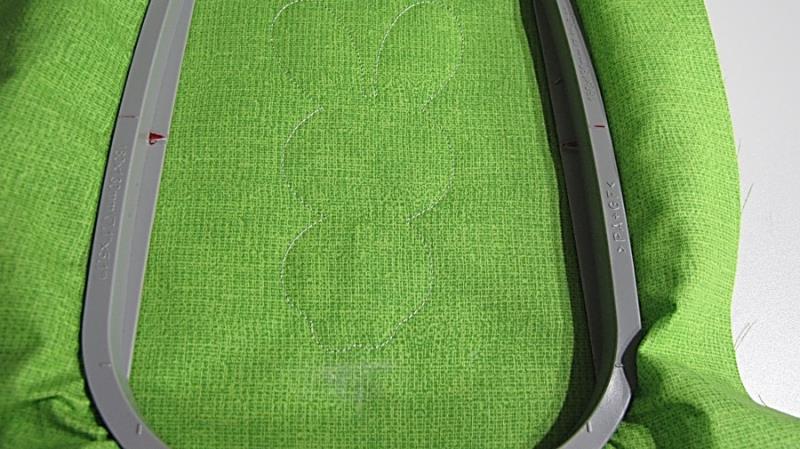
Place the hooped fabric on your machine and stitch out the bunny placement line.
(Click Image to Enlarge)
Step 4:
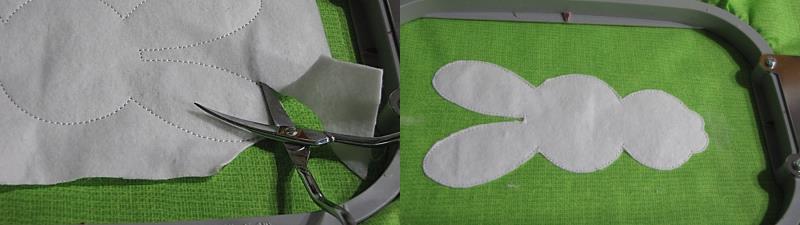
Place the white flannel for the bunny body over the applique placement line. I like to use a wooden chopstick to hold the fabric in place so I can keep my fingers safely out of the stitching area. Stitch the tack down stitch line.
(Click Image to Enlarge)
Step 5:
Carefully remove the project from the machine and carefully trim around the tack down line, being careful not to cut into the fabric.
(Click Image to Enlarge)
Step 6:
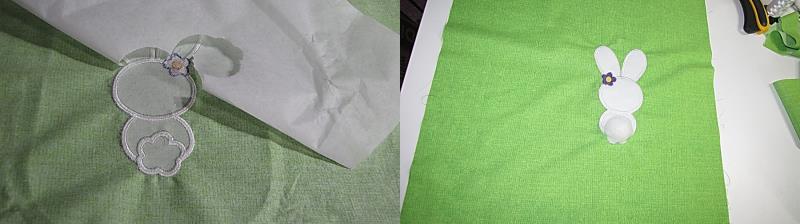
When stitching is complete, remove the project from the hoop and carefully remove the tear away stabilizer. At this time, you will want to securely stitch the pompom tail to the bunny pillow top. I used an upholstery needle which made it a little easier to sew the tail on.
(Click Image to Enlarge)
Step 7:
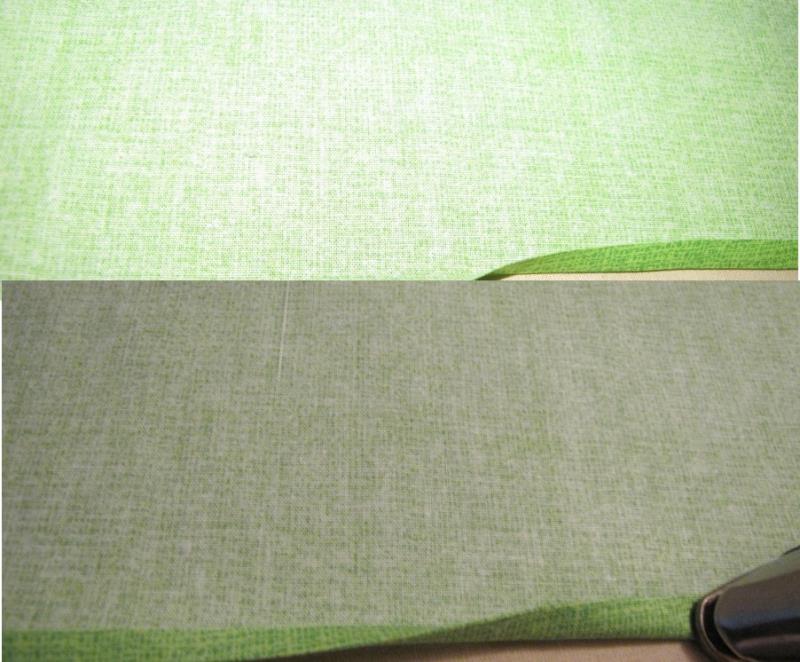
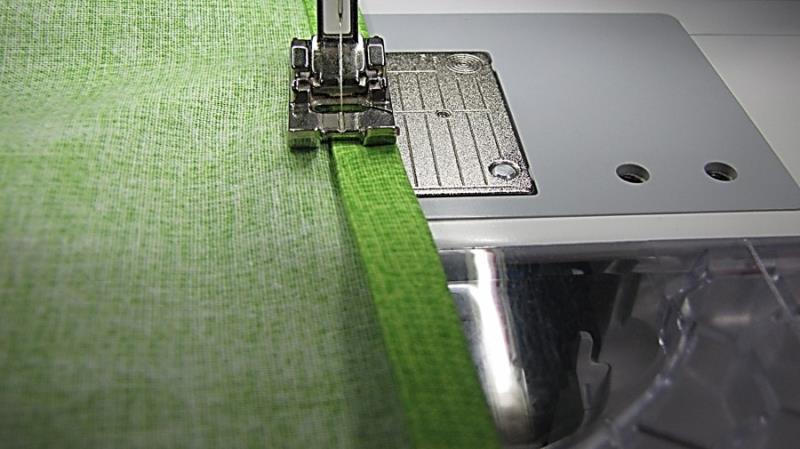
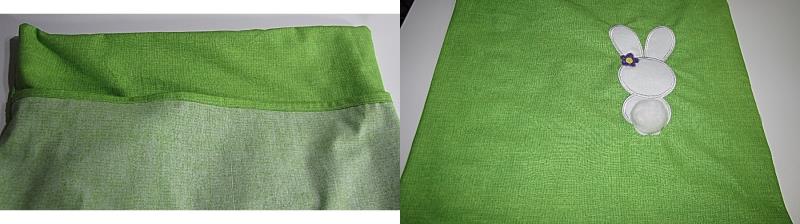
To make the pillow back, fold over ¼” and press along one 17” side of the first pillow back piece. Then press over another 1/4” to have a nice finish. Press again.
(Click Image to Enlarge)
Step 8:
Stitch along the folded line to finish the seam.
(Click Image to Enlarge)
Step 9:
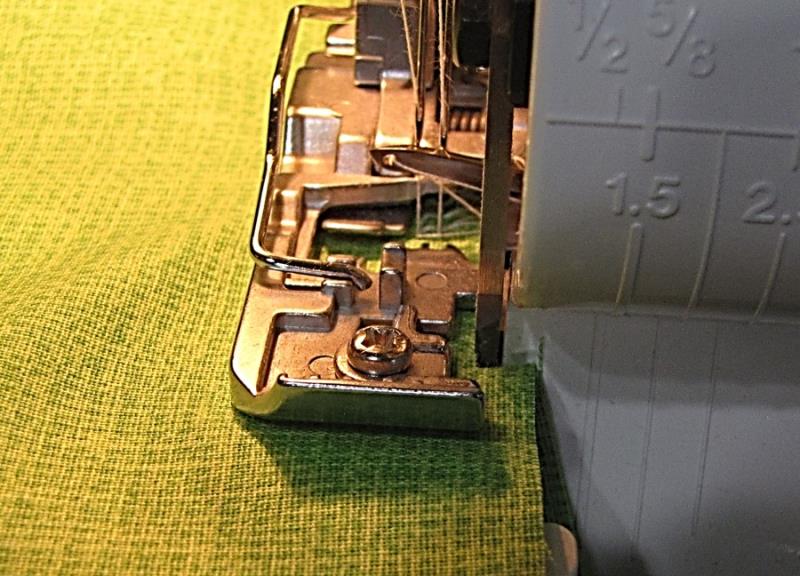
If you have a serger, you can finish one long edge of the second pillow back piece. If you don’t have a serger, you can easily zigzag along the edge to finish it. This edge will be hidden at the back of the pillow.
(Click Image to Enlarge)
Step 10:
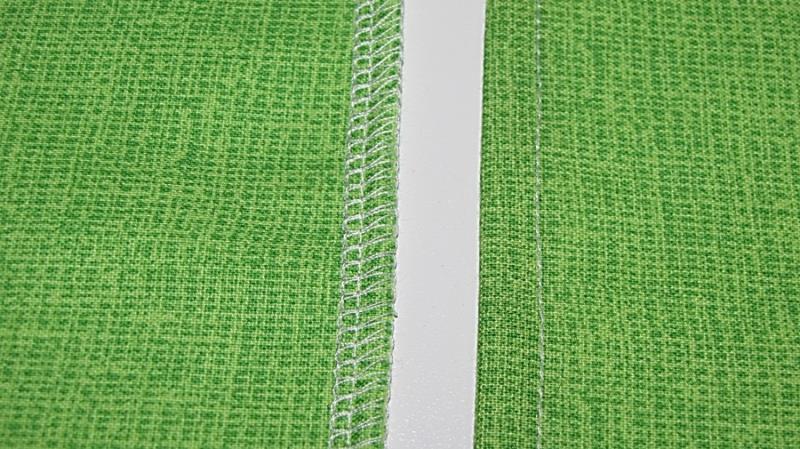
You will now have a hemmed edge on one of the pillow back pieces and a serged/zig-zagged edge on the other pillow back piece.
(Click Image to Enlarge)
Step 11:
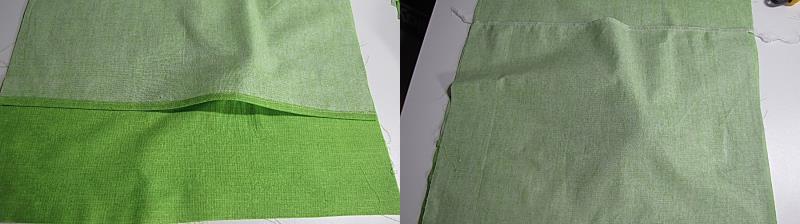
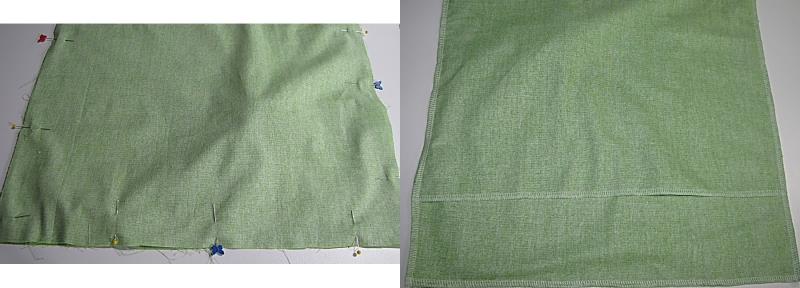
Place the pillow top facing up. With wrong sides together, place the hemmed piece of the pillow backing on top. Then place the serged piece of fabric over the hemmed piece, also right side down, to create the cover for the pillow.
(Click Image to Enlarge)
Step 12:
Pin around all four sides of the pillow cover and either serge or stitch, using a straight stitch, using a ¾” seam allowance.
(Click Image to Enlarge)
Step 13:
Using the opening you have created on the back side, turn the cover right side out and press along the edges. Look at that cute bunny with the fuzzy tail!
(Click Image to Enlarge)
Step 14:
Place the pillow cover onto your pillow form and enjoy the cute little guy with the cotton tail!
Remember, you can find the project directions for the matching pennant by looking on this website under my projects by “author.” Happy Spring!
Martha has been sewing since childhood. She is a maker of garments, quilter and machine embroiderer. Martha loves all things fabric and fabric-related.