{{superHeaderAds.title}}
Live Chat
Embroidery Designs
Welcome, Embroiderer
Login
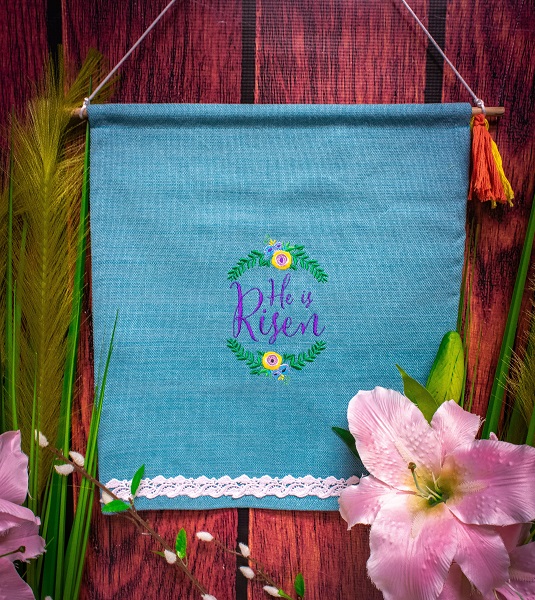
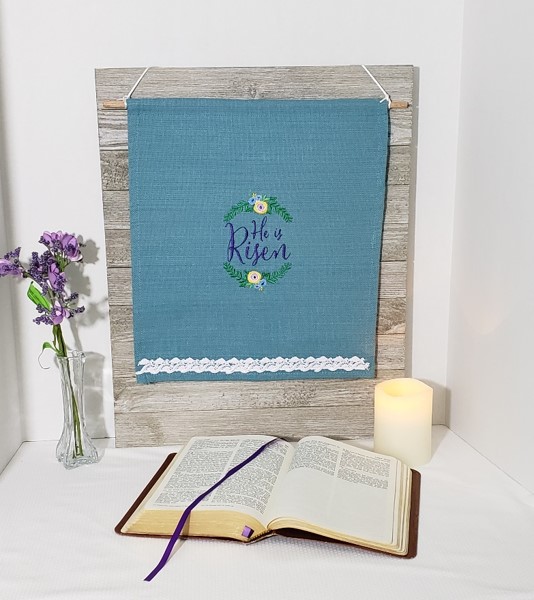
He is Risen Easter Wall Hanging
{{mainImageAlt || (productInfo._source && productInfo._source.name) || ''}}

He is Risen Easter Wall Hanging Embroidery Project

By   Martha Montgomery   on   February 19, 2019

PROJECT DETAILS

SKILL LEVEL
Some Experience
TIME REQUIRED
02:00
Description

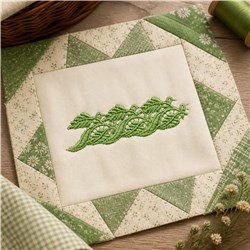
Proclaim the reason for the Easter season with this meaningful Easter wall hanging. Make your own lace using Freestanding Lace (FSL) or embellish it with purchased lace.

Project Preview Video

Materials
  • Purchased woven placemat (or fabric of your choice)
  • 1 wooden dowel
  • Cord for hanging the completed project
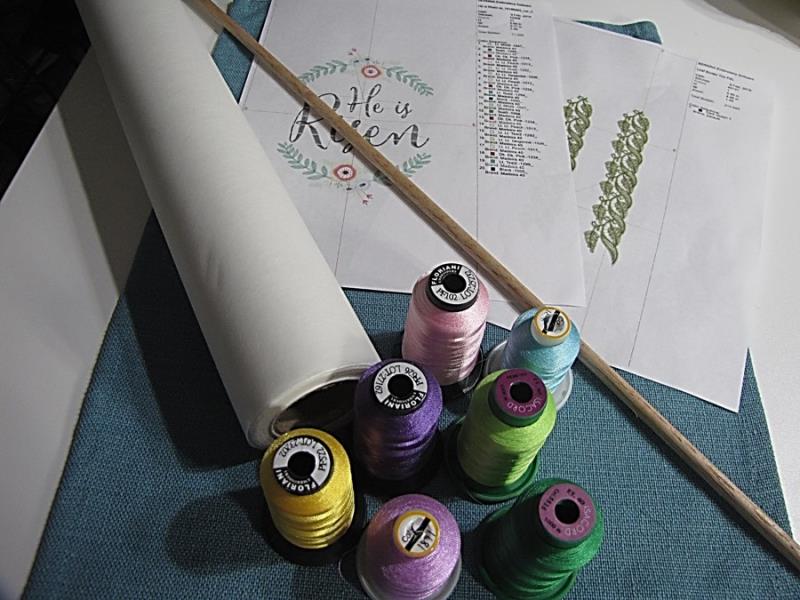
  • Embroidery Thread
  • Tearaway stabilizer
  • Embroidery design
  • FSL design
  • Wash away stabilizer
  • Embroidery software
  • Sewing machine for straight stitch sewing
  • Matching thread for placement of lace and for sewing the sleeve for the dowel

  • Designs used in this project

    Final Product: What You Will Create

    Preface:
    This simple, yet elegant Easter wall hanging is made with a purchased woven placemat and freestanding lace (FSL) embellishment. You will need to allow time, probably 8 hours, for the FSL to dry and be ready to sew onto the wall hanging. If you don't have time to wait for the FSL to dry, you may use purchased lace or another embellishment.


    Step 1:
    Gather the materials and read through the instructions before beginning. Print out a paper template of the design and color sequence.

    (Click Image to Enlarge)


    Step 2:
    For the freestanding lace (FSL) trim, you will need to either merge the design end-to-end in your embroidery software or make multiple sections of FSL and sew them together prior to stitching onto the finished wall hanging.


    Step 3:
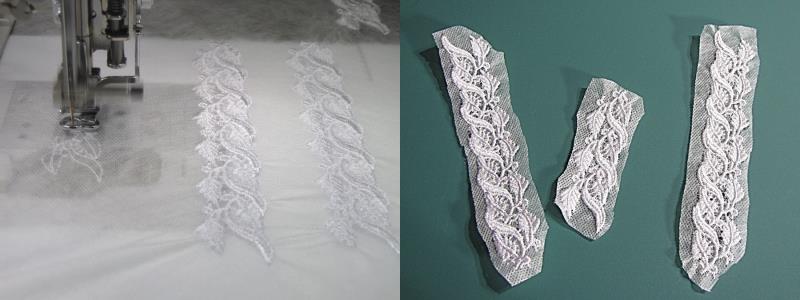
    Hoop the water-soluble stabilizer, using a hoop large enough to make multiple sections of FSL or the longer sections of FSL, depending upon whether or not you have embroidery software to merge designs. The stitch-out of the FSL took about an hour.
     
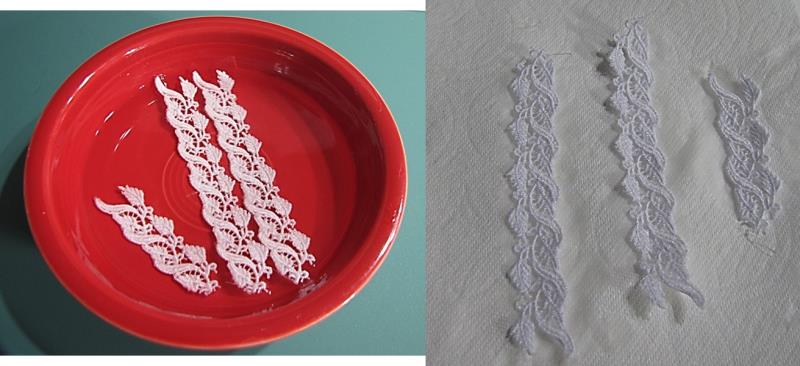
    When the FSL stitching is completed, you will need to trim the excess water-soluble stabilizer (WSS) from around the lace. 

    (Click Image to Enlarge)


    Step 4:
    Following manufactures directions for the WSS, place the FSL pieces in warm water to remove all excess stabilizer. Place between two layers of paper towel and press. Let When the FSL stitching is completed, you will need to trim the excess water-soluble stabilizer (WSS) from around the lace. Following manufactures directions for the WSS, place the FSL pieces in warm water to remove all excess stabilizer. Place between two layers of paper towel and press. Let dry for several hours or overnight.

    NOTE: For this project, I merged the design into 3 pieces—two pieces of 2 sections each and 1 individual section. This is the way I had to do it to fit my largest hoop. I then stitched the lace ends together prior to adding to the bottom of wall hanging to make 1 continuous piece of lace.

    (Click Image to Enlarge)


    Step 5:
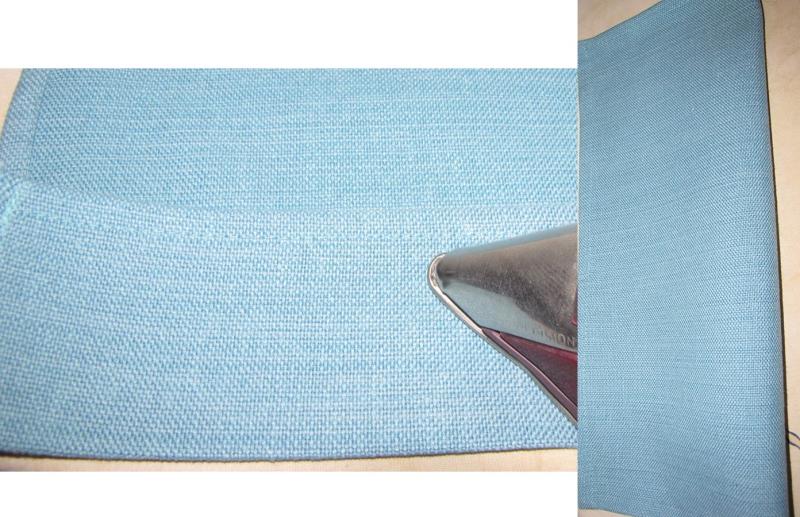
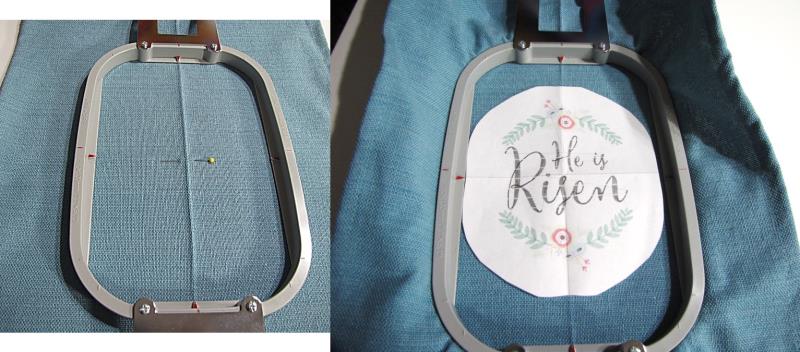
    Determine how long you want your wall hanging to be and fold over excess along the shorter edge, pressing with an iron, to make the sleeve for the dowel. You will stitch this later. Then press in half lengthwise to mark center placement line.

    (Click Image to Enlarge)


    Step 6:
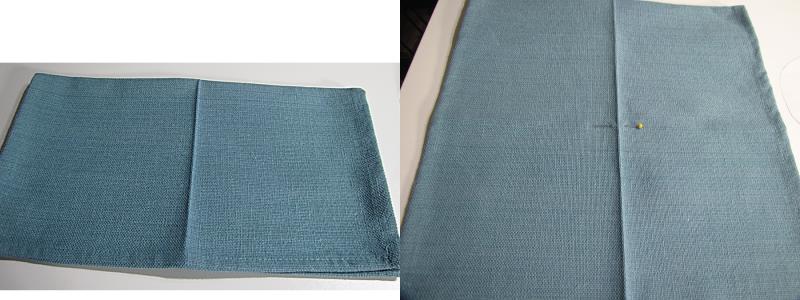
    Your folded, pressed placemat will be the shape/size of your finished wall hanging. Find the horizontal center and mark it with a fabric marker or pin.

    (Click Image to Enlarge)


    Step 7:
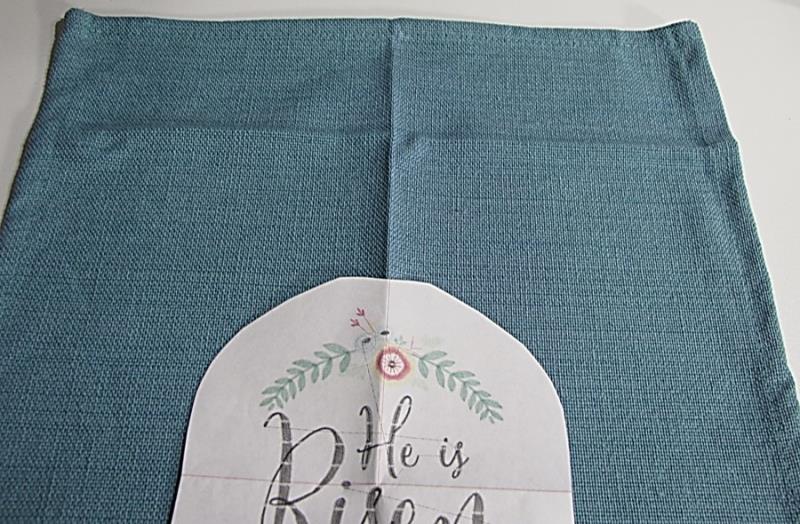
    Place your paper template of the design to confirm placement prior to hooping.

    (Click Image to Enlarge)


    Step 8:
    Using the vertical pressed line and the horizontal pinned line, hoop the placemat and tear away stabilizer, aligning it with the center markings on the hoop.

    (Click Image to Enlarge)


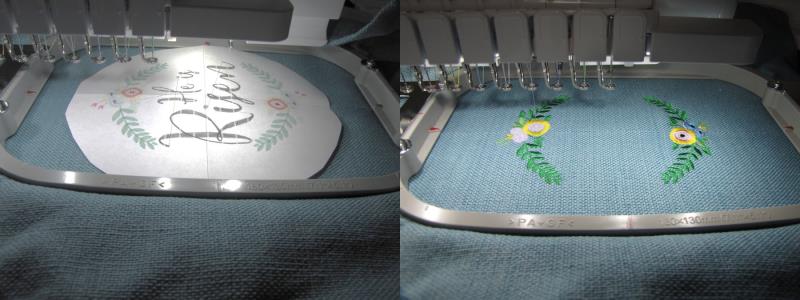
    Step 9:
    Confirm placement once your project is hooped. REMOVE THE PAPER TEMPLATE and stitch following the color sequence.

    (Click Image to Enlarge)


    Step 10:
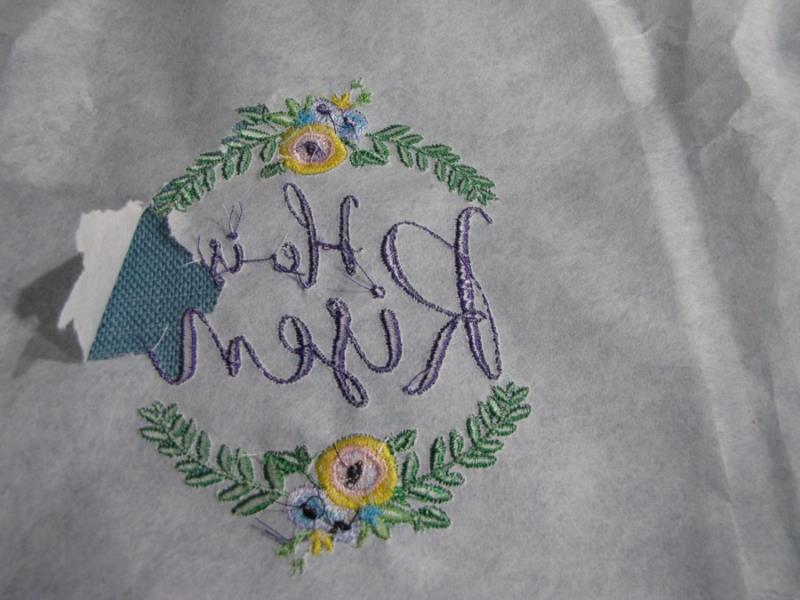
    Remove the project from the hoop and carefully remove tear away stabilizer.

    (Click Image to Enlarge)


    Step 11:
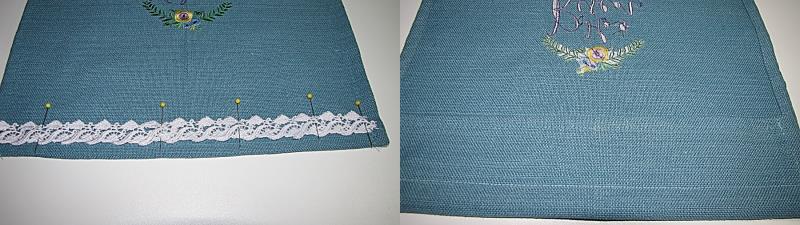
    Using your regular sewing machine set to a straight stitch, stitch the FSL along the bottom of the wall hanging and stitch along the top of the wall hanging approximately 1” from the top to form the sleeve for the dowel.

    (Click Image to Enlarge)


    Step 12:
    Insert the dowel (cut to size for the width of your project) and tie cord onto either end. Secure the ends of the cord with clear glue, if desired


    Step 13:
    You have now completed this simple, yet elegant wall hanging to celebrate the Easter season. You can use it as a door hanging or as I have in a special corner for some quiet, Easter devotion time.

    (Click Image to Enlarge)

    Meet the Author: Martha Montgomery
    Martha Montgomery
    Martha has been sewing since childhood. She is a maker of garments, quilter and machine embroiderer. Martha loves all things fabric and fabric-related.
    More From This Author
    Link is Broken, Please check the URL
    Exclusive Embroidery Offers!
    Copyright © {{ currentDate | date:'yyyy'}} - EmbroideryDesigns.com
    GET 50% OFF! ×