Applique Easter Egg Name Wrap

Applique Easter Egg Name Wrap Embroidery Project

By   Kylie Burke   on   February 15, 2019
  • SKILL LEVELIntermediate
  • TIME REQUIRED01:00
Description

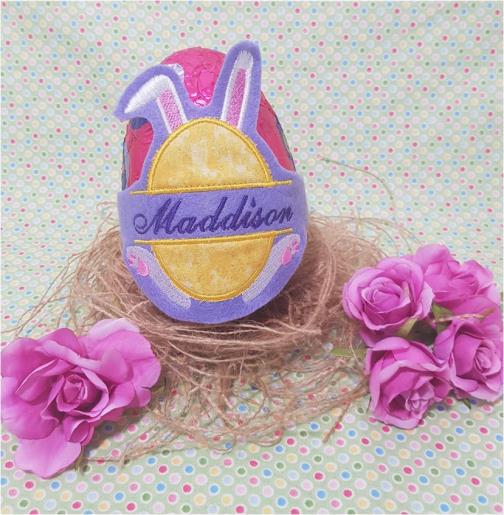
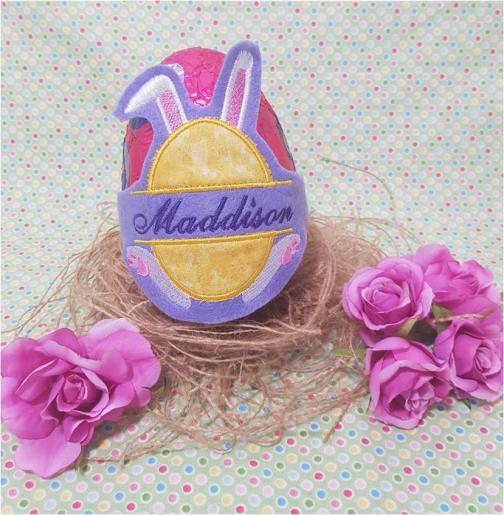
Create a personalized Easter Egg wrap with this adorable applique design. Perfect for adding a unique touch to your Easter celebrations by wrapping eggs with customized names. Step-by-step instructions are included.

Step of

Materials

Project Preview Video

Materials
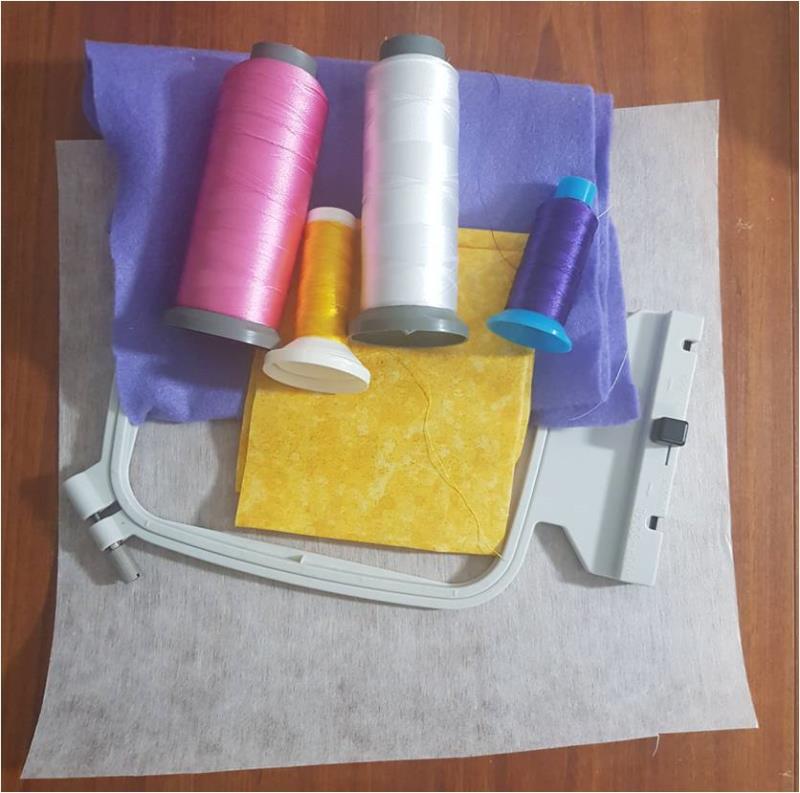
  • 30cm x 15cm piece of felt
  • Cotton fabric for the appliqué of the egg
  • 4 thread colors
  • Tearaway stabilizer
  • 20cm square of hook tape

  • Designs used in this project

    Final Product: What You Will Create


    Step 1:
    Gather the materials and read through the instructions before beginning. Have a copy of the color sequence on hand to refer to.

    (Click Image to Enlarge)


    Step 2:
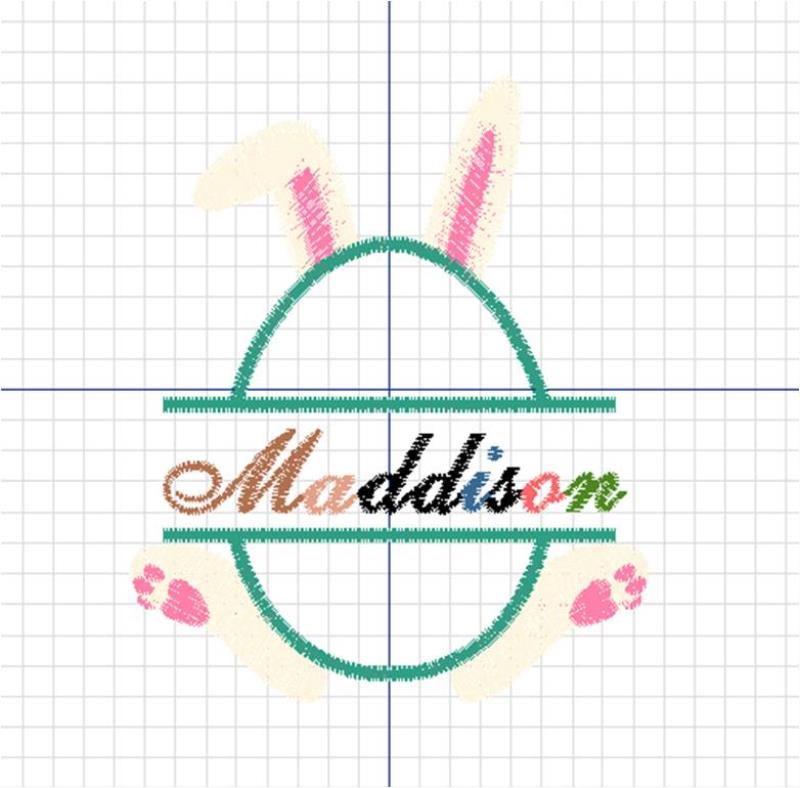
    Using your embroidery software, open the easter egg file then bring in each script letter to form a name. position them in the name field of the design then save and load onto your machine.

    (Click Image to Enlarge)


    Step 3:
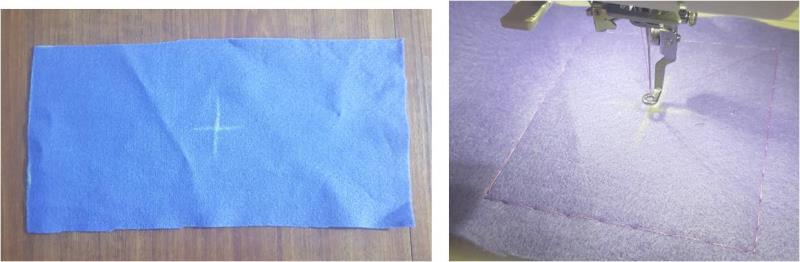
    On the rectangle piece of felt, mark the center to indicate where the center of the design will be. Hoop the stabilizer and attach the hoop to your machine then position the felt under the foot and use a tack-down stitch to hold it in place.

    (Click Image to Enlarge)


    Step 4:
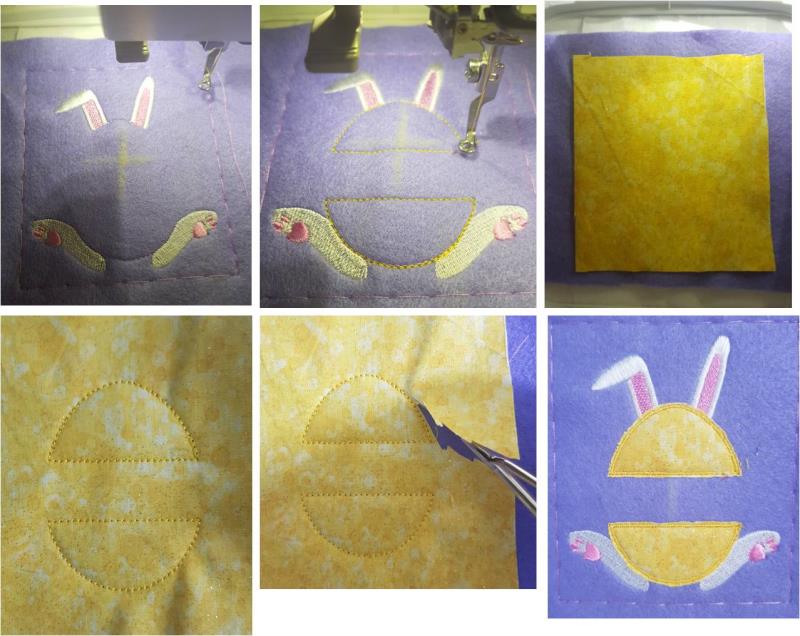
    Start stitching out the design. Stitch color 1-3 for the bunny. Color 4 is then the placement stitch for the fabric for the egg. Cut a 10cm square of the yellow cotton fabric and place it over the design and stitch color 5. Remove the hoop from the machine and closely cut away the excess fabric of the appliqué. 

    (Click Image to Enlarge)


    Step 5:
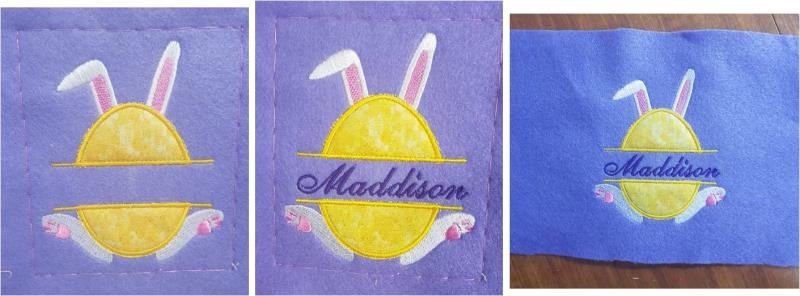
    Re-attach the hoop to your machine and stitch color 6 which is the bold outline of the appliqué. Color 7 is the final color and is the name. remove the hoop form the machine and tearaway the stabilizer.

    (Click Image to Enlarge)


    Step 6:
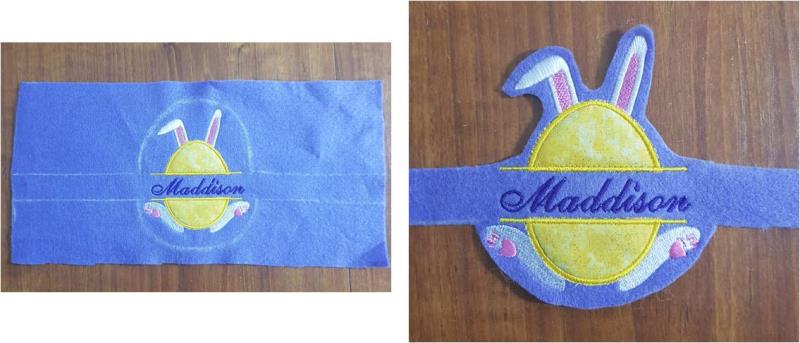
    Now mark out your cut lines on the design and simply extend the straight lines from the name field to the ends of the felt to form the band. I chose to cut closely around the top of the design to emphasize the ears. 

    (Click Image to Enlarge)


    Step 7:
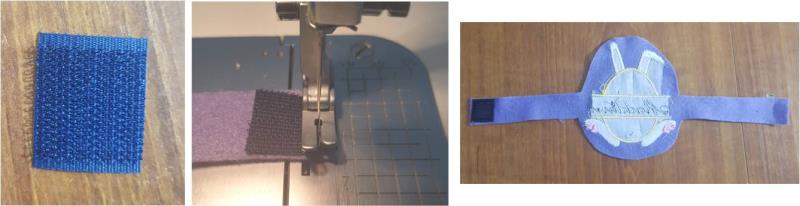
    With the 20mm hook tape, sew that onto the back of one end of the band. You don't necessarily need the loop tape as the hook tape will hold onto the felt.

    (Click Image to Enlarge)


    Step 8:
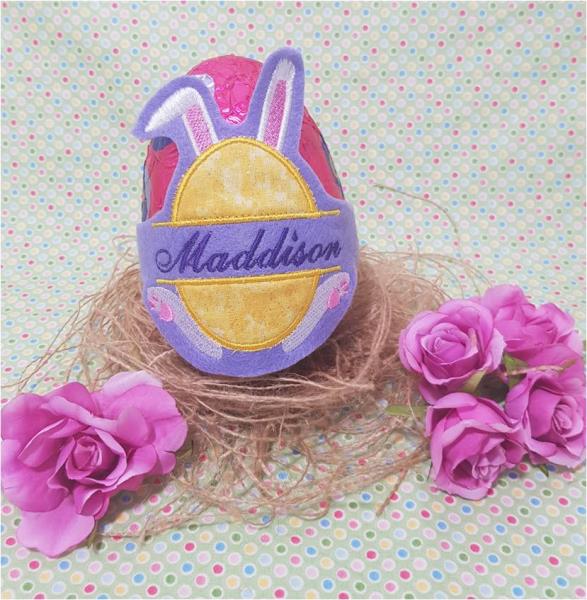
    Your Easter Egg Name Wrap is now complete. Wrap it around a yummy choccy egg and its ready to gift. Happy Easter!

    (Click Image to Enlarge)

    Meet the Author: Kylie Burke
    Kylie Burke
    Kylie is based in Australia and loves creating and sharing her unique pieces.
    More From This Author
    Link is Broken, Please check the URL
    Exclusive Embroidery Offers!
    Copyright © {{ currentDate | date:'yyyy'}} - EmbroideryDesigns.com
    GET 50% OFF! ×