{{superHeaderAds.title}}
Live Chat
Embroidery Designs
Welcome, Embroiderer
Login
3D Flower Cushion
{{mainImageAlt || (productInfo._source && productInfo._source.name) || ''}}

3D Flower Cushion Embroidery Project

By   Kylie Burke   on   February 21, 2019

PROJECT DETAILS

SKILL LEVEL
Intermediate
TIME REQUIRED
02:30
FINISHED SIZE
16 x 16 inches
Description

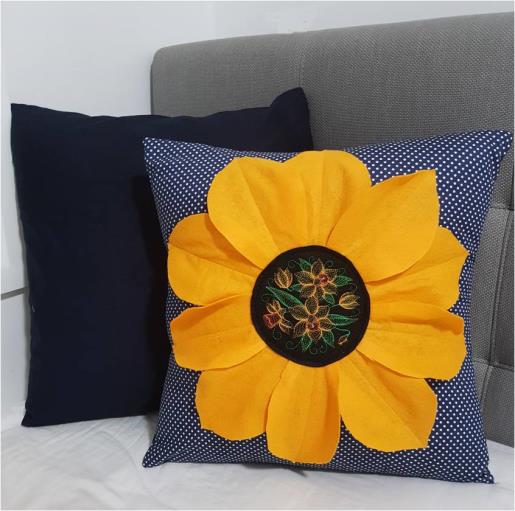
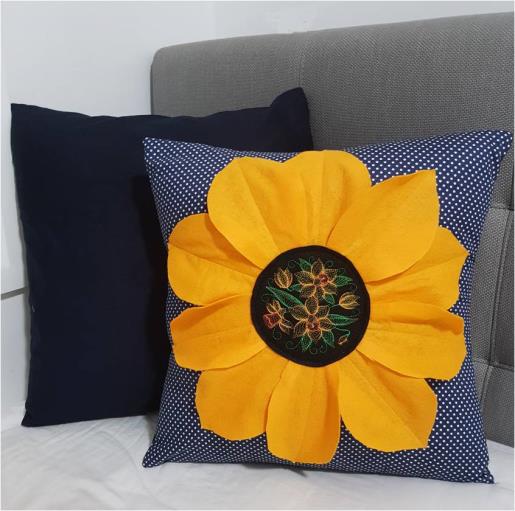
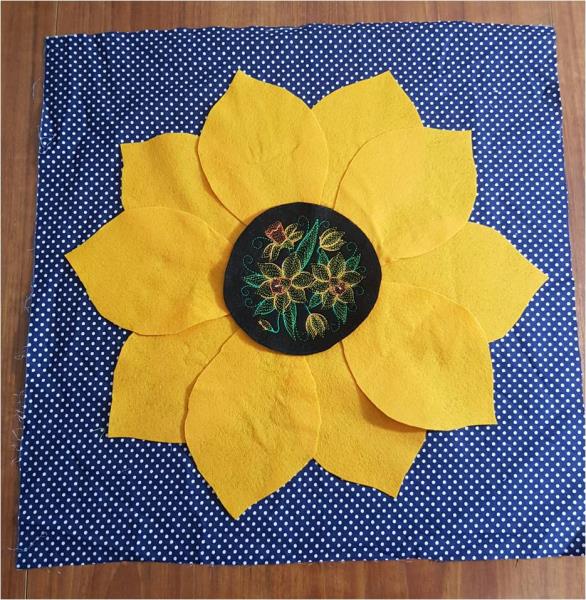
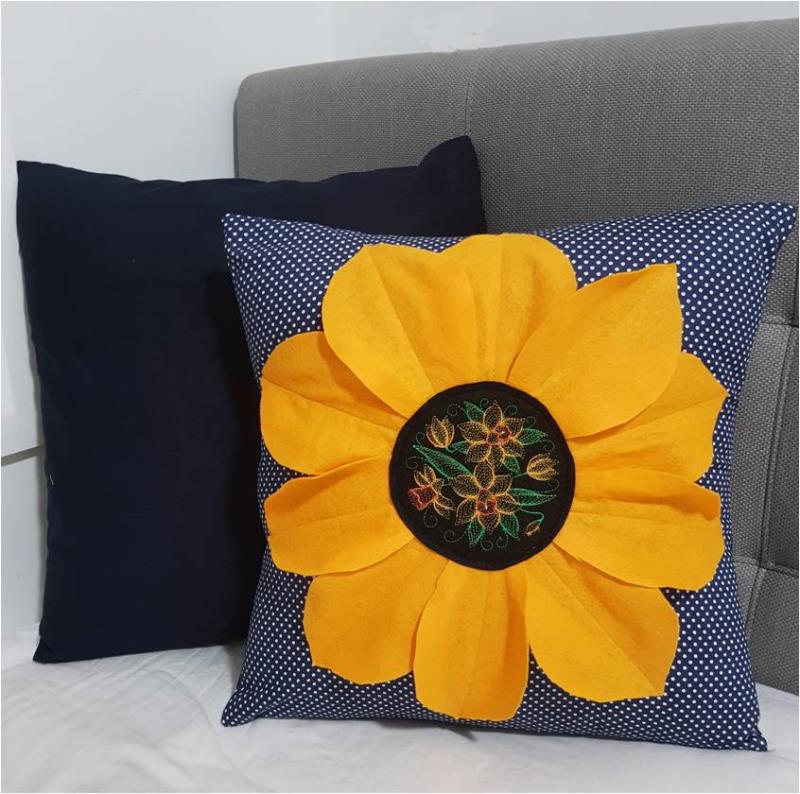
Create this fun and colorfun flower cushion using felt and the beautiful daffodil embroidery design.

Project Preview Video

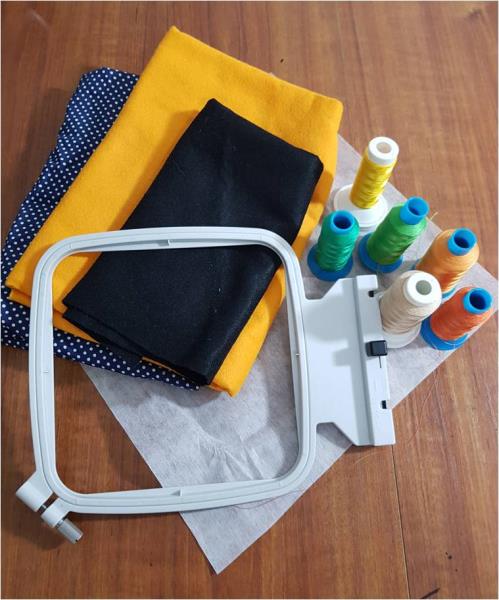
Materials
  • 6” square of black felt
  • Gold felt
  • Navy/white polka dot cotton
  • Navy cotton
  • 16” cushion insert
  • Embroidery threads as per design
  • Petal template print off

  • Designs used in this project

    Final Product: What You Will Create


    Step 1:
    Gather the materials and read through the instructions before beginning. Have a copy of the color sequence on hand to refer to.

    (Click Image to Enlarge)


    Step 2:
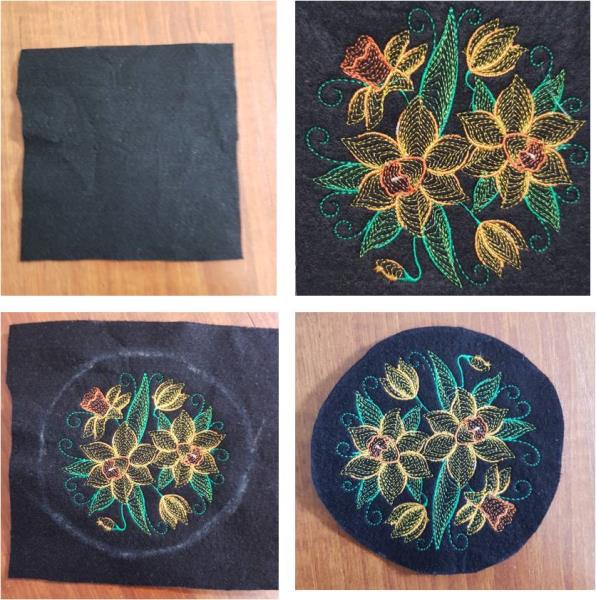
    Hoop the stabilizer and black felt and stitch out the daffodil design. Once complete, cut the design into a 4 ½” circle

    (Click Image to Enlarge)


    Step 3:
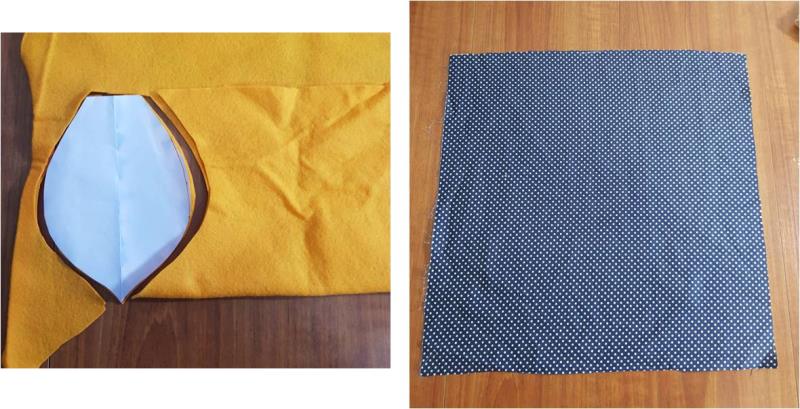
    Using the petal template, cut out 10 gold felt petals. From the navy/white polka dot cotton fabric, cut a 16” square for the cushion front.

    (Click Image to Enlarge)


    Step 4:
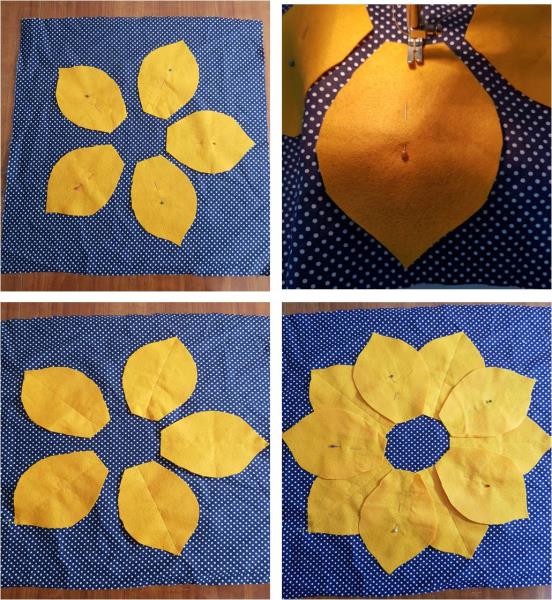
    Find the center of the cushion front and position the petals and embroidered circle on the fabric. 

    (Click Image to Enlarge)


    Step 5:
    Remove the circle and 2nd layer of petals and pin the first layer of petals in place. Stitch a straight line from the bottom of the petal to the tip. Repeat for all 5 petals then lay the 2nd layer of petals, pin in place then stitch down. 

    (Click Image to Enlarge)


    Step 6:
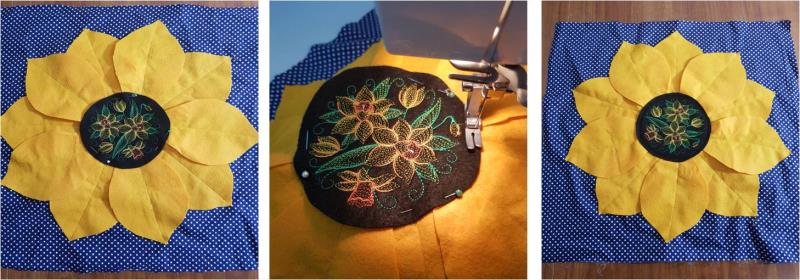
    Lay the circle on top, ensuring it is centered, pin it in place then stitch around the edge of the circle. 

    (Click Image to Enlarge)


    Step 7:
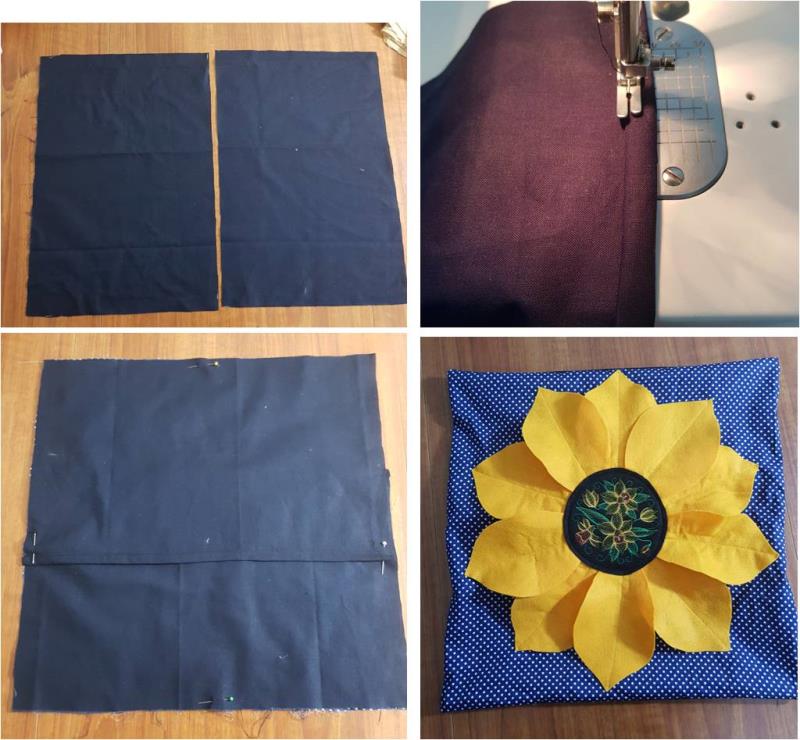
    From the plain navy cotton, cut 2 rectangles 16” x 11”, these will form the envelope back. Along the 16” length of each rectangle, turn under ½” then ½” again and stitch down. Lay the 2 halves right side down onto the right side of the cushion front, they will overlap each other to form the envelope back and pin all around. Stitch around all edges of the cushion then turn right side out. 

    (Click Image to Enlarge)


    Step 8:
    Insert the 16” cushion insert and viola! Your flower cushion is complete. 

    (Click Image to Enlarge)

    Meet the Author: Kylie Burke
    Kylie Burke
    Kylie is based in Australia and loves creating and sharing her unique pieces.
    More From This Author
    Link is Broken, Please check the URL
    Exclusive Embroidery Offers!
    Copyright © {{ currentDate | date:'yyyy'}} - EmbroideryDesigns.com
    GET 50% OFF! ×