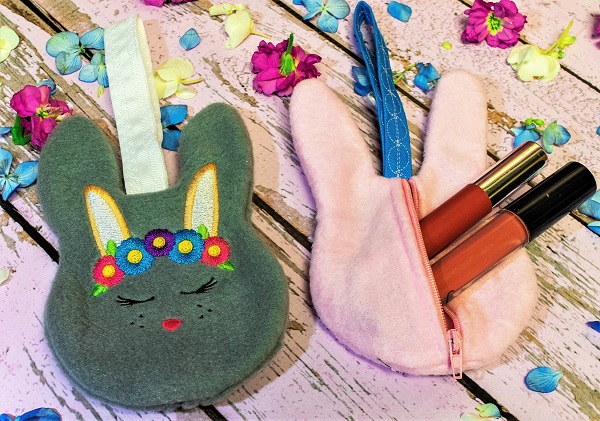
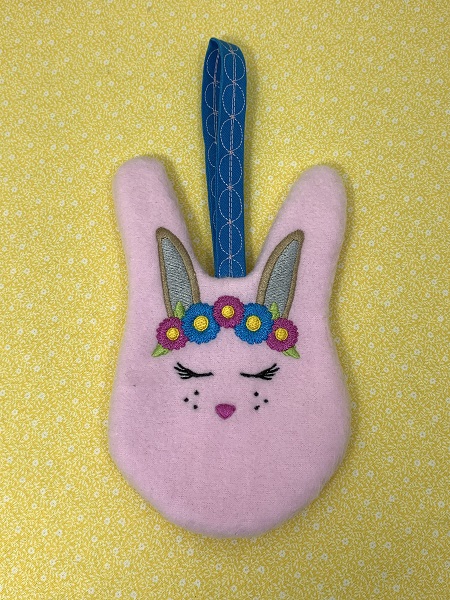
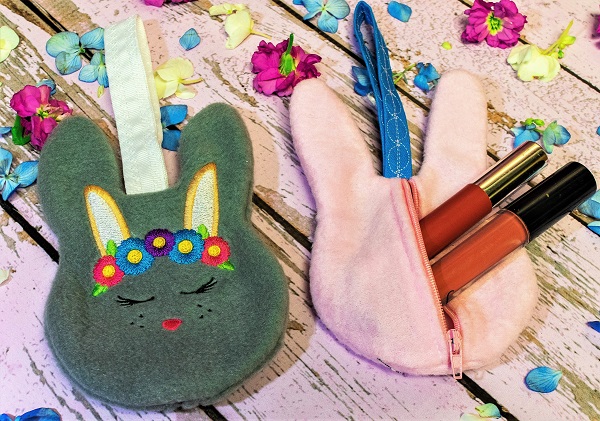
A 'Bunny Coin Purse' will make a great Easter gift. The project combines sewing and machine embroidery. A nylon or polyester zipper should be used for this project. A metal zipper could cause damage to your machine. If you don't want to put in a zipper, Velcro could be used instead. However, the zippers are very easy to sew.
Step 1:
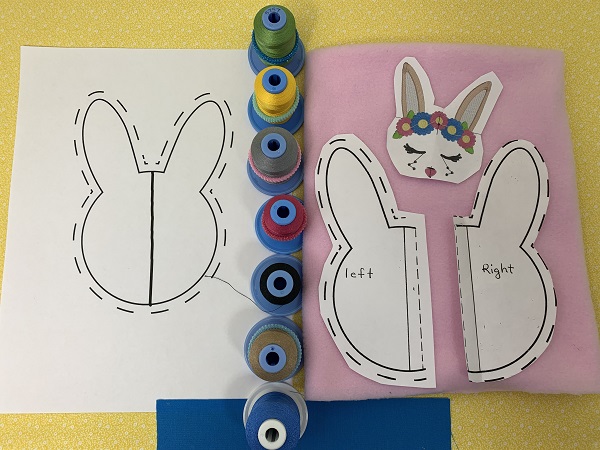
Read the directions for the project. Gather the materials needed for the project. Print a design template and color chart.
(Click Image to Enlarge)
Step 2:
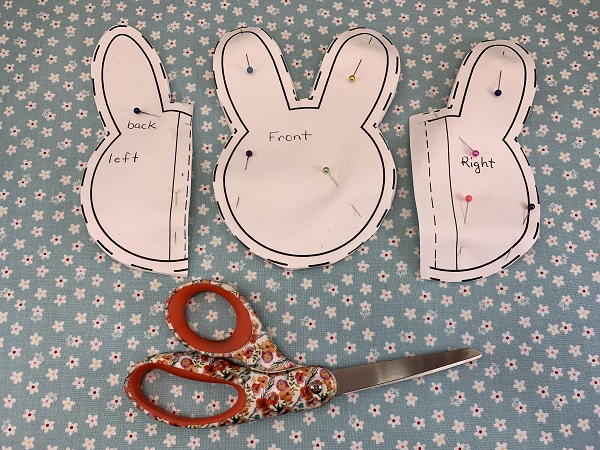
The bunny has three pieces. The PDF pattern is included in the directions. Print out the pattern. Pin the pattern to the fleece. Cut out the bunny.
(Click Image to Enlarge)
Step 3:
(Click Image to Enlarge)
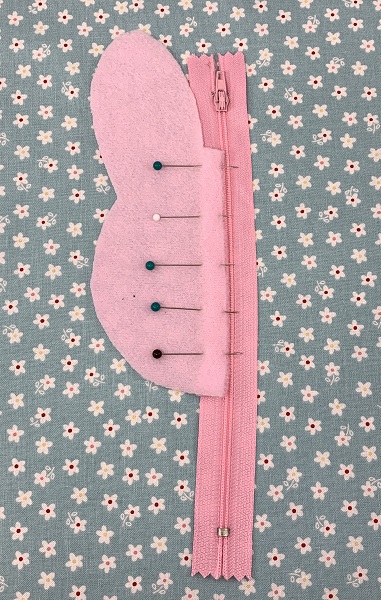
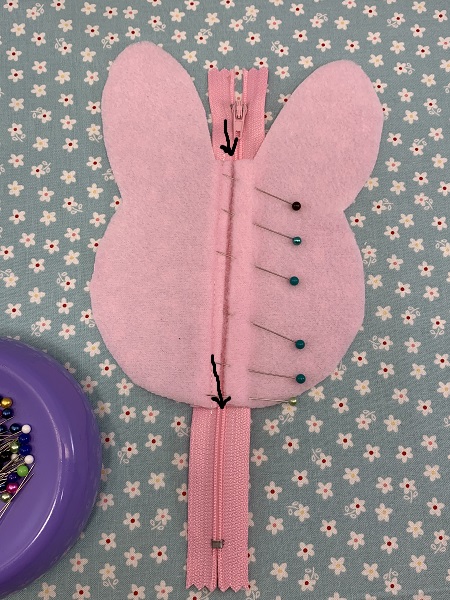
The back of the rabbit has two pieces. Take the piece for the left side and fold the lip about 3/8" back going toward the wrong side. Pin this piece to the zipper. Stitch the left side of the fleece to the zipper. Don't worry if your zipper is too long. You will cut the excess off when you finish.
Step 4:
Fold the lip down on the right side of the bunny's back. Pin this piece to the zipper. Make sure the left and right sides match at the top and bottom. Sew the right side to the zipper.
(Click Image to Enlarge)
Step 5:
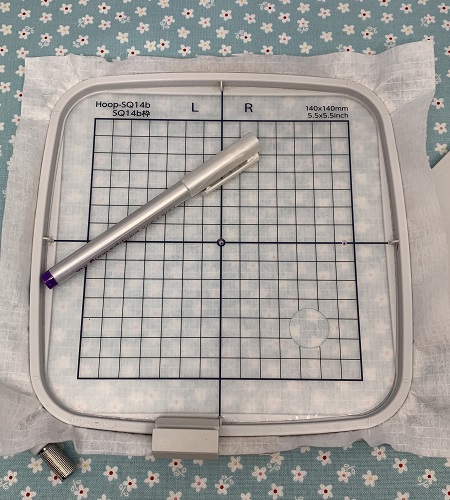
Hoop the No Show Mesh stabilizer in your hoop. A 4x4 size hoop works well for this design.
Step 6:
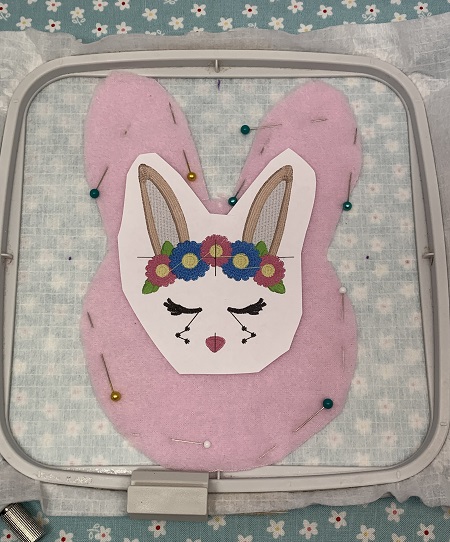
Use the center point and axis on the hoop to determine placement for the design. Use the design template to guide placement. Pin the bunny's head onto the stabilizer.
(Click Image to Enlarge)
Step 7:
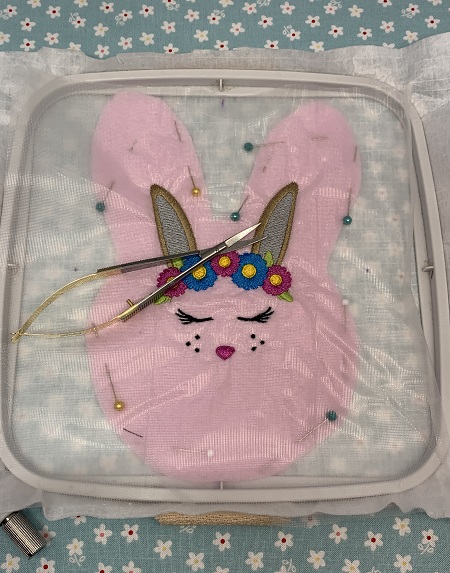
Cover the area to be embroidered with Water Soluble topping. Load the embroidery design. Stitch the design.
Remove the project from the hoop. Trim the No Show mesh to the size of the bunny. Remove the Water Soluble topping. Trim threads if needed.
(Click Image to Enlarge)
Step 8:
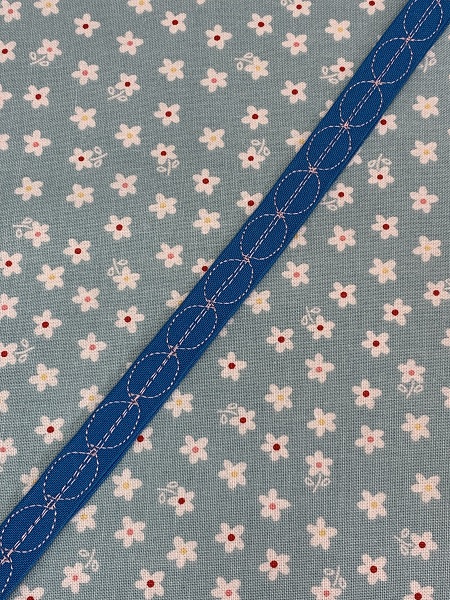
Fold the 1"x12" piece of ribbon in half. Determine how long you want the wristlet to be. Adjust the length of the ribbon if needed. Pin the ribbon in the center of the bunny's ears with the loop going toward the bunny's chin.
You could make the wristlet with fabric. Simply take a 2" x 12" strip of fabric. Fold the fabric in half with wrong sides together and press with an iron. Next, open the fabric strip. Fold the outer edge along each side to the crease line. Fold again. Pin in place. Sew a seam along the edge on each side.
(Click Image to Enlarge)
Step 9:
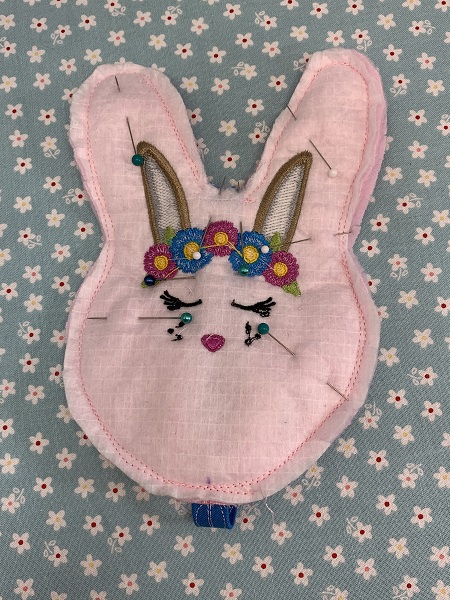
Unzip the zipper. Pin the front and back of the bunny together. Trim the edges of the bunny if needed before sewing the bunny pieces together. Make sure that the wristlet/ribbon is going downward and will not get caught in the seam.
Sew the bunny together. Reinforce the area at the top and bottom of the zipper when sewing. Cut the excess zipper off. Using small scissors, make a small clip at about 1" intervals all around the bunny.
Marisa Littleton is a retired educator with a love for teaching and learning. Interests include machine embroidery, hand embroidery, quilting, cooking, and antiques.