Border OptionsHugging border, circle, square, or rectangle — with a 3mm satin stitch.
Backing OptionsAvailable with iron-on, sew-on, or velcro backing.
Fast ShippingShipped quickly from the USA.
Free Online Tools
Powerful embroidery utilities that save time and prevent costly mistakes.
Stitch AssistantRECOMMENDED
Get the exact stabilizer, machine settings, needle, and thread color sequence for every embroidery design you purchase — based on that design's stitch density, dimensions, and color count.
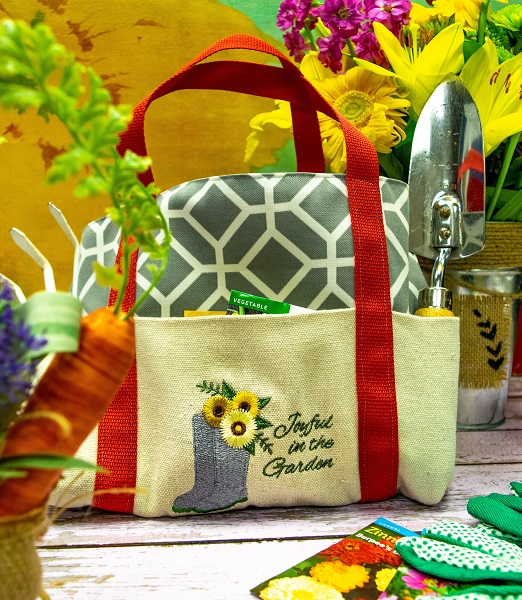
This lined garden tote bag features outer pockets perfect for organizing your gardening tools. Adorned with a cheerful design, it brings a touch of joy to your gardening tasks. Step-by-step instructions are included.
A great gardeners tool bag for those quick gardening activities. This tutorial will demonstrate how to easily line a bag and create outer pockets by the positioning of the strapping. The select embroidery design will add to your “joy” of working in the garden.
Step 1:
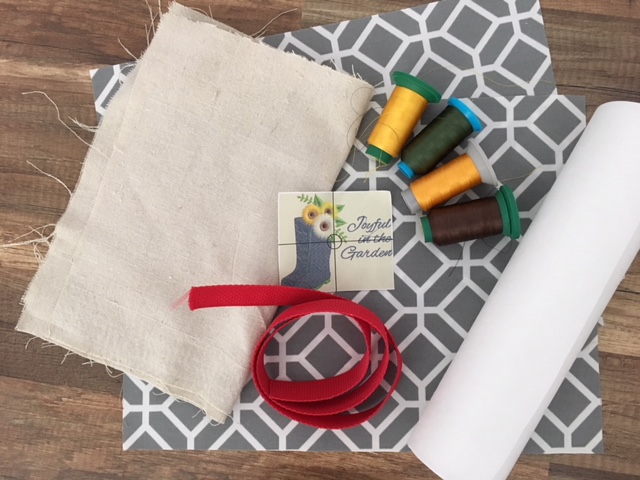
Gather all materials and review instructions before beginning. Print out the template of design for centering and reference.
(Click Image to Enlarge)
Step 2:
Cutting all your bag pieces Duck cloth/canvas: Cut two 12” x 16” ( Outer bag) Heavy weight cotton: Cut two 12” x 16” ( lining) Cut two 15” x 16” (pockets)
Strapping: Cut two 36” pieces
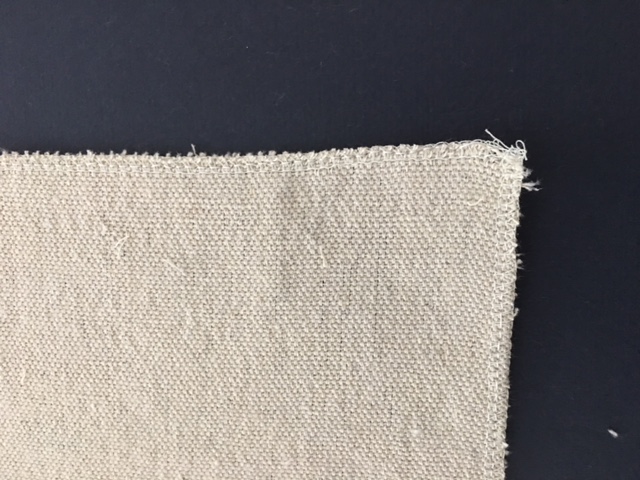
If you are using fabric that easily frays, serge or zig zag all edges for easier construction. ( Drop cloth easily frays)
(Click Image to Enlarge)
Step 3:
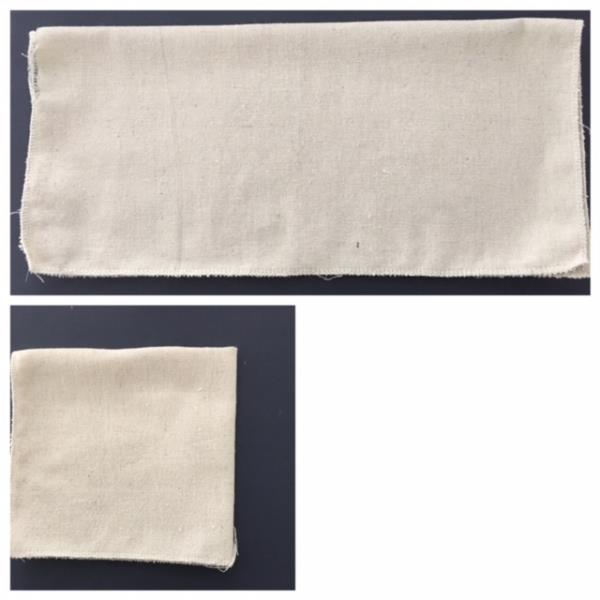
Embroidering design on pocket Using one of your cut 15” x 16” pocket pieces. Fold in half ( 15” side) and fingertip press. (16” side is at the bottom) Fold in half again to form a quarter fold .. fingertip press. This method will help to center place design. I only embroidered on one pocket piece. If you would like the embroidery design on both sides of your bag then repeat the instructions for the 2nd pocket piece.
(Click Image to Enlarge)
Step 4:
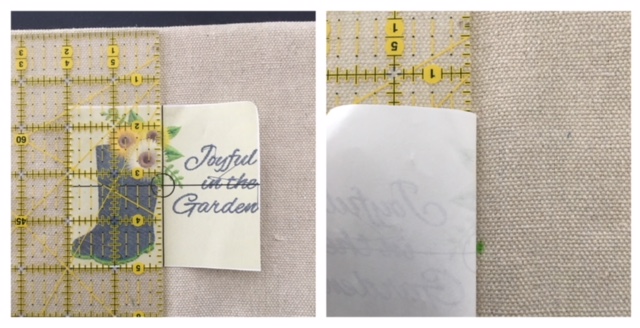
Unfold the quarter fold. Center embroidery design template 1 ½” from folded top of pocket ( using your fingertip creased center fold for reference) and mark using your chalk/air erase fabric pen.
(Click Image to Enlarge)
Step 5:
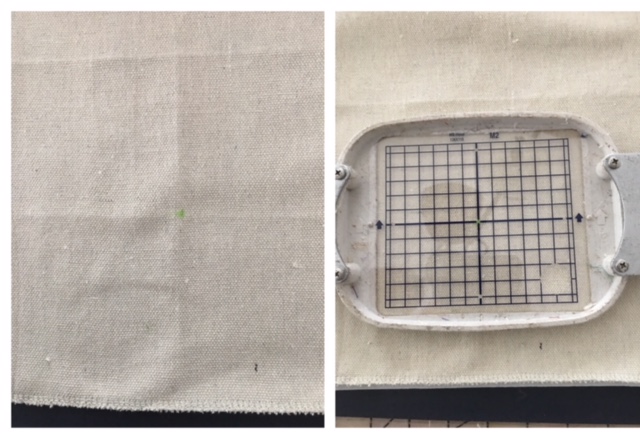
Folded cross hair Once your design has been center marked… I used the following method to create a folded crosshair to center onto my hoop. Fold the fabric up to the center mark and fingertip press. As you see in the photo you now have a crosshair for reference when center hooping. Cut a piece of tear away stabilizer. Place fabric on top. Match up crosshair to your axis points on your hoop. If you have a grid template follow your manufacturer’s instructions.
(Click Image to Enlarge)
Step 6:
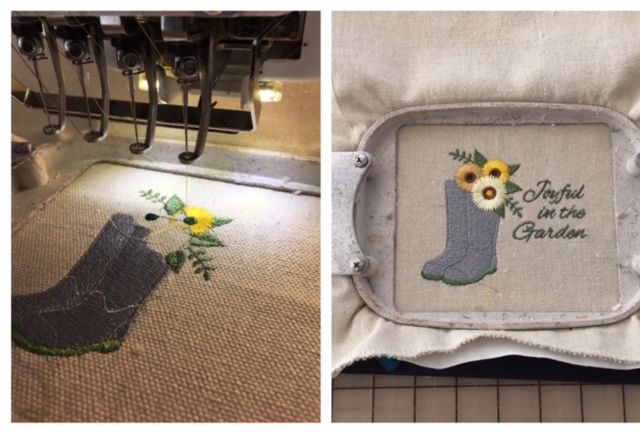
Load embroidery design into your machine. Attach hoop. Confirm center placement. Begin the embroidering process. Design embroidering complete. Remove hoop from the machine. Cut and trim all jump stitches and loose thread ends. Remove stabilizer. Iron and fold in half. Fold the 2nd pocket piece in half and iron press.
(Click Image to Enlarge)
Step 7:
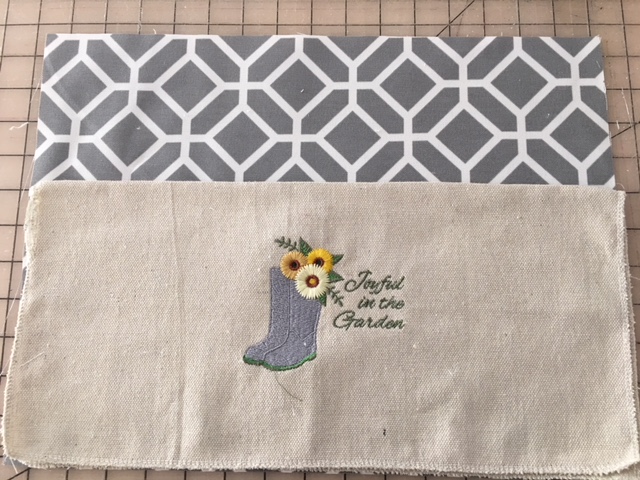
Using one of the cut outer body pieces ( 12” x 16”). Lay right side up with 16” edge at the bottom. Place folded pocket piece on top matching bottom and sides.
(Click Image to Enlarge)
Step 8:
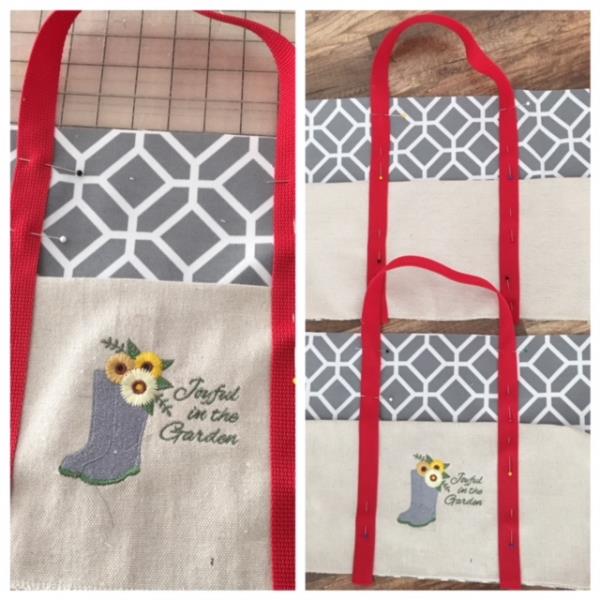
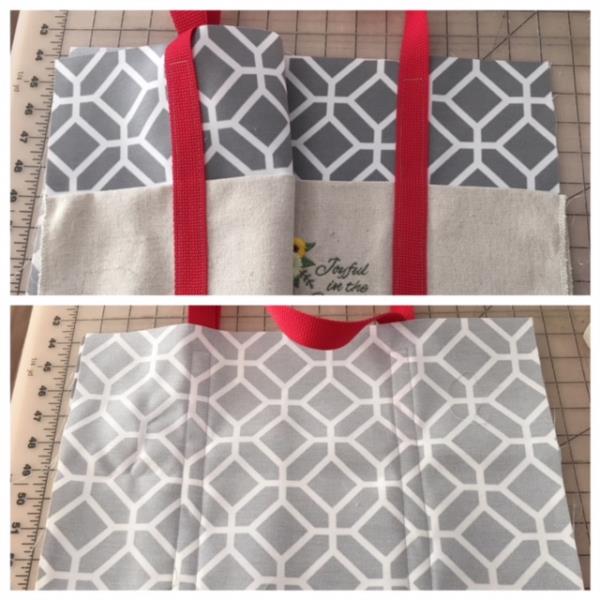
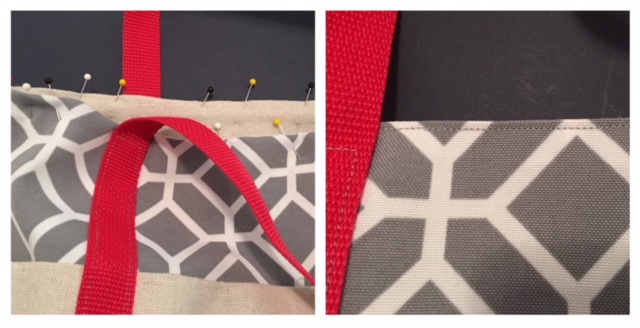
Lay your strapping on top 5” in from each side and matching up to bottom edge. Pin in place. Repeat these steps for the other side fabric of tote bag. You should now have two side pieces as shown in the picture.
(Click Image to Enlarge)
Step 9:
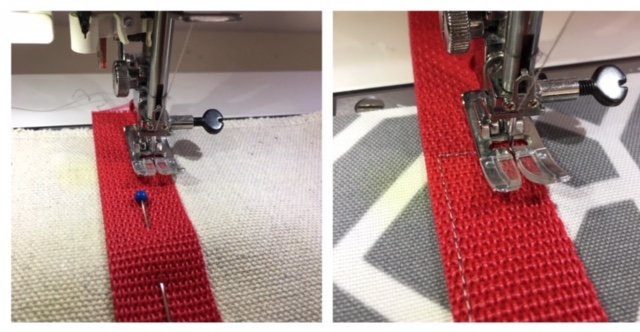
Stitch ¼” from each side as shown in the pic. Stopping 1” from the top edge of the outer fabric. Stitch across strapping and back down the other side. Making sure to back stitch to lock in stitches. Repeat for the other side. By placing the strapping in these positions it will form the outside pockets.
(Click Image to Enlarge)
Step 10:
Constructing bag Lay your outer pieces right sides together. Lining up all edges and strapping. Pin in place.
(Click Image to Enlarge)
Step 11:
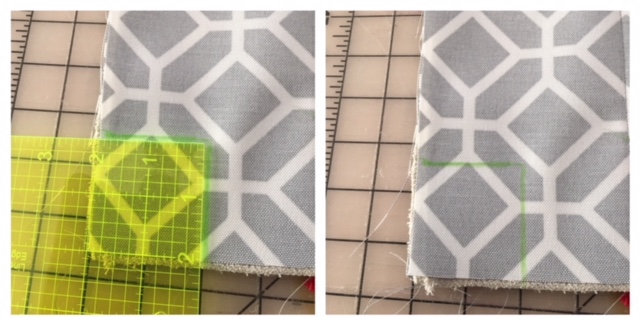
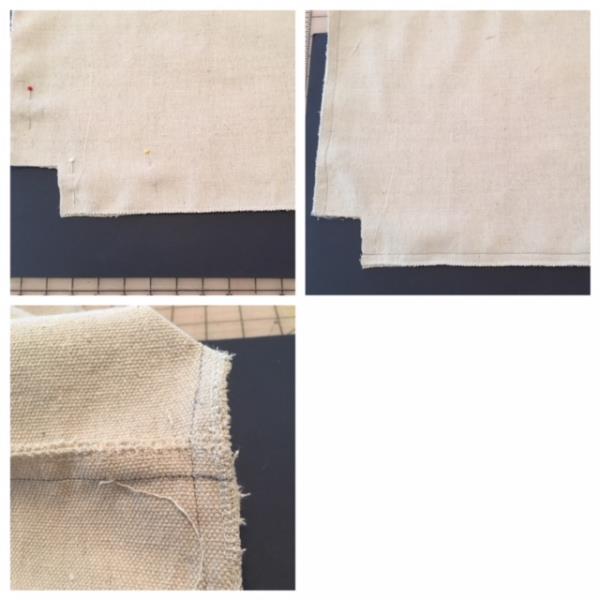
Making the Boxed Corners Mark a 2” square at the bottom of each corner.
(Click Image to Enlarge)
Step 12:
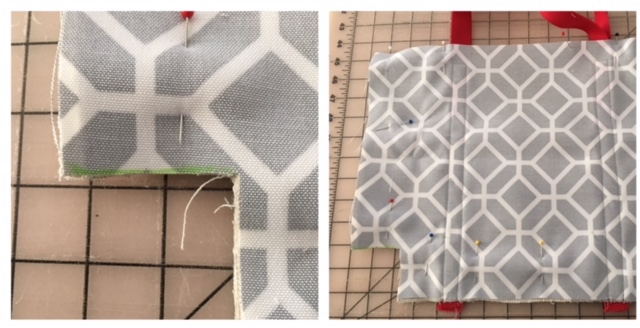
Carefully cut along your marked lines. Sew down the sides an bottom using 1/2" seam allowance
(Click Image to Enlarge)
Step 13:
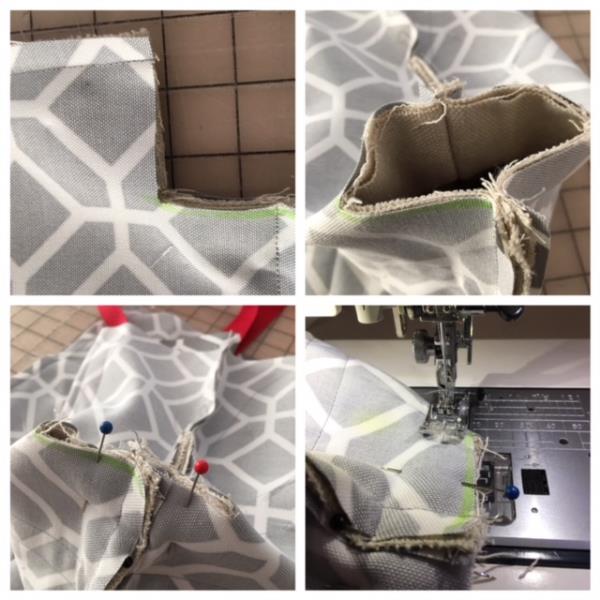
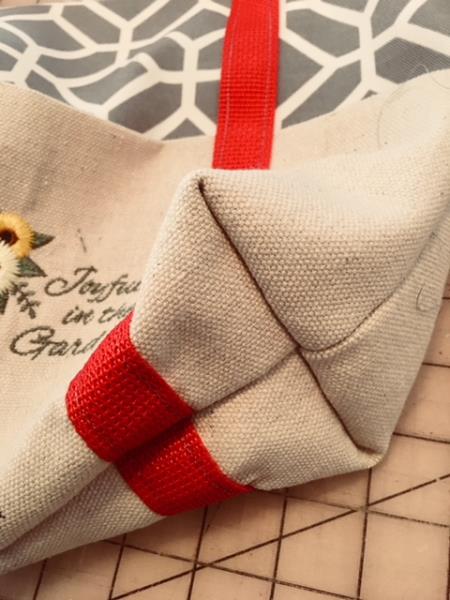
Stitching the Boxed Corners Open up the cut corners lining up the seams. Position seam allowances in opposite directions so that it lays flat when stitching. (Nesting your seams) Stitch using ½” seam allowance. Repeat for the other side.
(Click Image to Enlarge)
Step 14:
Turn right side out.
(Click Image to Enlarge)
Step 15:
Constructing the lining
Using your lining fabric pieces. Repeat steps #10 thru #13
(Click Image to Enlarge)
Step 16:
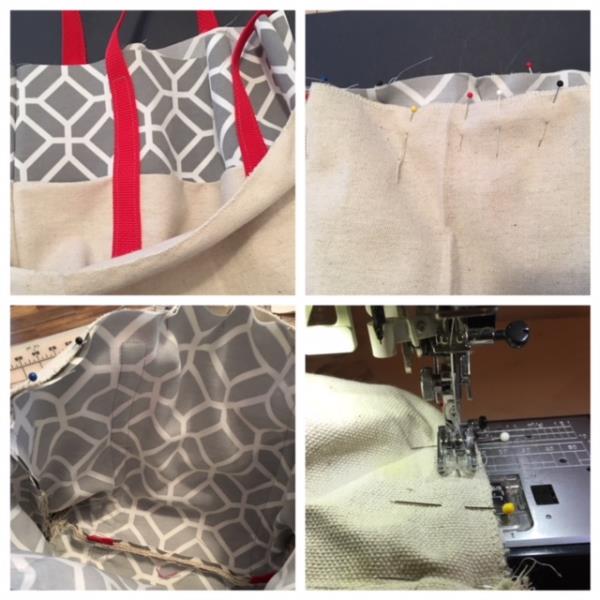
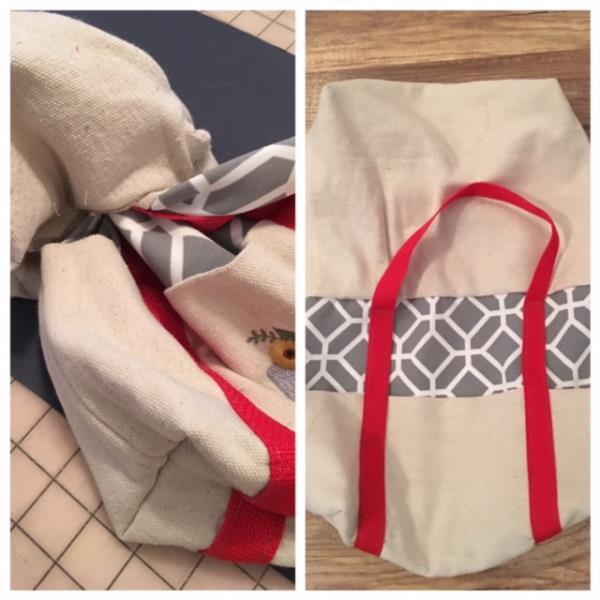
You now have two parts to your bag. Outer and the lining. Put your outer bag into your lining right sides together matching up top edges and seams. Tuck your strapping handles down into sides of the bag so they do not get caught when sewing. Pin in place. Stitch top edge using ½” seam allowance. Be careful as to not get handle caught.
(Click Image to Enlarge)
Step 17:
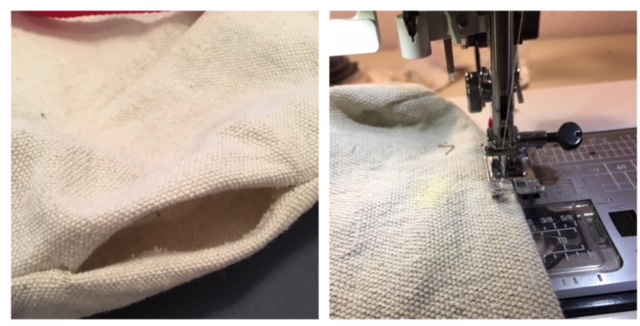
Turn bag by pulling through the opening on the side seam.
(Click Image to Enlarge)
Step 18:
Stitch opening close using a scant 1/8" seam allowance.
(Click Image to Enlarge)
Step 19:
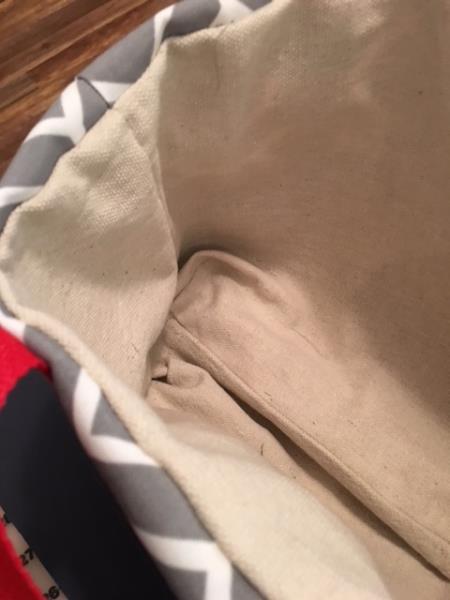
Push lining down into the bag. Smooth and straighten to form a bag.
(Click Image to Enlarge)
Step 20:
Pin at the top and top stitch. Press outside seams.
(Click Image to Enlarge)
Step 21:
Congratulations! Your Joy In the Garden Tool Tote Bag is now complete.