














































PROJECT INSTRUCTIONS


PROJECT INSTRUCTIONS

Fabric Envelope Embroidery Project
By
Linda Mills
on
January 17, 2019
Description
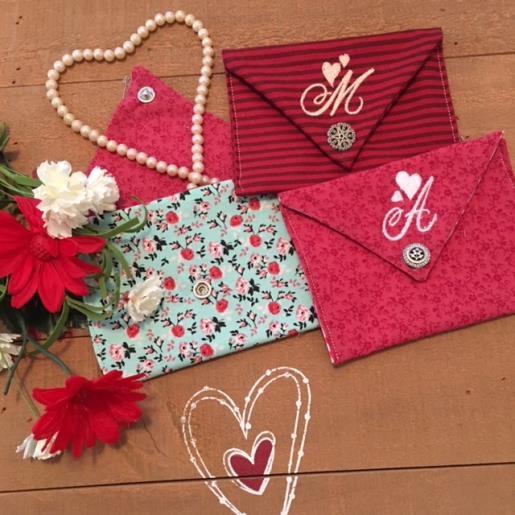
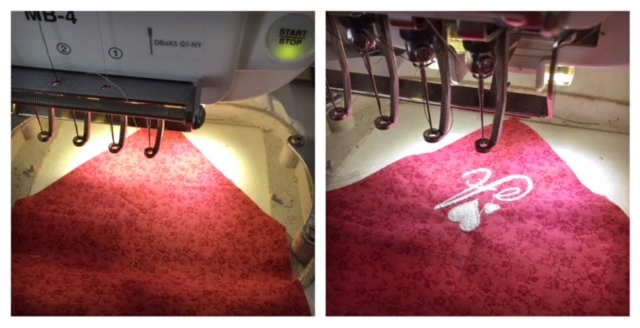
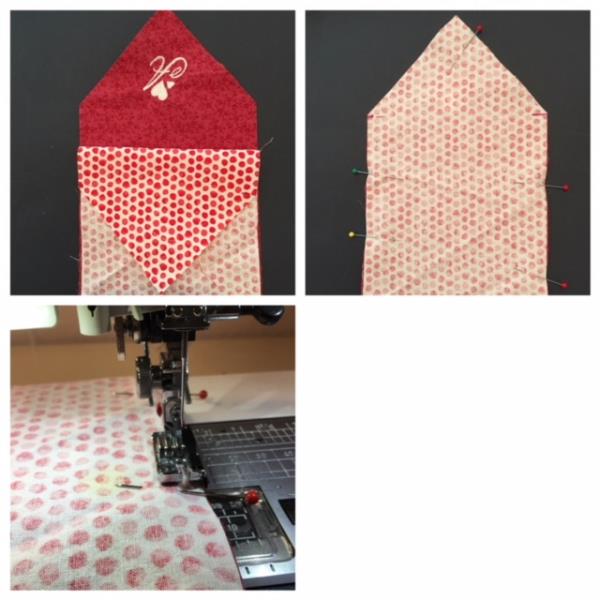
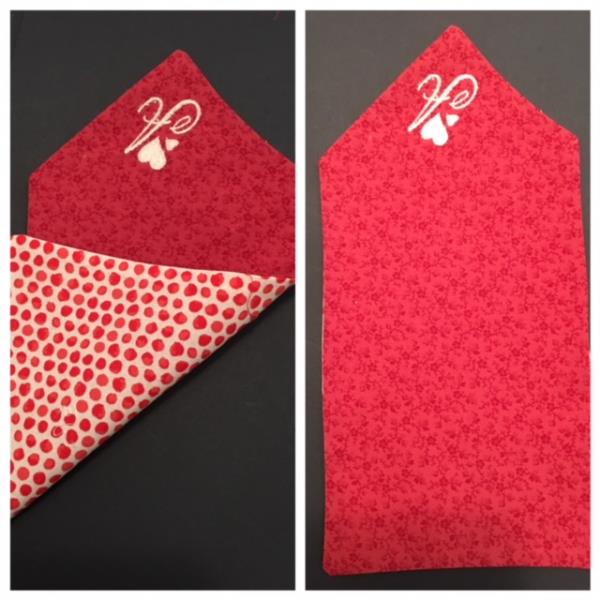
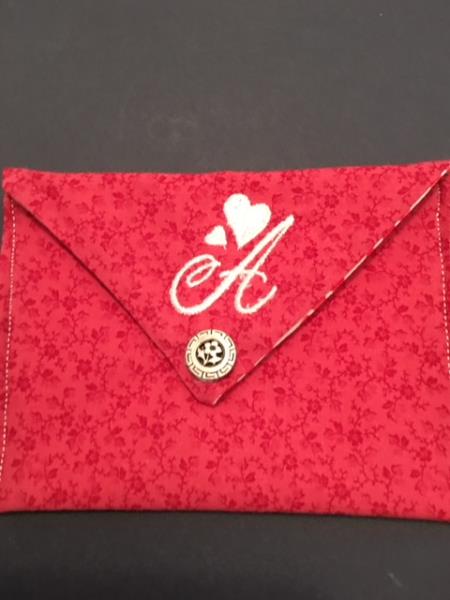
Valentines is fast approaching. Personalize a one of kind fabric envelope for your special Valentine or for anytime gift giving.
Step
of
Materials
Project Preview Video

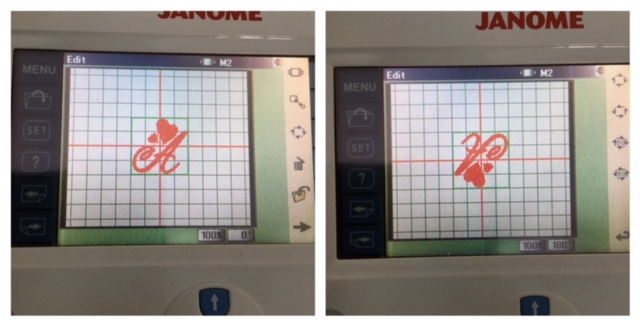
Redwork Romantic Heart Alphabet Embroidery Bundle – Heart Letter A, Heart Letter O, Heart Letter I & More (62 Designs)
$9.95
$5.97
Circle Price: $5.97
505 Spray Temporary Spray Adhesive
$19.99
Circle Price: $19.99

Cut Away Stabilizer - 2.5 Oz wt.
$8.94
Circle Price: $8.05

Cut Away Stabilizer - 2 oz wt.
$8.52
Circle Price: $7.67


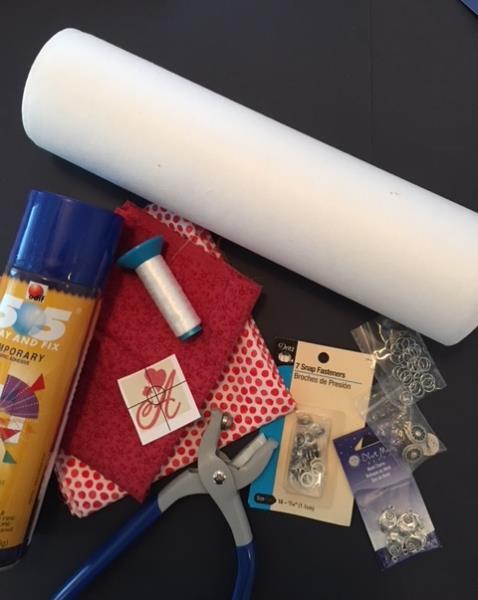
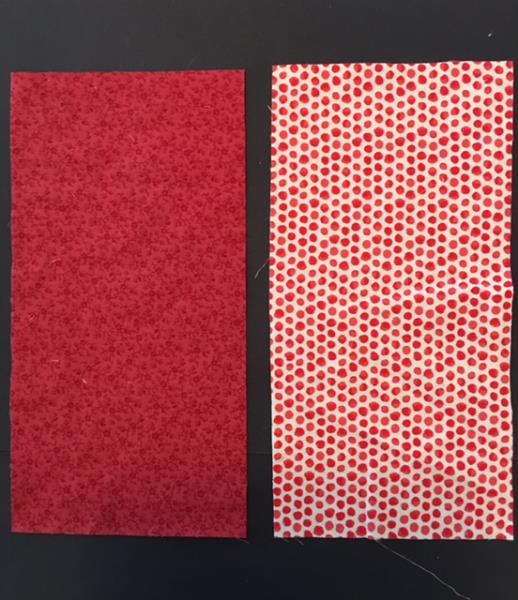
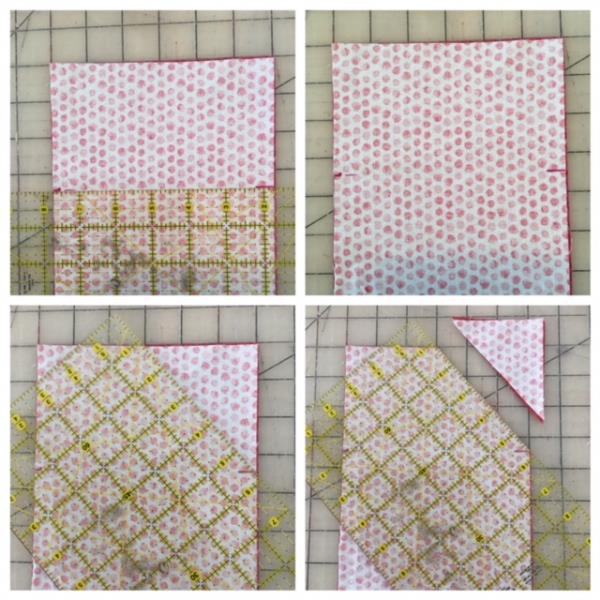
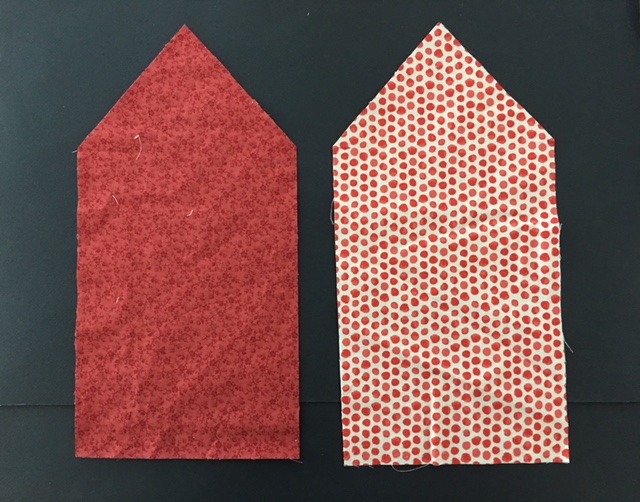
| Materials COTTON FABRIC SCRAPS ( CUT TWO @ 12” X 6” FOR EACH ENVELOPE) TEAR AWAY STABILIZER TEMPORARY ADHESIVE SPRAY ( 505) EMBROIDERY THREAD SNAPS BUTTONS SNAP GROMMET TOOL GLUE GUN AND GLUE STICK CHALK /FABRIC ERASE PEN OPT. CHARM(S) FOR EMBELLISHMENT SIZE MEDIUM VALENTINES FONT |
| Designs used in this project |
| Final Product: What You Will Create |
 |
|
Projects You May Like
Meet the Author:
Linda Mills

Linda loves to create by sharing her different sewing and machine embroidery techniques so others can utilize their machines to the fullest
Feedback
Characters Remaining
Please Login to Submit a Feedback
Invalid Characters, Please enter a valid Comment
Please enter a valid Comment
Reviewed On
Link is Broken, Please check the URL