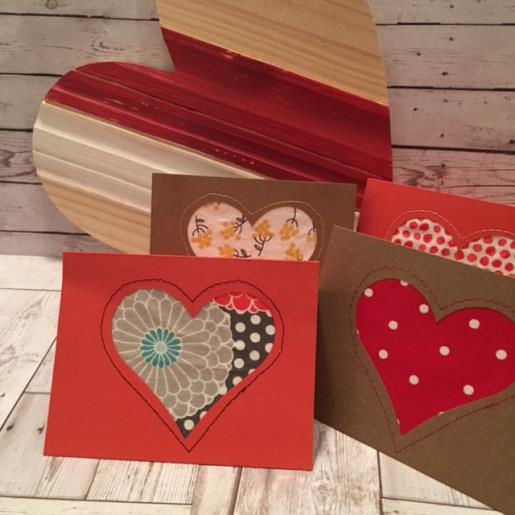
A handmade Valentine card is just perfect to give especially this adorable Fabric Heart Shape Window Valentines card which quickly comes together when using a Print Art ( Vector) file and fabric scraps.
Step
of
Fabric Heart Shape Window Valentine Card
By Linda Mills
This Valentine card comes together so quickly. Cut out heart shape print art file on card stock using your cutting machine. Adding a fabric scrap/remnant to peek through the “window”. Then embellish with stitching around the heart using embroidery or sewing thread. Who wouldn’t want to receive this special card for Valentines Day?
Step 1:
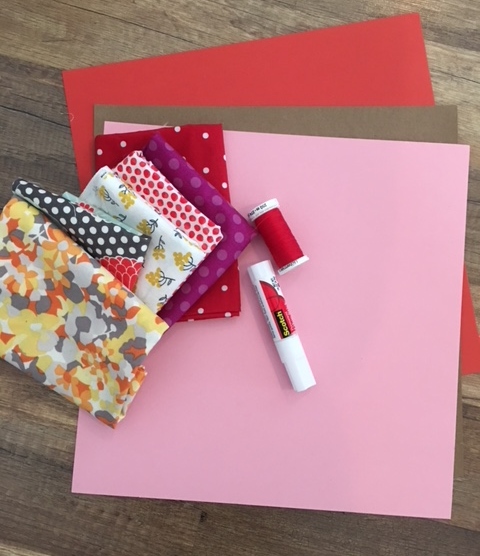
Gather all materials and review instructions before beginning. Time shown is 0.45 minutes which is for the making of one card. (Stabilizer is not shown in picture)
(Click Image to Enlarge)
Step 2:
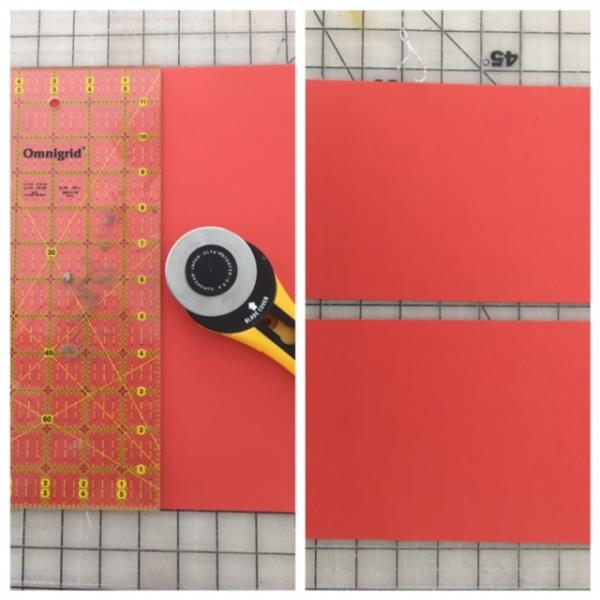
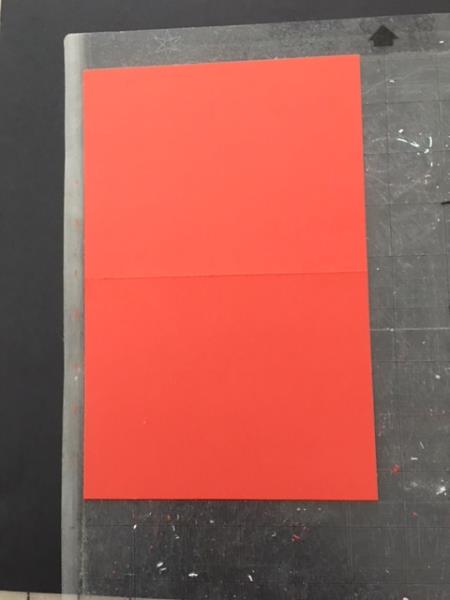
Cut from cardstock 5 ½” x 8 ½”. ( You can cut two cards from one 12” x12” cardstock)
(Click Image to Enlarge)
Step 3:
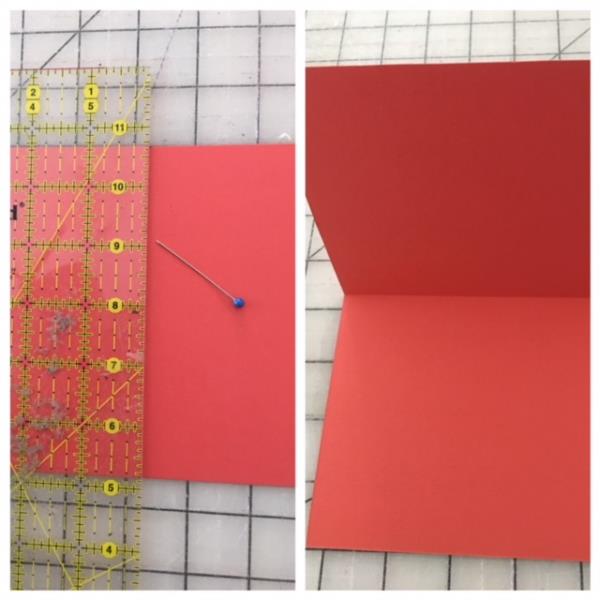
Find the center of the card ( 4 ¼” horizontal) and run a “score” line for the fold using a straight pin. Be careful as to not puncture all the way through the cardstock (Scoring paper/cardstock helps when folding to ensure accuracy)
(Click Image to Enlarge)
Step 4:
Place outside ( front) cut card piece onto your cutting machine’s cutting mat at far left. ( Per your cutting machines' instructions)
(Click Image to Enlarge)
Step 5:
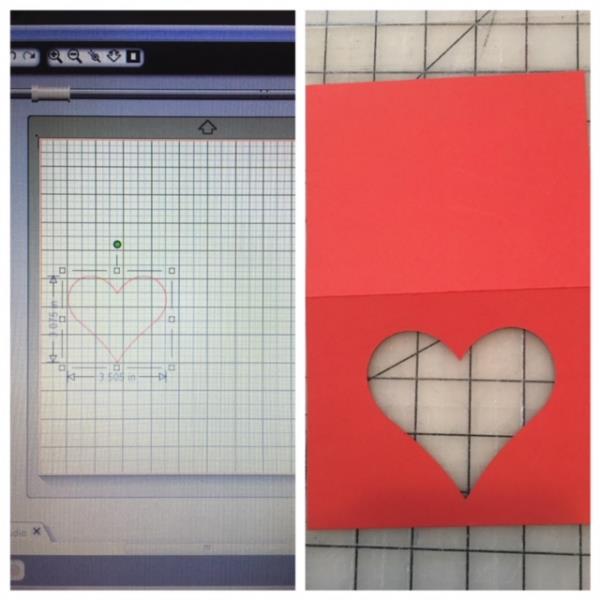
Per your cutting machines’ instructions bring the heart Print Art ( Vector) design file into your cutting software program. Reduce the size to 3” x 3 ½”. Align design as shown pic to center cut on cardstock. ( After cutting you notice that the heart is off center… make the necessary adjustments and recut another card.)
(Click Image to Enlarge)
Step 6:
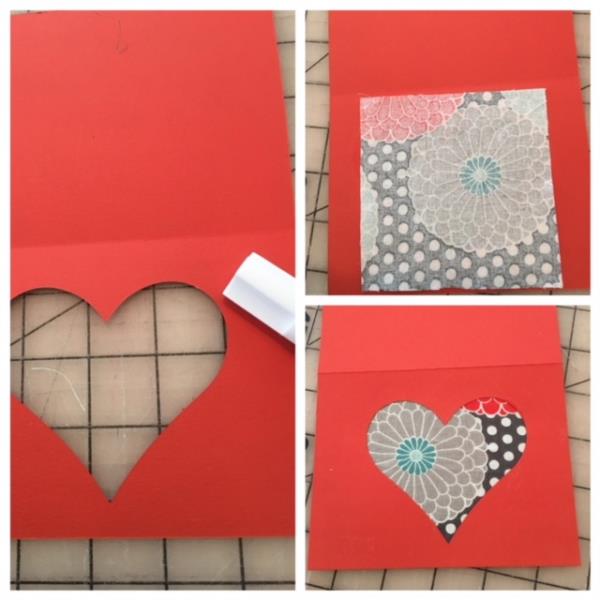
From your fabric scraps cut a 4” x 4” piece. Using your glue stick apply around the edges of the inside heart of card. Place cut fabric square onto heart ( Right side of the fabric down) ensuring you cover “heart window”. Fingertip press to secure.
(Click Image to Enlarge)
Step 7:
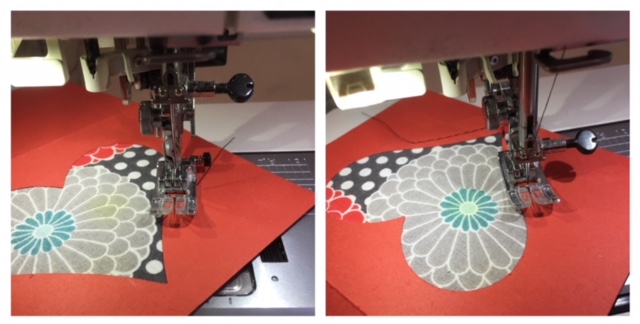
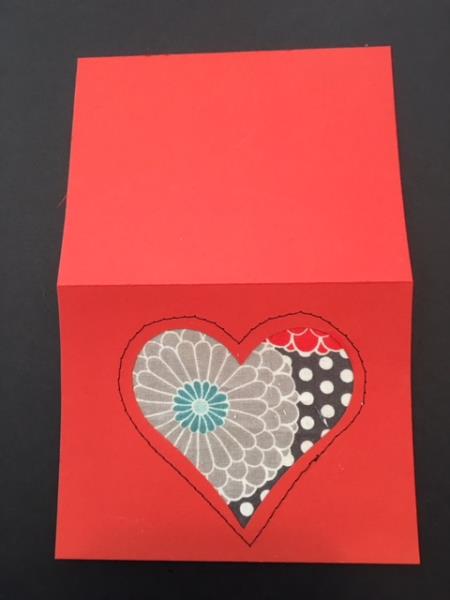
Embellish the front side of the card by stitching around the outside edge of heart by ¼ “. Adjust your stitch length to a basting stitch. ( approx. 4 -5 stitches per inch)
(Click Image to Enlarge)
Step 8:
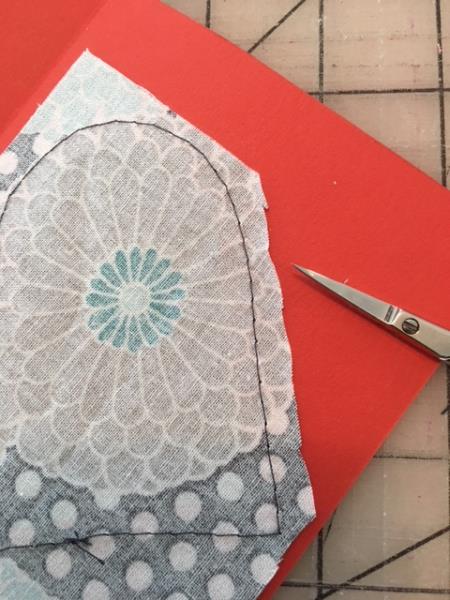
Turn over to the inside of card and trim the fabric approx. ½” from stitch line.
(Click Image to Enlarge)
Step 9:
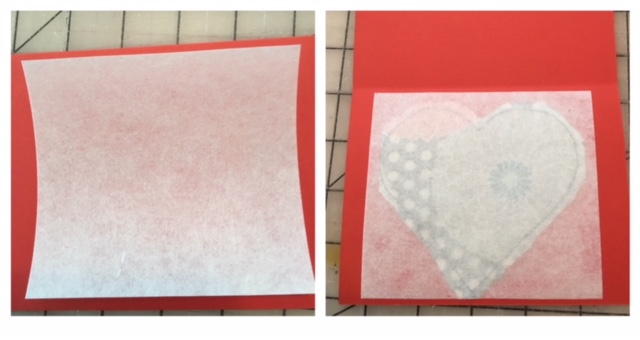
From your stabilizer cut a 4”x 4 ½” piece. Using the glue stick apply to the outside edges and place on top of inside fabric piece to cover. Fingertip press to secure.
(Click Image to Enlarge)
Step 10:
Turn your card over to front side.....Congrats! Your Fabric Heart Shape Window Valentine's Day card is complete! As said earlier in this tutorial, this card project comes together so quickly. Use different fabric scraps and add your own personal embellishment favorites to personalize when making of additional cards. Happy Valentines Day!