Live Chat
Embroidery Designs
Welcome, Embroiderer
Login
Favorites Pillowcase
{{mainImageAlt || (productInfo._source && productInfo._source.name) || ''}}

Favorites Pillowcase Embroidery Project

By   Marisa Littleton   on   January 03, 2019
  • SKILL LEVELSome Experience
  • TIME REQUIRED01:00
Description

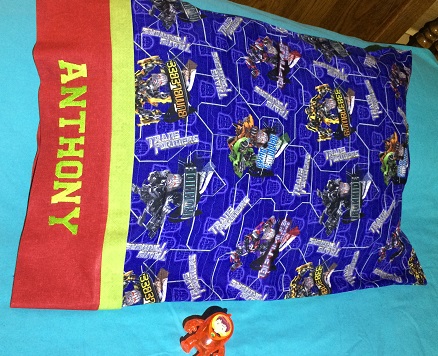
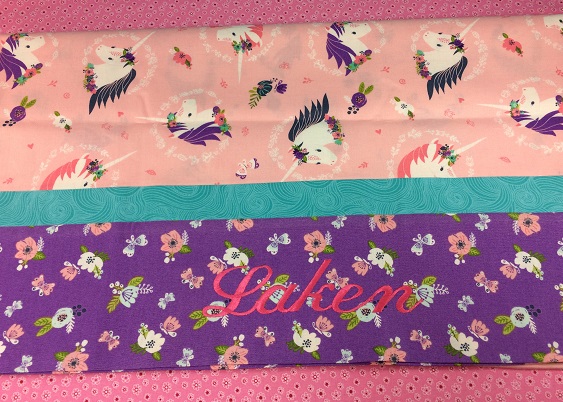
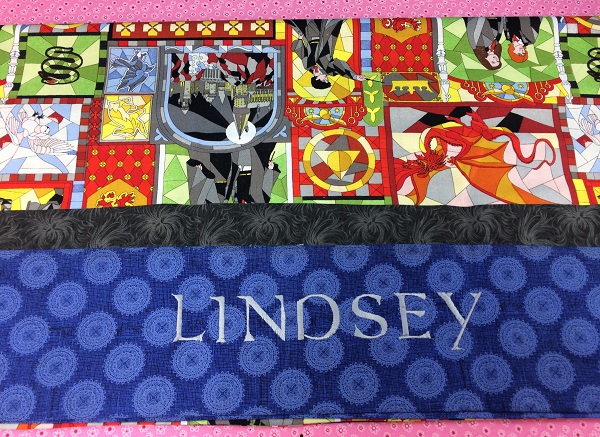
Delight individuals of all ages with a pillowcase customized using things they like. Create a custom pillow based on personal preferences such as transformers, unicorns, Harry Potter or even flowers.

Step of

Materials

Project Preview Video

Materials
  • 4x4 or larger hoop
  • Design Template & Color Chart
  • 75/11 Embroidery Needle
  • 40 wt. Embroidery Thread
  • 27” x WOF cotton fabric (main body)
  • 2” x WOF cotton fabric (trim)
  • 10”x WOF cotton fabric (cuff)
  • Magic Sizing or spray starch
  • Cut-away Stabilizer
  • Temporary Adhesive Spray
  • Stick Pins
  • Sewing Machine
  • Sewing Thread & Bobbin

  • Designs used in this project

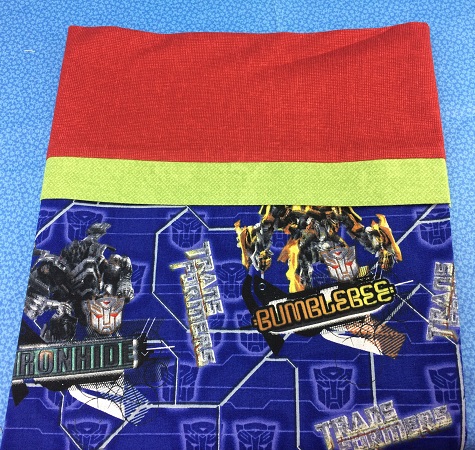
    Final Product: What You Will Create

    Preface:
    Create a custom made pillowcase based on personal preferences.  This project combines sewing and machine embroidery.  An embroidery software program was used to add the font to the project.   A burrito style method was used to make the pillowcase.  An easy way to remember fabric measurements for this project is 3" of fabric for the trim, 9" for the cuff, and 27" for the body of the pillowcase.  3x9=27.


    Step 1:
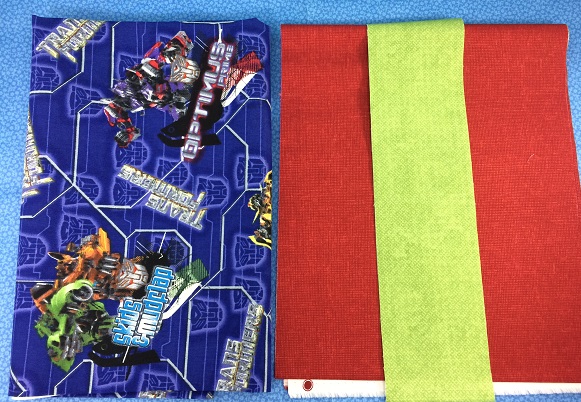
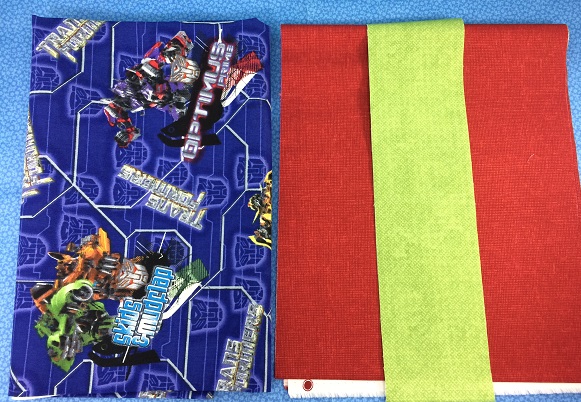
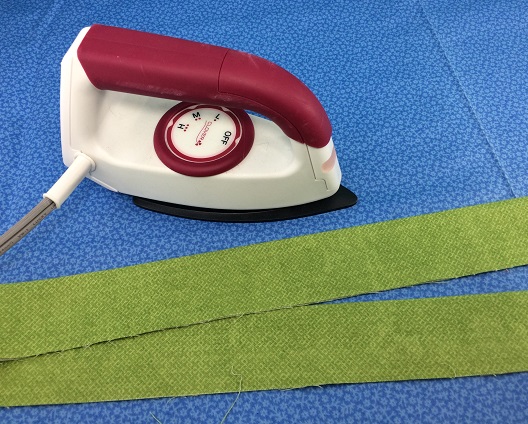
    Gather the materials.  Read through the instructions before beginning.  Iron and starch the fabric.  Thread color should compliment the fabric choices.  A medium weight (2.5) cut-away stabilizer was used for this project.  A temporary spray adhesive will help stabilize the pillowcase during stitching.

    (Click Image to Enlarge)


    Step 2:
    Cut one 27” x WOF (width of fabric) for the main body of the pillowcase.
    Cut one 3” x WOF for the trim on the pillowcase.
    Cut one 9” x WOF for the cuff on the pillowcase.  The personalization will go on the cuff.  Choose a more subtle fabric so the name will be more visible.

    (Click Image to Enlarge)


    Step 3:
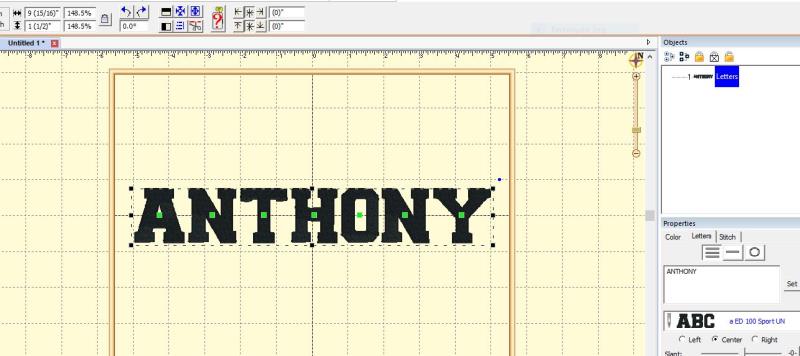
    Embrilliance 'Essentials' embroidery software was used to create the names used to personal the pillowcase.  Font size was 1 1/2" in height.   Sport Font was used for the name.
     

    (Click Image to Enlarge)


    Step 4:
    Fold the 3” fabric in half with RIGHT SIDES facing you.  Iron a crease on the fold line.  This strip will make the trim on the pillowcase.

    (Click Image to Enlarge)


    Step 5:
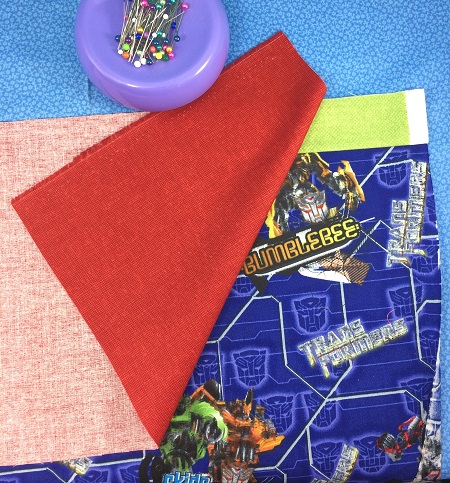
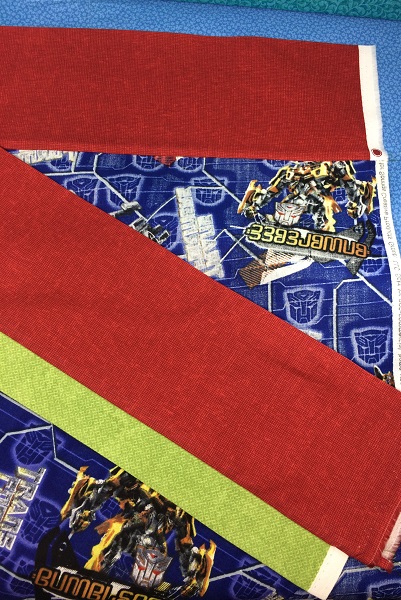
    Lay the 9” fabric with the RIGHT SIDE up on a flat surface.  This piece is the cuff on the pillowcase.  
                                                                       
    Place the 27” fabric RIGHT SIDE up on top of the 9” fabric and line up edges.  Put the FOLDED trim on top.  Line up all raw edges.  This piece is the body of the pillowcase.

    NOTE:  If the fabric is directional, place the top on the raw edge.


    Step 6:
    Reach to the bottom of the 27” piece and roll up into a tube burrito or accordion style.

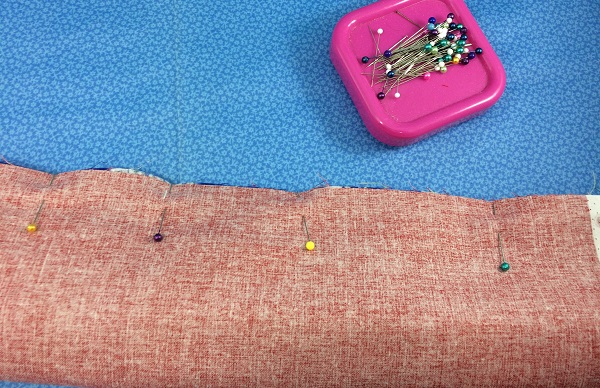
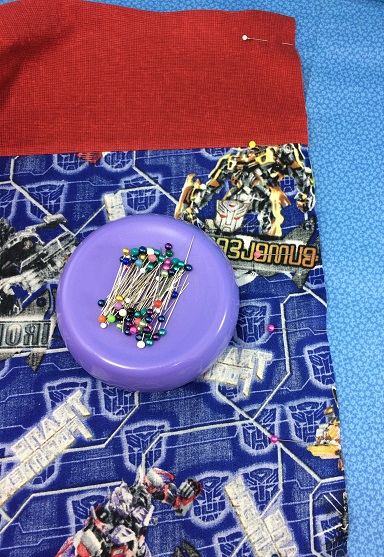
    Bring the back piece (9” cuff fabric) over the top.  Pin all layers together.
     
    Sew ¼” seam in a neutral color along the long side of the pillowcase.  This step will make all seams on the inside of the pillowcase completely enclosed except for the base.
     

    (Click Image to Enlarge)


    Step 7:
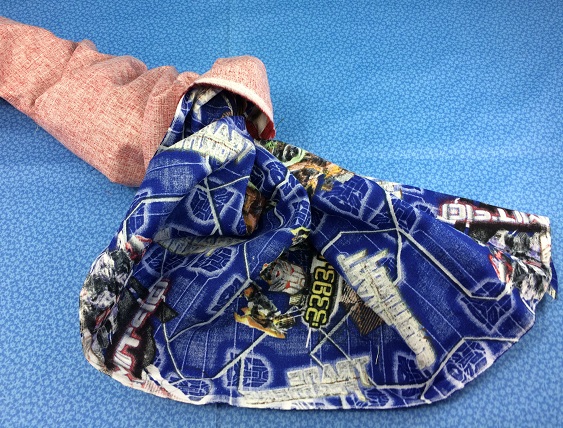
    Reach inside the tube and pull the fabric out.  Iron the fabric.  Iron both sides of the cuff to make sure the edges do not overlap.

    (Click Image to Enlarge)


    Step 8:
    Trim the edges of the fabric.

    (Click Image to Enlarge)


    Step 9:
    (Click Image to Enlarge)
    Fold the pillowcase in half with WRONG SIDE facing you.  Match the cuff and piping pieces.  Pin in place.


    Step 10:
    (Click Image to Enlarge)
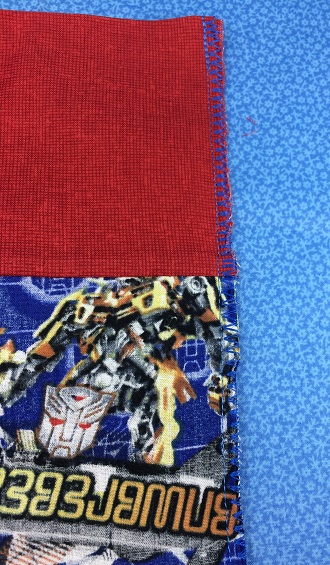
    Sew a seam ¼” along the long side and bottom of the pillowcase.  You may an overlock stitch or surge the seam.
     
    Turn the pillowcase right side out and iron. 


    Step 11:
    WOW!  You just made a pillowcase!  Great job!


    Step 12:
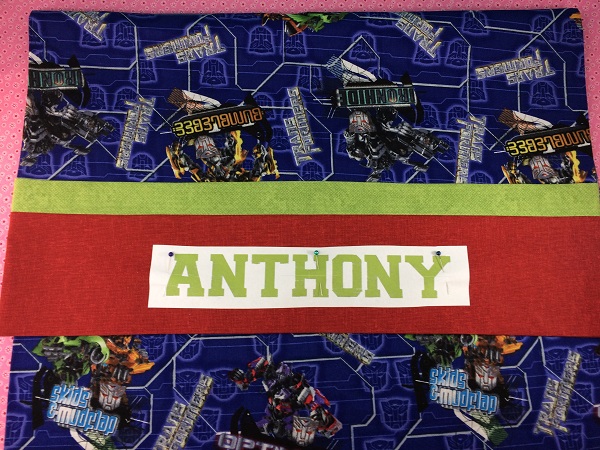
    Determine placement for the embroidery design on the cuff of the
    pillowcase.  Measure to find the center point and axis on the cuff.   Use the design template as a guide for placement.

    (Click Image to Enlarge)


    Step 13:
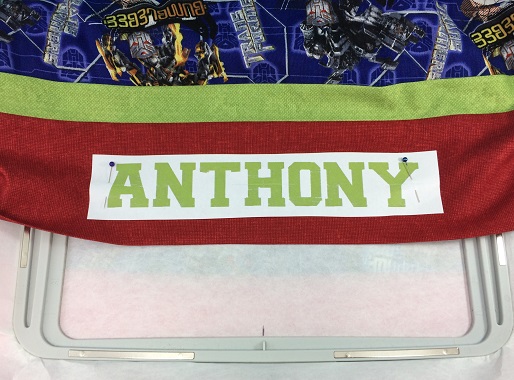
    Hoop the stabilizer.  Mark the center point and axis on the stabilizer.  

    Align the center points and axis on the stabilizer with the ones on the
    pillowcase.  Pin pillowcase in place on the stabilizer.


    Step 14:
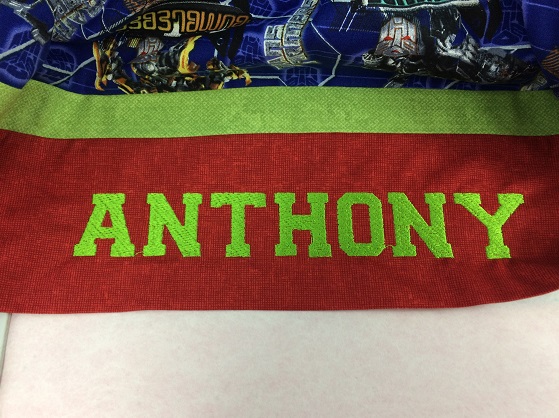
    Load the design on your embroidery machine.  Stitch the embroidery design.

    (Click Image to Enlarge)


    Step 15:
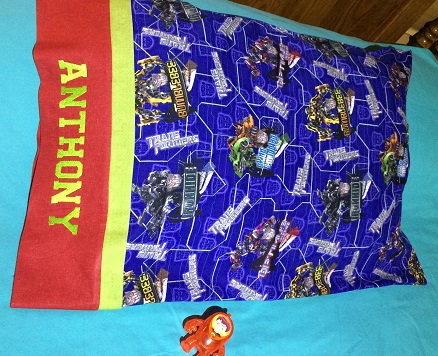
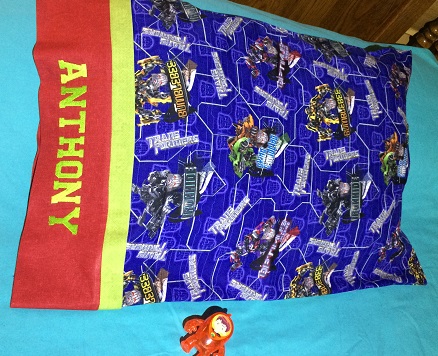
    You have completed a custom made pillowcase!  Perfect for the youngster that loves Transformers!


    Step 16:
    For the unicorn fan using Biz Brush font.

    (Click Image to Enlarge)


    Step 17:
    Dumbledor font for the Harry Potter fanatic!

    (Click Image to Enlarge)


    Learn by teaching...
     
     
    Marisa Littleton 
    Meet the Author: Marisa Littleton
    Marisa Littleton
    Marisa Littleton is a retired educator with a love for teaching and learning. Interests include machine embroidery, hand embroidery, quilting, cooking, and antiques.
    More From This Author
    Link is Broken, Please check the URL
    Exclusive Embroidery Offers!
    Copyright © {{ currentDate | date:'yyyy'}} - EmbroideryDesigns.com
    GET 50% OFF! ×