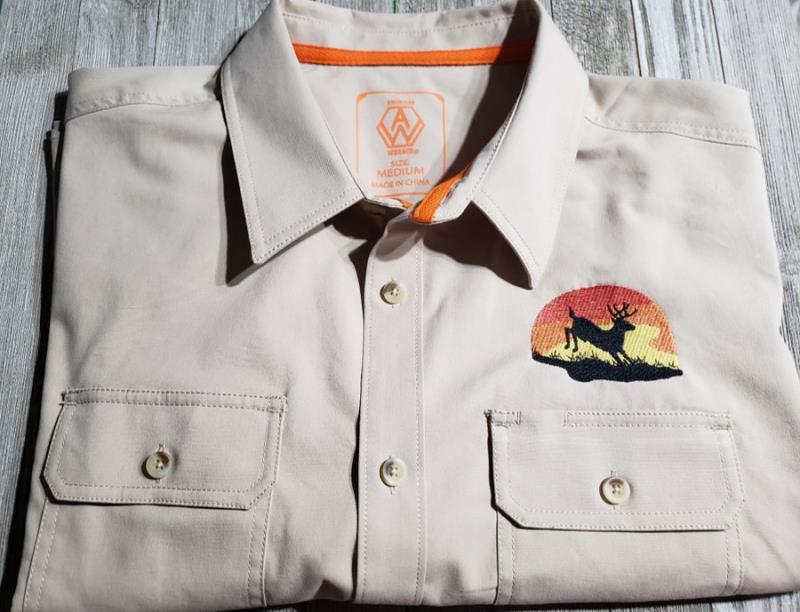
Jumping Deer Shirt Embellishment

Jumping Deer Shirt Embellishment Embroidery Project

By   Martha Montgomery   on   December 31, 2018
  • SKILL LEVELBeginner
  • TIME REQUIRED01:00
Description

Add a vibrant touch to your clothing with this colorful jumping deer embellishment, perfect for shirts, totes, or ball caps. This design brings a lively and artistic flair to your wardrobe. Step-by-step instructions are included.

Step of

Materials

Project Preview Video

Materials
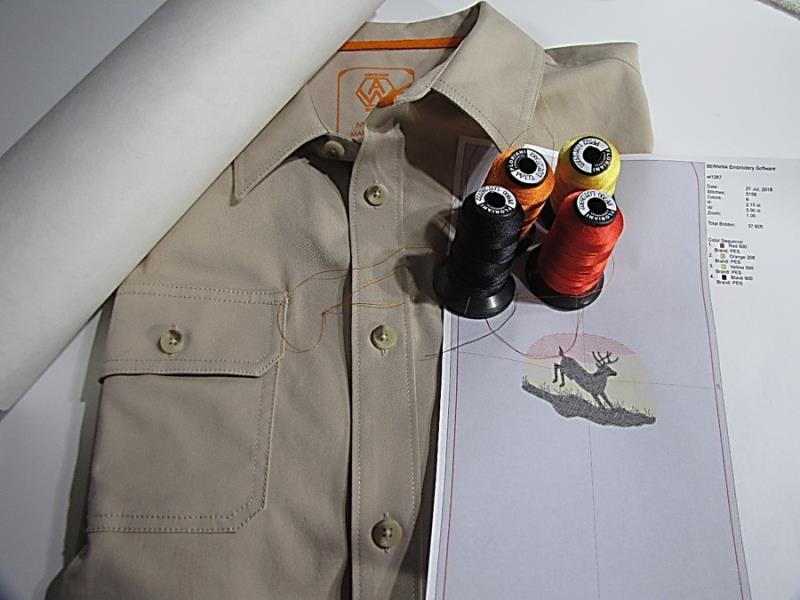
  • Men’s shirt – this one is short sleeved
  • Embroidery thread
  • Cut-away stabilizer
  • Ruler
  • Temporary fabric marker
  • A paper template of the design

  • Designs used in this project

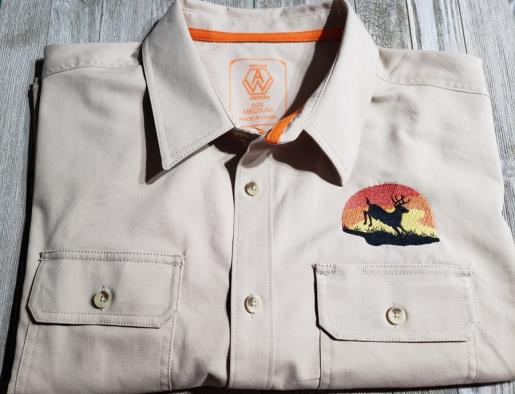
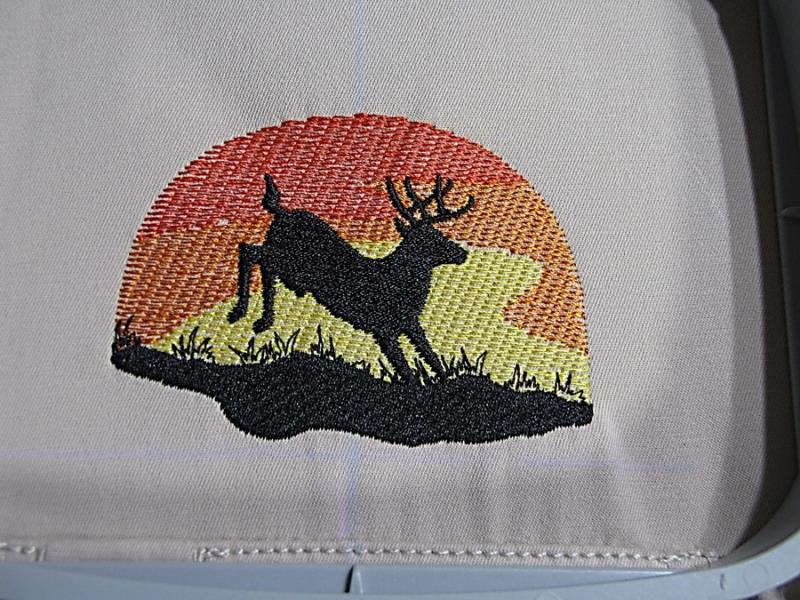
    Final Product: What You Will Create

    Preface:
    The outdoorsman in your life will love this jumping deer silhouette design.


    Step 1:
    Gather the materials and read through the instructions before beginning. Print out a paper template of the design and color sequence.

    (Click Image to Enlarge)


    Step 2:
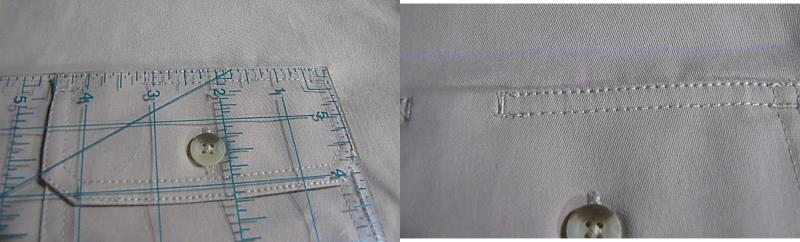
    Measure and mark ½ inch above the top flap of the pocket for the bottom line of the design.

    (Click Image to Enlarge)


    Step 3:
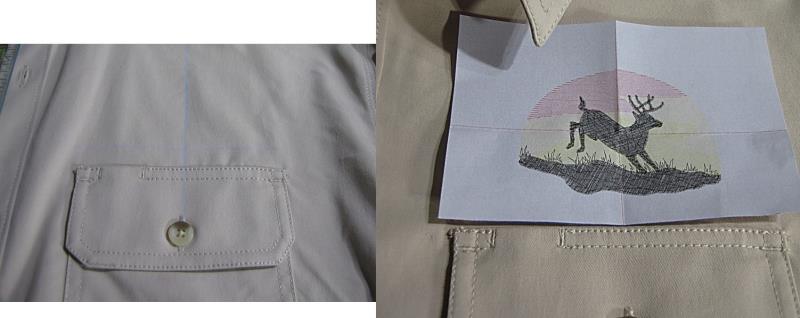
    The buttonhole will be the vertical center placement of the design. Using your ruler and temporary fabric marker, extend the line above the top pocket edge to assist in accurate placement of your design. Confirm placement with a paper template of the design.

    (Click Image to Enlarge)


    Step 4:
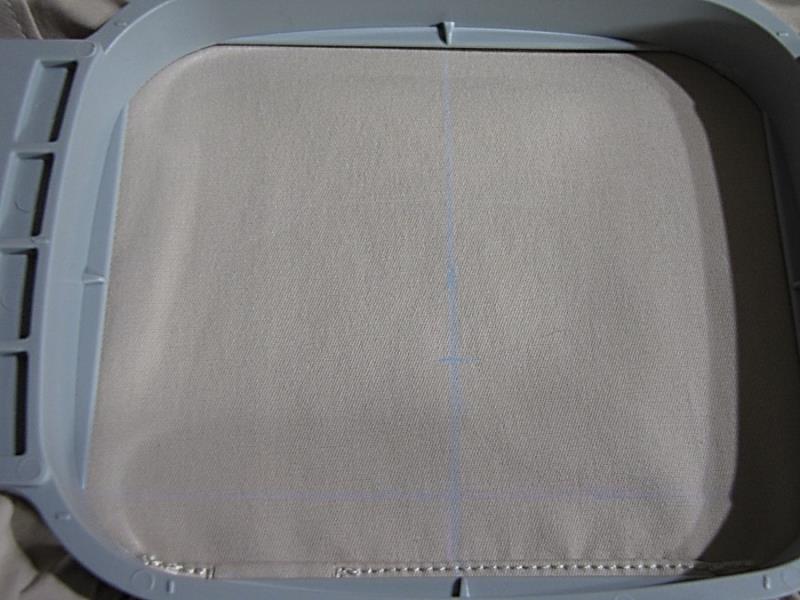
    Hoop the shirt and cut away stabilizer, aligning the vertical placement line with the center mark on the hoop. Make sure top edge of the pocket is even along the lower edge of the hoop.

    (Click Image to Enlarge)


    Step 5:
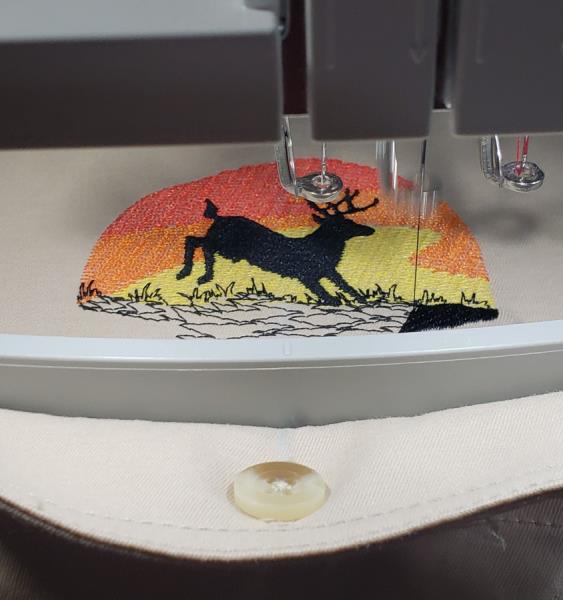
    Place the hooped shirt on to your machine. Using the paper template, confirm proper placement before stitching. Stitch the design following the color sequence.
     
    NOTE:  Remember to remove the paper template before stitching.     

    (Click Image to Enlarge)


    Step 6:
    When stitching is complete, remove the project from your machine and un-hoop the project.

    (Click Image to Enlarge)


    Step 7:
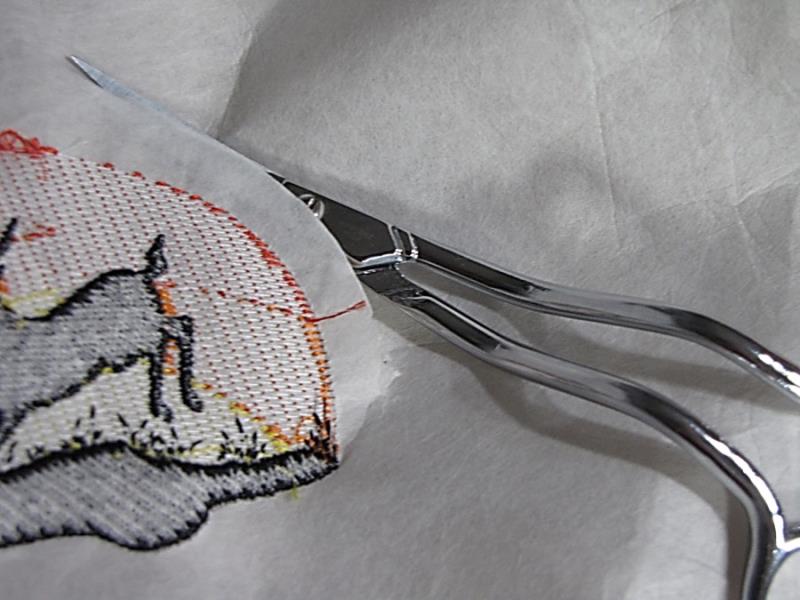
    Trim away the excess cut away stabilizer approximately ¼ to ½” from the design.

    (Click Image to Enlarge)


    Step 8:
    This easy project is all done! It will make a great gift for anyone who loves the outdoors!

    (Click Image to Enlarge)

    Meet the Author: Martha Montgomery
    Martha Montgomery
    Martha has been sewing since childhood. She is a maker of garments, quilter and machine embroiderer. Martha loves all things fabric and fabric-related.
    More From This Author
    Link is Broken, Please check the URL
    Exclusive Embroidery Offers!
    Copyright © {{ currentDate | date:'yyyy'}} - EmbroideryDesigns.com
    GET 50% OFF! ×