2026 Flash Sale
Live Chat
Embroidery Designs
Welcome, Embroiderer
Login
Christmas Tree Placemats
{{mainImageAlt || (productInfo._source && productInfo._source.name) || ''}}

Christmas Tree Placemats  Embroidery Project

By   Marisa Littleton   on   December 07, 2018
  • SKILL LEVELSome Experience
  • TIME REQUIRED01:00
Description

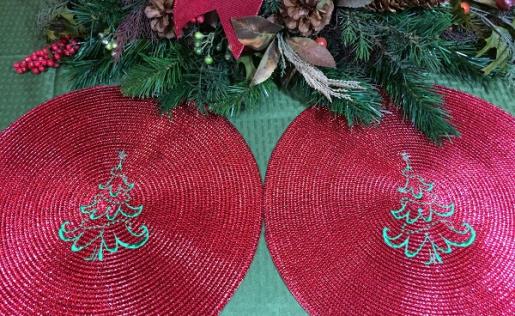
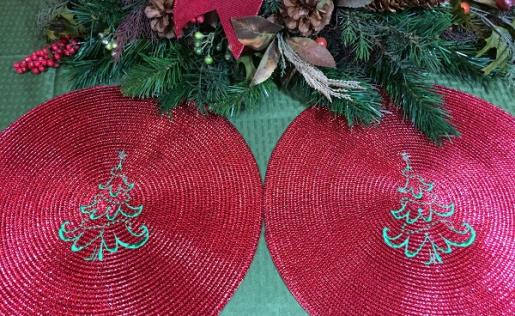
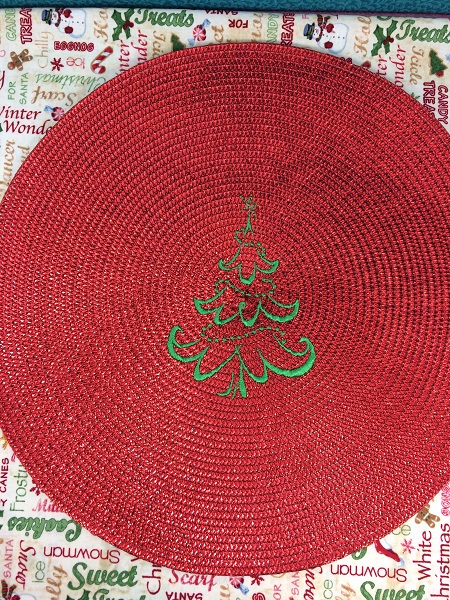
A simple, elegant Christmas tree to compliment your table settings. Metallic placemats add BIG sparkle to the holiday season!

Step of

Materials

Project Preview Video

Materials
  • 5"x7" hoop
  • Design Template & Color Chart
  • 40 wt. Embroidery Thread (Robison-Anton Super Brite poly)
  • 75/11 embroidery needle
  • 505 Temporary Adhesive Spray
  • synthetic straw/woven polypropylene placemats (15” diameter)
  • Medium-weight (2.5 ounces) cutaway stabilizer
  • Lightweight water-soluble topping
  • Air-erase pen for marking (Clover)
  • Seam-Fixs (seam ripper)

  • Designs used in this project

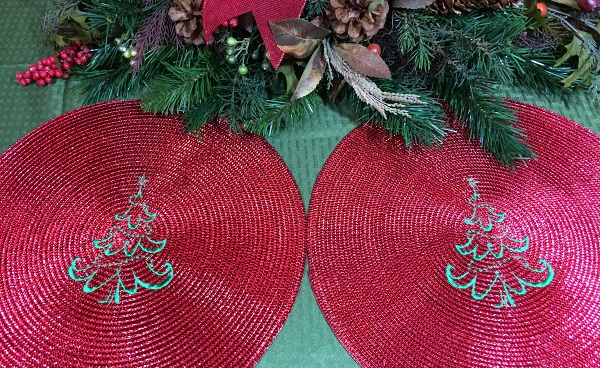
    Final Product: What You Will Create

    Preface:
    A simple, elegant Christmas tree on metallic placemats create a lovely setting for the holiday season.  


    Step 1:
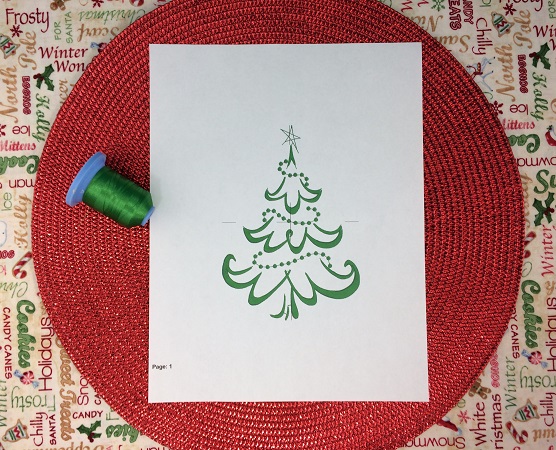
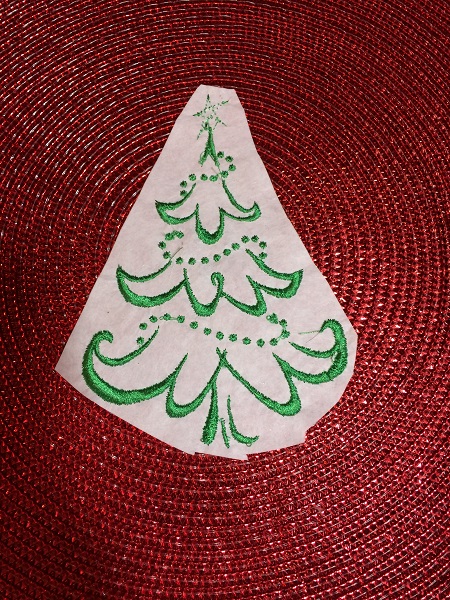
    A design template is a printout of the actual size of the design.  It's an excellent tool to use as a guide for placement and positioning.

    Print a design template and color chart from your embroidery software.


    Step 2:
    Gather the materials needed for the project.  Read the directions carefully.

    (Click Image to Enlarge)


    Step 3:
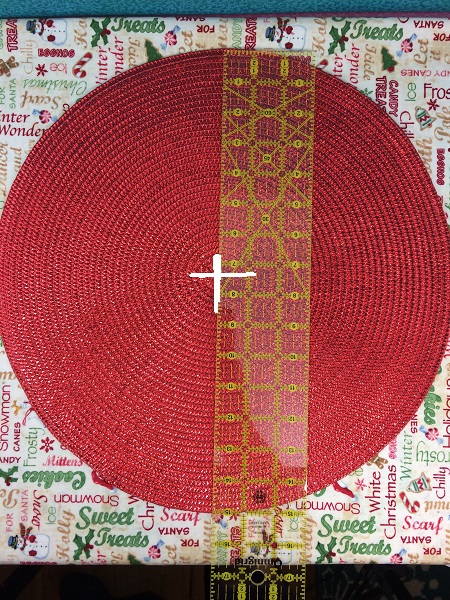
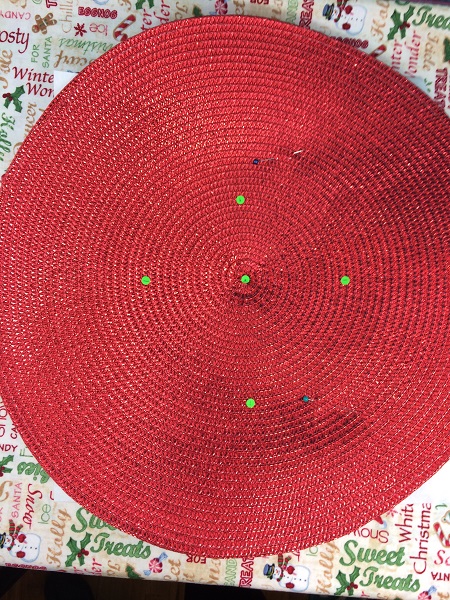
    Find the center of the placemat.  The placemat in the example has a diameter of 15".  The center point is 7.5" for this placemat.  Mark the center point on the placemat.


    (Click Image to Enlarge)


    Step 4:
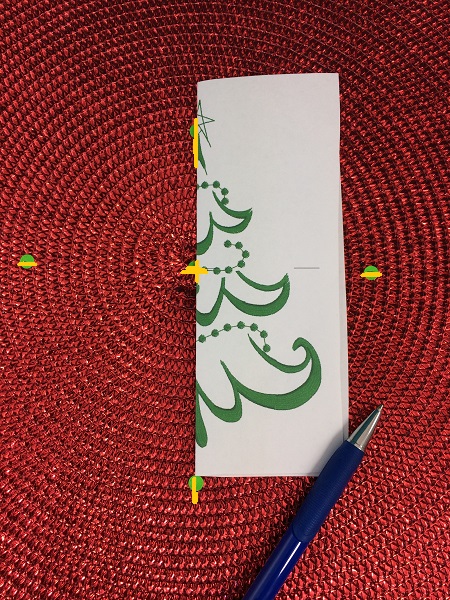
    Position the center of the template so it is in the center of the placemat.

    Mark the horizontal and vertical axis lines.

    (Click Image to Enlarge)


    Step 5:
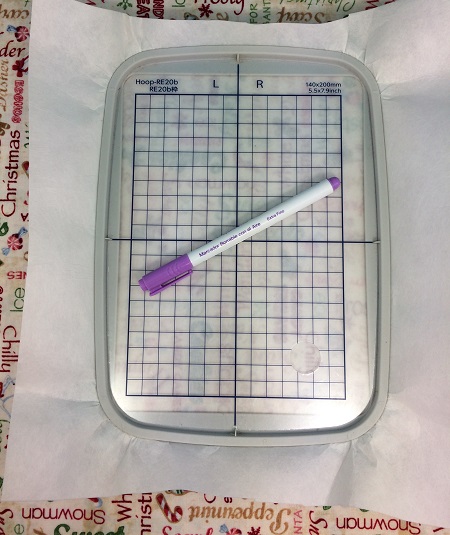
    Hoop 1 piece of cut away stabilizer.  Mark the center point and axis lines on the stabilizer.

    (Click Image to Enlarge)


    Step 6:
    A ‘floating’ technique’ will be used for this project.  Only the stabilizer is hooped.  The placemat is secured on top of the stabilizer with temporary adhesive spray.

    Put the placemat on top of the stabilizer, lining the axis lines made on the placemat with the marks on the hoop.

    (Click Image to Enlarge)


    Step 7:
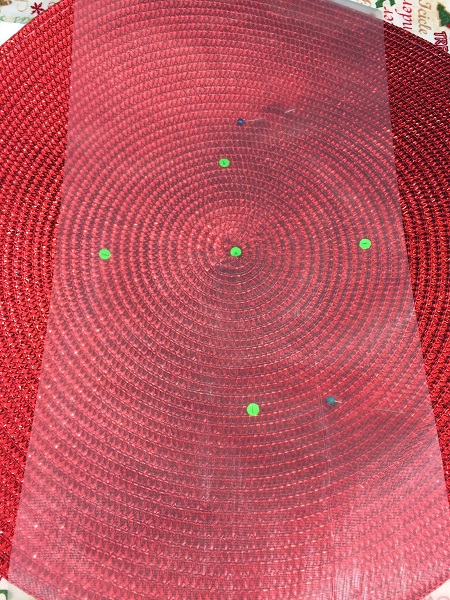
    The placemats have ridges and the design can sink or disappear on the uneven surface.  Place a piece of lightweight water-soluble topping on top of the placemat.  The topping will help the stitches to land evenly on the surface.

    (Click Image to Enlarge)


    Step 8:
    Attach the hoop to the machine and check to make sure that everything is clear so that the hoop will move freely.
     
    Load the embroidery design on your machine.  Stitch the design.  Use the color guide on the machine and printed chart as a guide.
     

    (Click Image to Enlarge)


    Step 9:
    After embroidering, gently tear the water-soluble topping away from the top.  Use a damp sponge to remove any remaining bits.

    (Click Image to Enlarge)


    Step 10:
    Trim the cutaway stabilizer away from the back leaving approximately ½” from the stitches.  Trim any thread as needed on the back of the placemat.

    (Click Image to Enlarge)


    Step 11:
    You did it!  You have completed a 'Christmas Tree Placemat'.  Congrats! 

    (Click Image to Enlarge)


    learn by teaching....
     
     
    Marisa Littleton 
    Meet the Author: Marisa Littleton
    Marisa Littleton
    Marisa Littleton is a retired educator with a love for teaching and learning. Interests include machine embroidery, hand embroidery, quilting, cooking, and antiques.
    More From This Author
    Link is Broken, Please check the URL
    Exclusive Embroidery Offers!
    Copyright © {{ currentDate | date:'yyyy'}} - EmbroideryDesigns.com
    GET 50% OFF! ×