2026 Flash Sale
Live Chat
Embroidery Designs
Welcome, Embroiderer
Login
FLEECE EAR WARMERS
{{mainImageAlt || (productInfo._source && productInfo._source.name) || ''}}

FLEECE EAR WARMERS Embroidery Project

By   Marisa Littleton   on   November 30, 2018
  • SKILL LEVELSome Experience
  • TIME REQUIRED01:00
Description

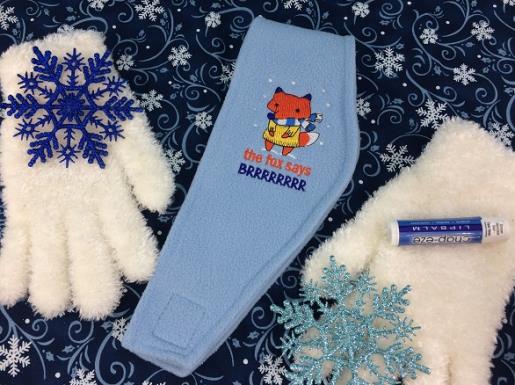
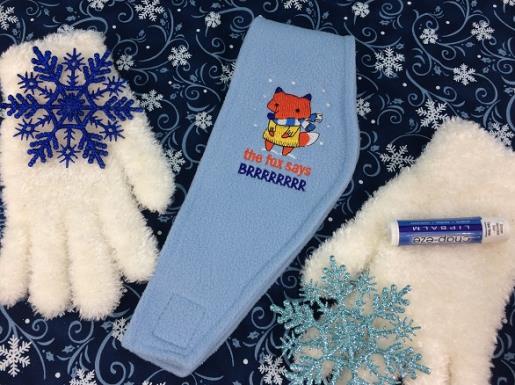
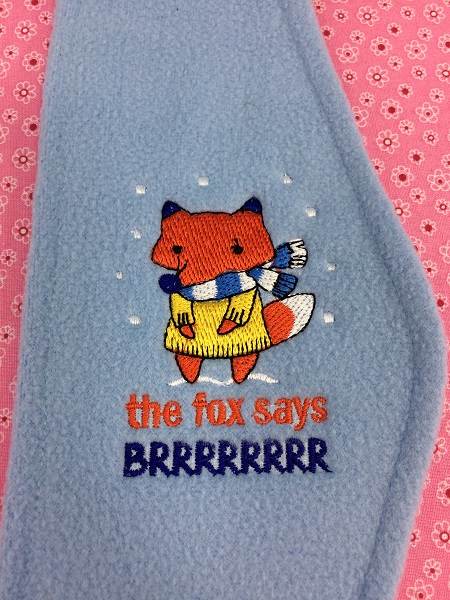
BRRRRRR! Says the fox! It's cold out here! Keep your ears toasty with embroidered fleece warmers.

Step of

Materials

Project Preview Video

Materials
  • 4 x 4 hoop
  • Fleece ear warmers (Wal-Mart, Dollar Stores, etc.)
  • Design template & color chart
  • Cut away stabilizer-medium weight
  • Water-soluble topping
  • Embroidery thread 40 wt. (Robison-Anson)
  • 505 Temporary Adhesive Spray
  • 75/11 Embroidery Needle

  • Designs used in this project

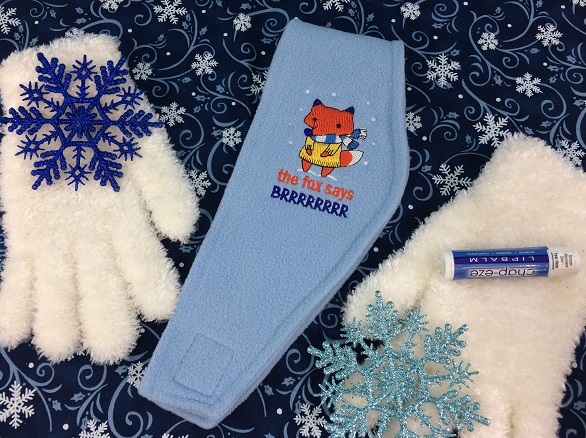
    Final Product: What You Will Create

    Preface:
    BRRRRRR!  It's cold out here!  Be ready for those brisk winter days with fleece ear warmers!  A fun project that will keep your ears toasty all winter!


    Step 1:
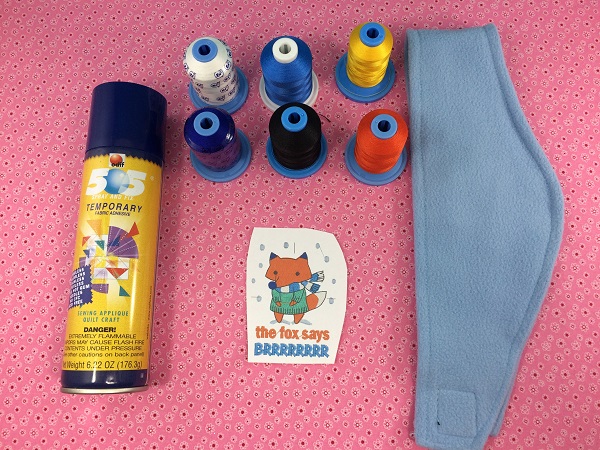
    Gather the materials.  Read through the instructions before beginning. 
     
    The embroidery design was reduced in size slightly so that it would fit on the ear warmer.  Embrilliance Essentials software was used to change the size.  You may not need to change the size of the design depending on the width of your ear warmers.
     
    Print the Design Template & Color Chart.
     

    (Click Image to Enlarge)


    Step 2:
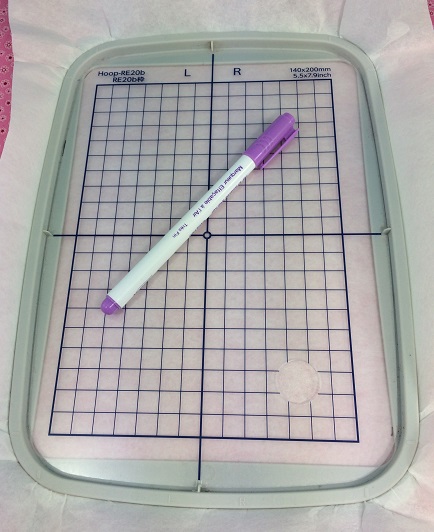
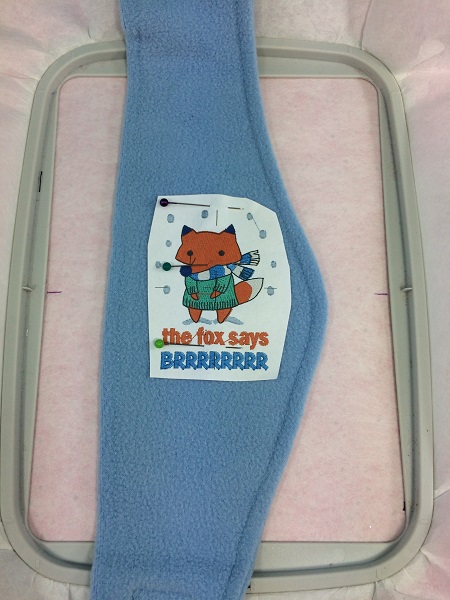
    Hoop 1 piece of cut away stabilizer.  Mark the center point and axis lines on the stabilizer.

    (Click Image to Enlarge)


    Step 3:
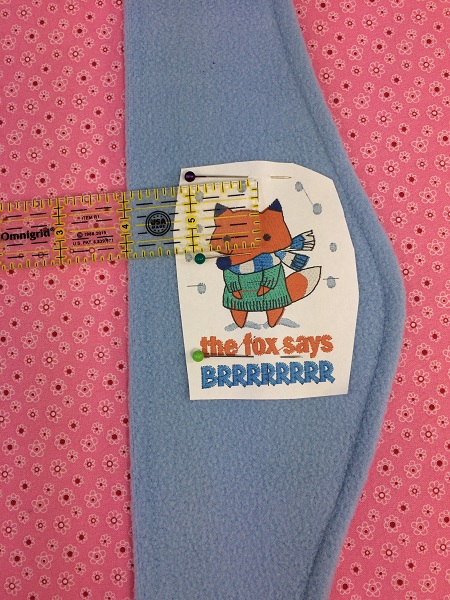
    The paper design template is the actual size of the stitch out.  Use the template as a guide for placement and positioning of the design on the ear warmer.  Use an air erasable fabric marker to mark the center point and axis on the ear warmer.

    (Click Image to Enlarge)


    Step 4:
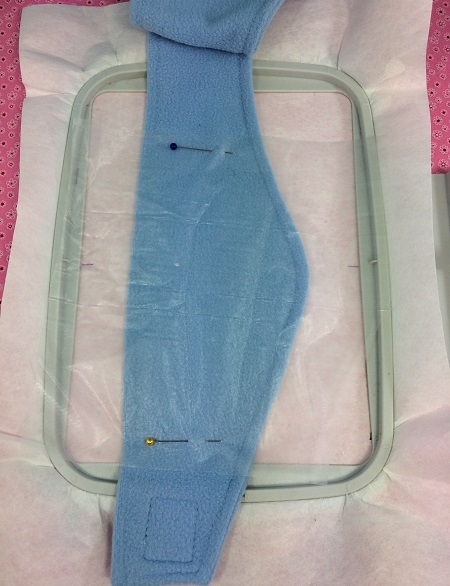
    Match the center point on the ear warmer with the center point on the stabilizer.  Spray a very light mist of temporary adhesive spray on the stabilizer.  Press the ear warmer in place on the stabilizer.

    (Click Image to Enlarge)


    Step 5:
    Cover the stitching field with a piece of water-soluble topping.  Pin the topping to the ear warmer to keep it in place during stitching.

    (Click Image to Enlarge)


    Step 6:
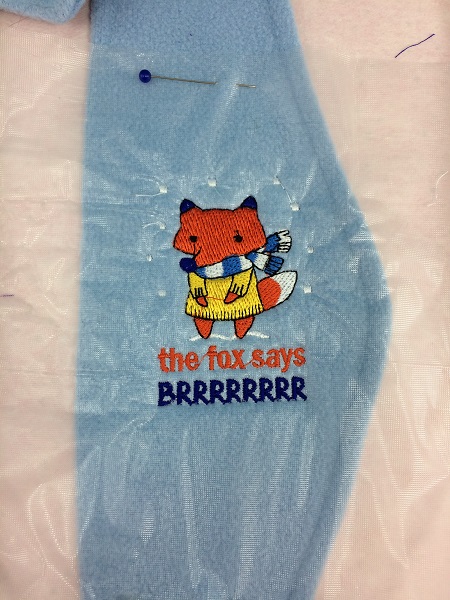
    Load the embroidery design on your machine.  Stitch the design.  Use the color guide on the machine and printed chart as a guide.

    (Click Image to Enlarge)


    Step 7:
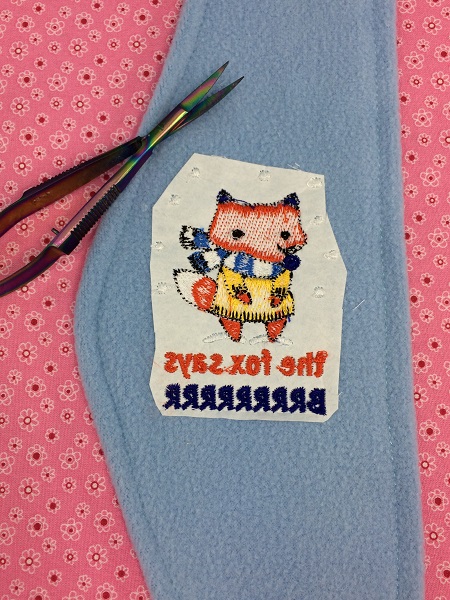
    Remove the ear warmer from the hoop.  Gently tear away the excess water-soluble topping.  Clip any long threads from the surface if needed.

    (Click Image to Enlarge)


    Step 8:
    Trim the excess cut-away stabilizer from around the design leaving about
    a ½” or less margin.  Trim any long threads from the back if needed.

    (Click Image to Enlarge)


    Step 9:
    You have finished the 'Fleece Ear Warmer' project!  WTG!  Great job!  

    (Click Image to Enlarge)


    Step 10:
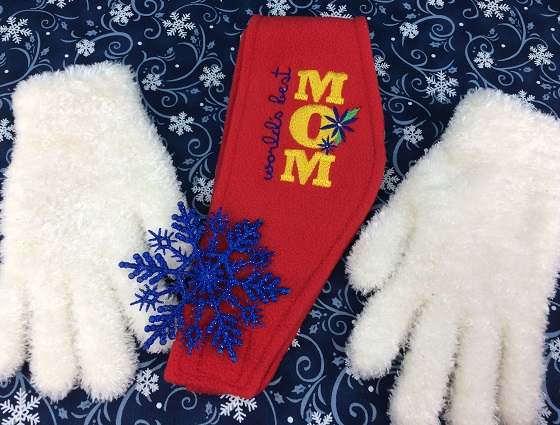
    A great gift idea for all your family!  

    (Click Image to Enlarge)


    Learn by teaching....
     
     
    Marisa Littleton 
    Meet the Author: Marisa Littleton
    Marisa Littleton
    Marisa Littleton is a retired educator with a love for teaching and learning. Interests include machine embroidery, hand embroidery, quilting, cooking, and antiques.
    More From This Author
    Link is Broken, Please check the URL
    Exclusive Embroidery Offers!
    Copyright © {{ currentDate | date:'yyyy'}} - EmbroideryDesigns.com
    GET 50% OFF! ×