Live Chat
Embroidery Designs
Welcome, Embroiderer
Login
Personalized Flour Sack Dish Towel
{{mainImageAlt || (productInfo._source && productInfo._source.name) || ''}}

Personalized Flour Sack Dish Towel Embroidery Project

By   Linda Mills   on   November 30, 2018
  • SKILL LEVELBeginner
  • TIME REQUIRED00:30
Description

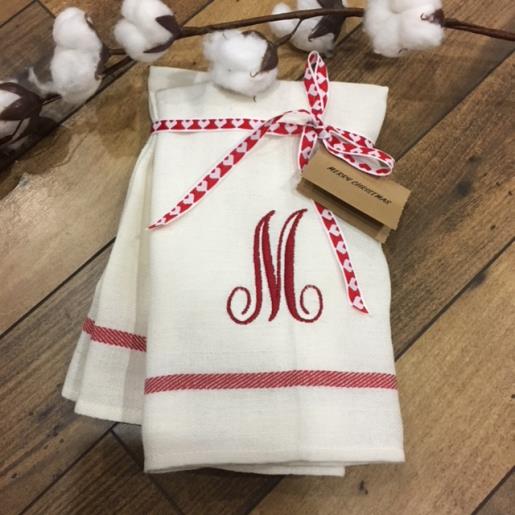
A personalized flour sack towel turns an everyday item into a special and meaningful gift.

Step of

Materials

Project Preview Video

Materials
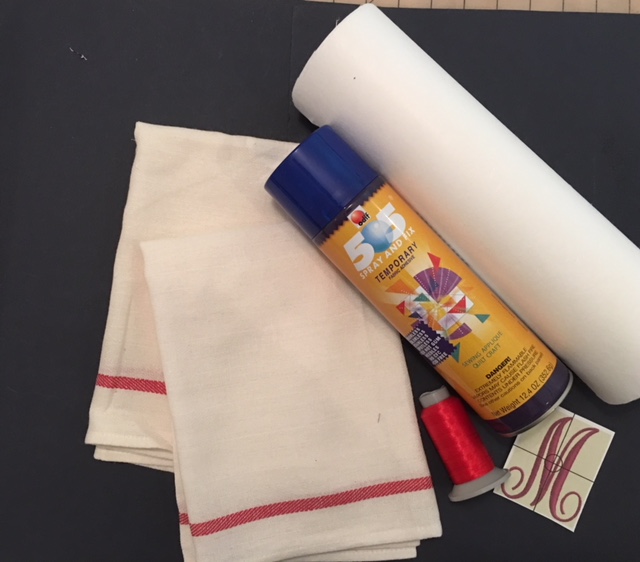
  • Flour Sack Towels ( two for a set)
  • Temporary adhesive spray
  • Water-soluble tear away stabilizer
  • Embroidery thread

  • Designs used in this project

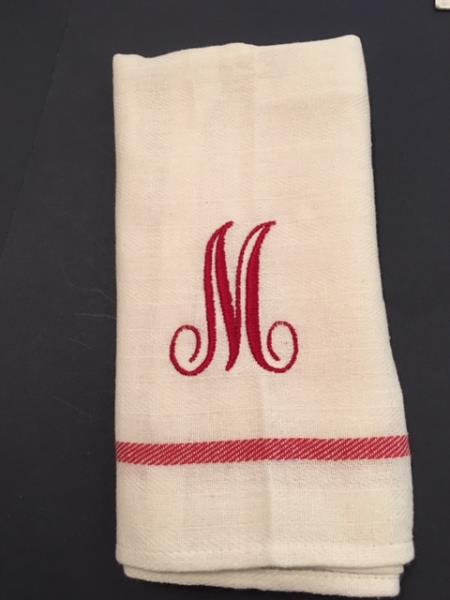
    Final Product: What You Will Create

    Preface:
    A great and simple embroidery project for beginners. Taking a flour sack towel and adding a monogram/letter design will add that personal touch to a special and heartfelt gift for your recipient. 


    Step 1:
    Gather all your supplies and review instructions before beginning. Print template of your chosen letter for review.

    (Click Image to Enlarge)


    Step 2:
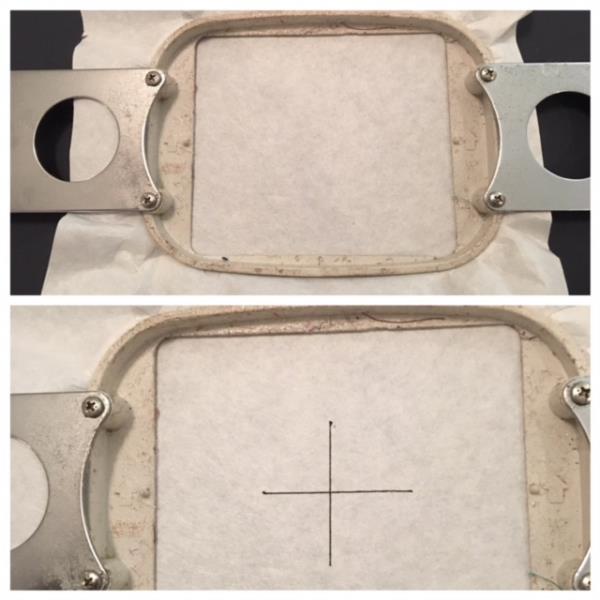
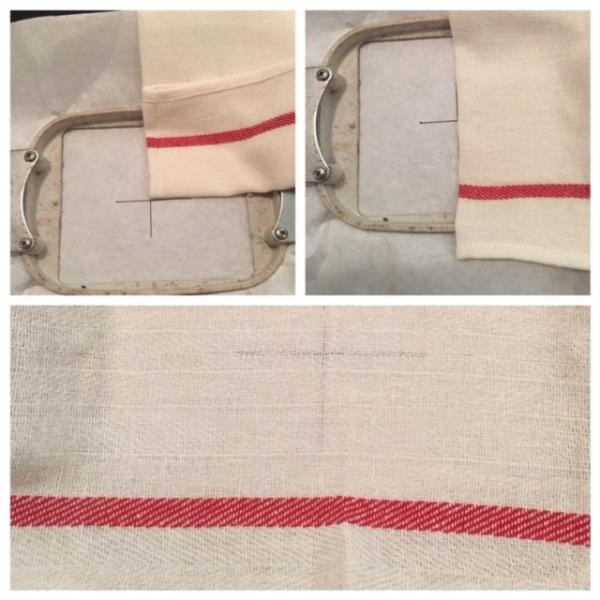
    Hoop stabilizer. Center mark with a crosshair.

    (Click Image to Enlarge)


    Step 3:
    Centering design:
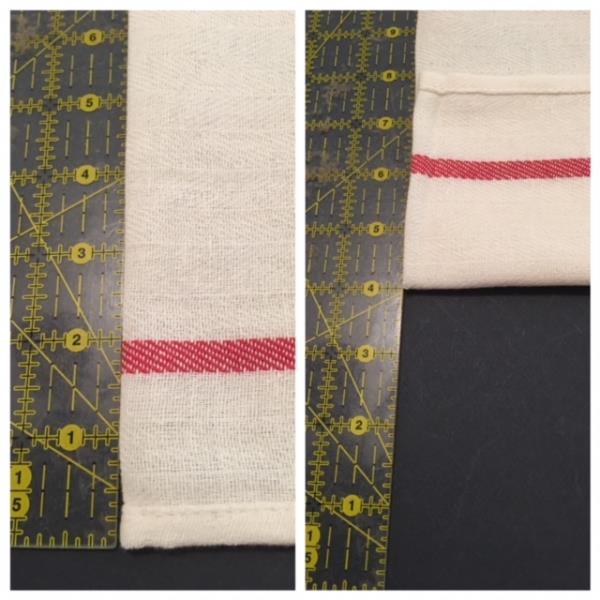
    Find the center of your flour sack towel by folding in half lengthwise. Then fold the towel up 4” from the bottom hem.  

    (Click Image to Enlarge)


    Step 4:
    Lightly spray temporary adhesive onto stabilizer.


    Step 5:
    Place corner of folded towel onto top right corner crosshair. Unfold towel and fingertip press to the stabilizer to secure.
    (The flour sack towels are not as dense, so you can see in the picture, the crosshair that was marked on the stabilizer)

    (Click Image to Enlarge)


    Step 6:
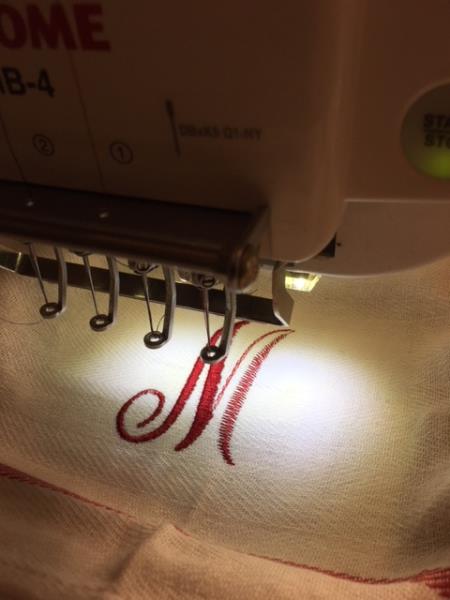
    Load your letter design into your machine. Attach hoop. Using your machines instructions “ trace” to ensure design placement is centered for embroidery. Make any necessary adjustments if needed. Begin the embroidering process. Stitch out of your letter design will take approximately 8 minutes based on your machine speed. 

    (Click Image to Enlarge)


    Step 7:
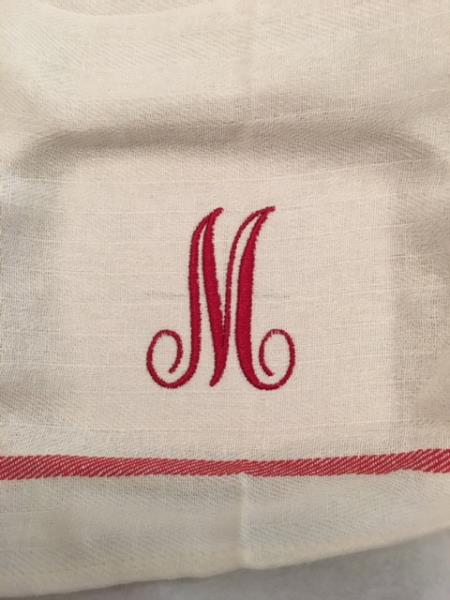
    Embroidering complete. Remove hoop from the machine. Trim and cut any jump stitches or loose thread ends. Remove stabilizer. If you can’t get all the stabilizer removed… no worries as it will dissolve in water when the towel is washed. 

    (Click Image to Enlarge)


    Step 8:
    Your personalized towel is now complete. Woohoo and congratulations!  Stitch out another one for a gift set.

    (Click Image to Enlarge)

    Meet the Author: Linda Mills
    Linda Mills
    Linda loves to create by sharing her different sewing and machine embroidery techniques so others can utilize their machines to the fullest
    More From This Author
    Link is Broken, Please check the URL
    Exclusive Embroidery Offers!
    Copyright © {{ currentDate | date:'yyyy'}} - EmbroideryDesigns.com
    GET 50% OFF! ×