Unicorn Hooded Towel and Face Washer Set

Unicorn Hooded Towel and Face Washer Set Embroidery Project

By   Kylie Burke   on   November 30, 2018
  • SKILL LEVELSome Experience
  • TIME REQUIRED01:20
Description

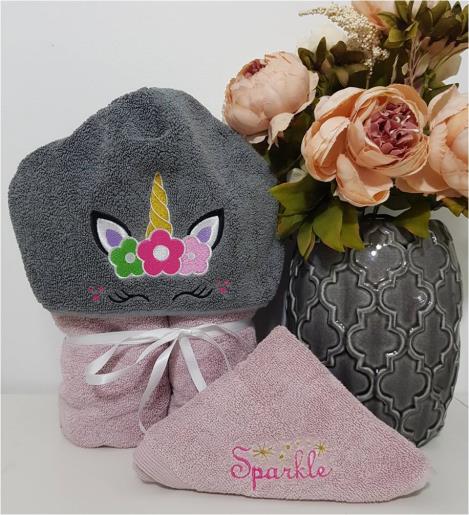
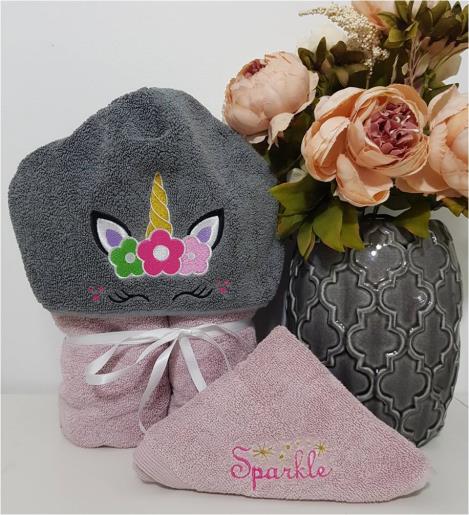
Craft a delightful unicorn-themed hooded towel and matching face washer set. Perfect for adding a touch of magic to bath time or gifting to a loved one. Step-by-step instructions are included.

Step of

Materials

Project Preview Video

Materials
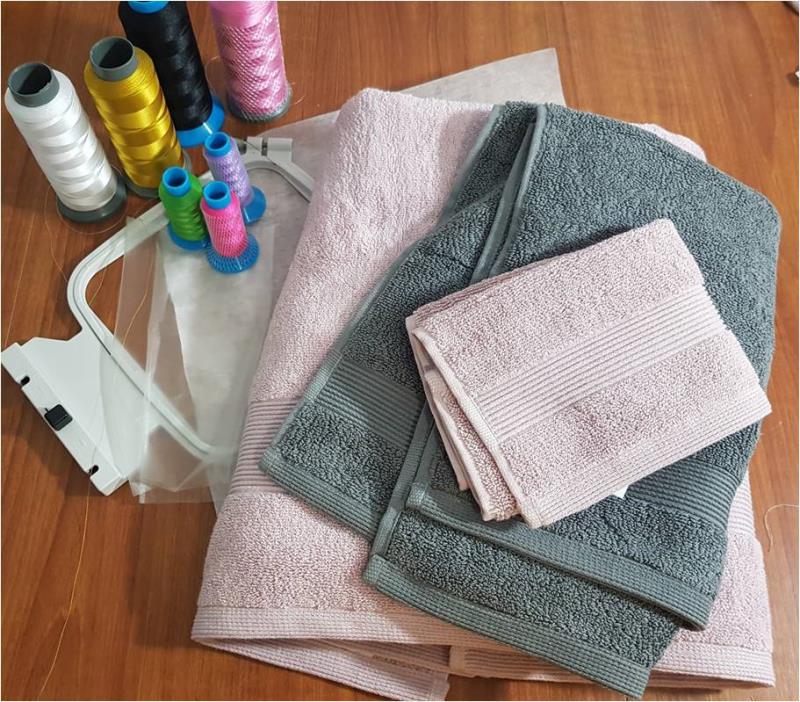
  • 1 pink bath towel
  • 1 grey hand towel (ideal size 16” x 26”)
  • 1 pink face washer
  • Embroidery threads
  • Tearaway stabilizer
  • Sulky fabric solvy – water soluble topping film
  • Sewing machine
  • matching sewing thread

  • Designs used in this project

    Final Product: What You Will Create


    Step 1:
    Gather the materials and read through the instructions before beginning. Have a copy of the design and color sequence on hand to refer to.

    (Click Image to Enlarge)


    Step 2:
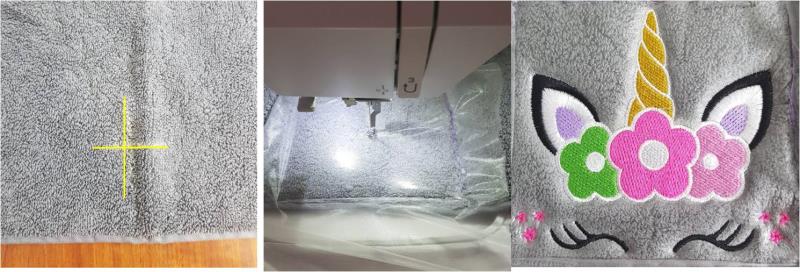
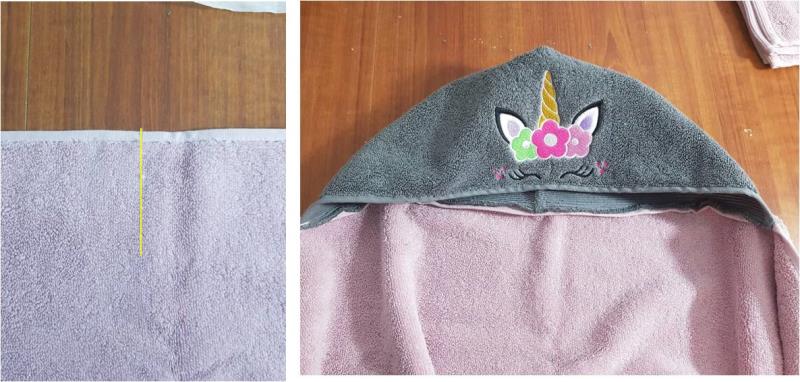
    Fold the hand towel in half lengthwise to mark the centre then mark where the centre of your design will be, keeping in mind that the eyes of the unicorn are best positioned closest to the front hood edge. Hoop the stabilizer and attach the hoop to your machine. Position the towel under the machine foot and float the towel, ensuring it is centered according to the mark you have made. Place the solvy on top, then use a tack down stitch to hold the towel in place. Stitch out the unicorn face design.

    (Click Image to Enlarge)


    Step 3:
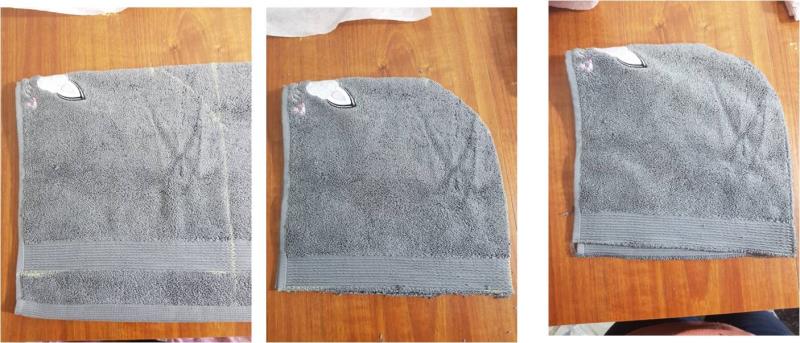
    Once the design is stitched, remove the hoop from the machine and tearaway the stabilizer and solvy. Fold the hand towel in half lengthwise and from the front edge mark in 10” along the top fold and also along the bottom. From the top fold, mark down 10” and mark to form a square shape. Then to shape the back of the hood, measure down 3” from the fold and mark, then measure in 3” and mark. Now free hand draw an arc from point to point. Cut out along your markings and use your serger or a zig zag stitch to close up the hood at the back, you may also want to serge along the bottom edge of the hood. 

    (Click Image to Enlarge)


    Step 4:
    Now fold the bath towel in half and mark the center point along the top. Place your hood with the inside facing up and line up the center of the hood with the center mark on the bath towel. Pin the edge of the hood to the edge of the towel then stitch using a 10mm seam allowance. The hood is now attached to the towel. 

    (Click Image to Enlarge)


    Step 5:
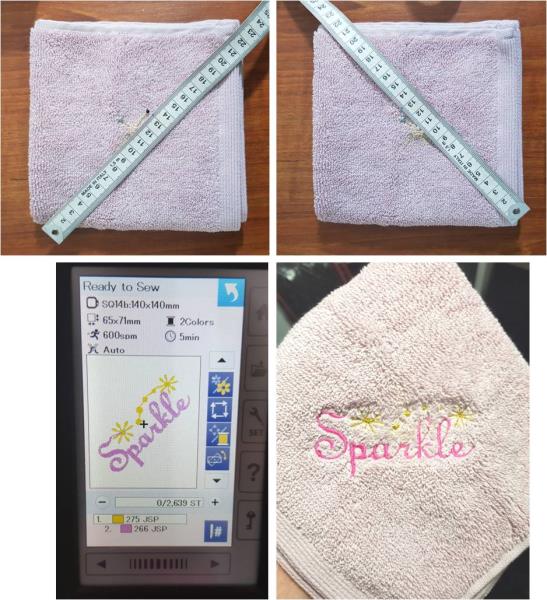
    Now to embroider the face washer, I have embroidered this design on an angle. So to find the best position for this embroidery, I have folded the face washer in half, then half again then measured diagonally and marked the center point. Ensure the design is also rotated accordingly on your machine. Hoop the tearaway stabilizer, then float the face washer and the solvy and tack down. Then stitch out the sparkle design. 

    (Click Image to Enlarge)


    Step 6:
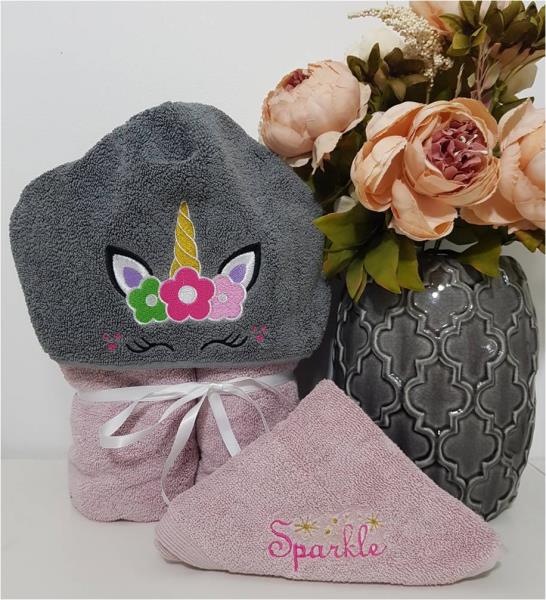
    Your towel set is now complete! A nice way to fold your towel and show off the hood is to lay the towel flat, then from the bottom fold up the towel 1/3 of the way, then fold up again. Then fold in each end to the center of the hood, then roll in each side and tie a piece of ribbon around the center to hold in place. The hood then sits over the rolled up towel. It is a lovely way to fold the towel if it is being gifted.

    (Click Image to Enlarge)

    Meet the Author: Kylie Burke
    Kylie Burke
    Kylie is based in Australia and loves creating and sharing her unique pieces.
    More From This Author
    Link is Broken, Please check the URL
    Exclusive Embroidery Offers!
    Copyright © {{ currentDate | date:'yyyy'}} - EmbroideryDesigns.com
    GET 50% OFF! ×