2026 Flash Sale
Live Chat
Embroidery Designs
Welcome, Embroiderer
Login
Decorated Glass Block
{{mainImageAlt || (productInfo._source && productInfo._source.name) || ''}}

Decorated Glass Block Embroidery Project

By   Linda Mills   on   November 20, 2018
  • SKILL LEVELExperienced
  • TIME REQUIRED00:50
Description

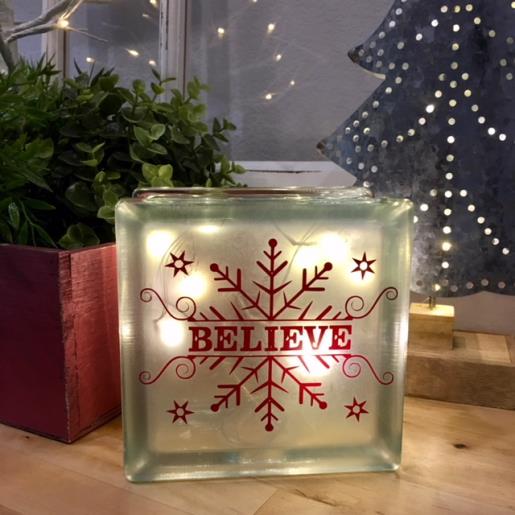
"Believe" in the magic of Christmas and create this simple festive decorative glass block for your holiday décor using a Print Art/SVG file design.

Step of

Materials

Project Preview Video

Materials
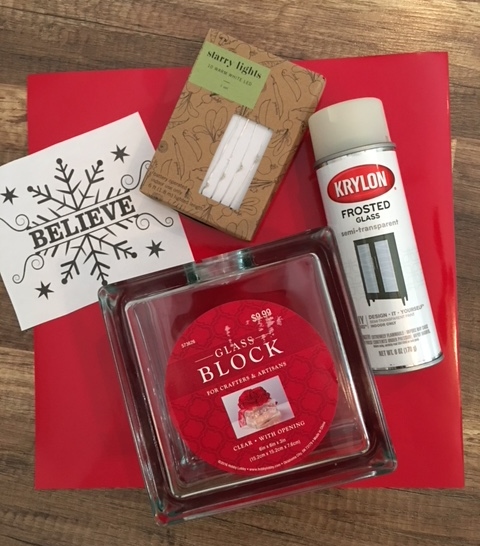
  • Glass Block / Clear with Opening Size 6”x6”x3” ( Can be purchased at your local Hobby/craft stores)
  • Vinyl with Adhesive Back
  • Mini String Light ( 10 bulb count) or Starry( Fairy)Light strand ( 6ft)
  • Frosted Glass Spray Paint
  • Cutting Machine (i.e Silhouette, Cricut, etc)

  • Designs used in this project

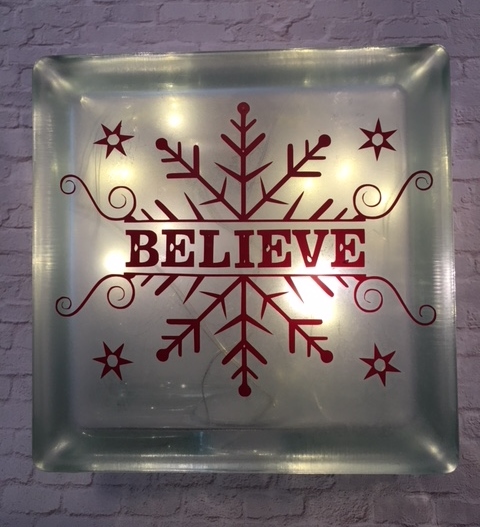
    Final Product: What You Will Create

    Preface:
     This tutorial will give you the basic and simple instructions to create and personalize glass blocks with mini lights for your holiday décor for that festive and warm look. With so many print art/SVG files to choose from to decorate these glass blocks, they would make great gifts!


    Step 1:
    Gather all your materials and review instructions before beginning.

    (Click Image to Enlarge)


    Step 2:
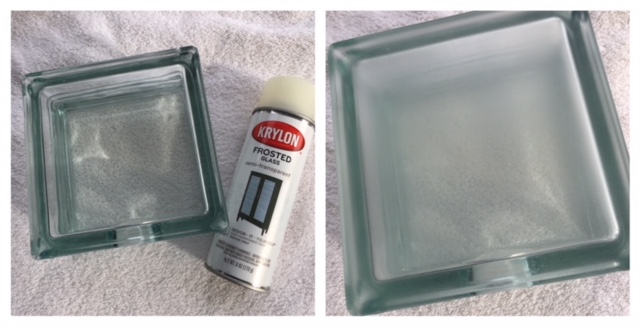
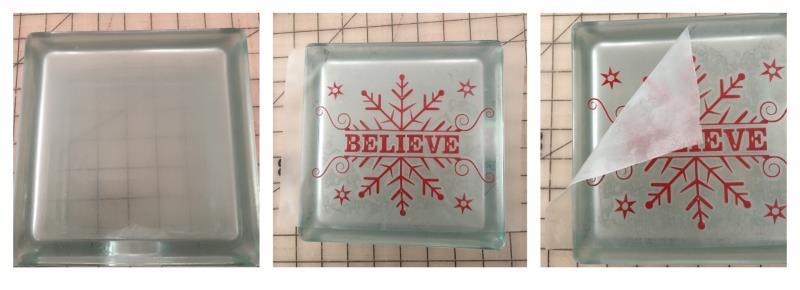
    Lightly spray paint one front side of your glass block until you get the frosted effect that you like. Dry completely.

    (Click Image to Enlarge)


    Step 3:
    Creating your decal:
     
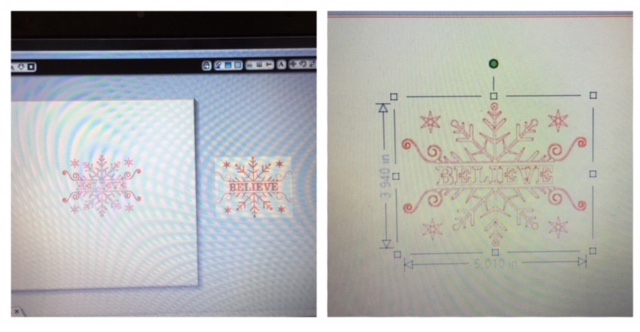
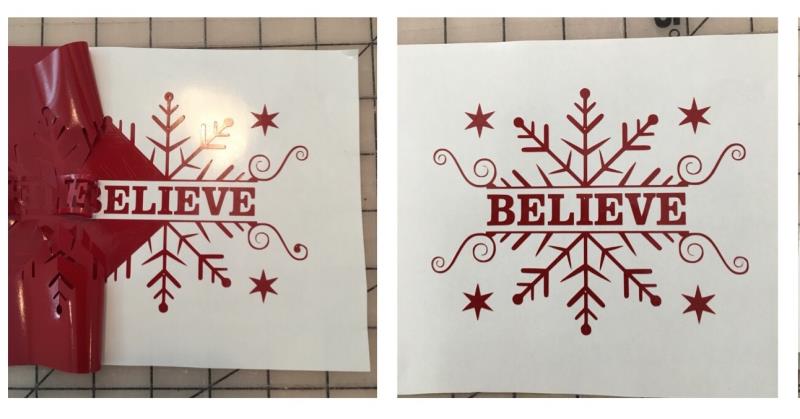
    Following your cutting machine instructions bring in to your program the print art/ SVG file, “ Believe”.
    Resize design to approx. 4”x 5 ” Create and "cut". 
     
     For Silhouette users: If you do not have the upgrade to “cut” your SVG file please follow the instructions using the attached link in this tutorial to my project “Thanksgiving Themed Wood Art” to work around.


    (Click Image to Enlarge)


    Step 4:
    Weed your cut design.
     
    Weeding vinyl the process of removing the unwanted vinyl from your cut design. Apply transfer sheet to cut decal.   

    (Click Image to Enlarge)


    Step 5:
    Center and apply the decal to frosted glass block. Fingertip press to secure to the glass. Slowly remove top transfer sheet. Ensuring cut decal adheres to the glass.

    (Click Image to Enlarge)


    Step 6:
    Insert your string lights through the bottom opening. Congratulations! Your decorated glass block with lighting is now finished! Simple to make and they look oh so elegant and festive! Makes great gifts for the upcoming holiday or for any other occasion!   Believe!

    (Click Image to Enlarge)

    Meet the Author: Linda Mills
    Linda Mills
    Linda loves to create by sharing her different sewing and machine embroidery techniques so others can utilize their machines to the fullest
    More From This Author
    Link is Broken, Please check the URL
    Exclusive Embroidery Offers!
    Copyright © {{ currentDate | date:'yyyy'}} - EmbroideryDesigns.com
    GET 50% OFF! ×