














































PROJECT INSTRUCTIONS


PROJECT INSTRUCTIONS

Applique Christmas Tree Pillow Embroidery Project
By
Marisa Littleton
on
November 01, 2018
Description
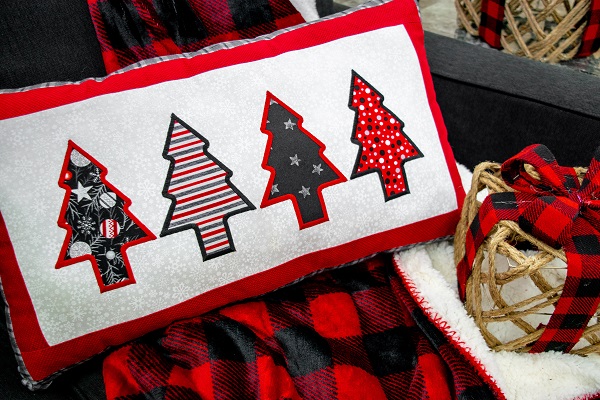
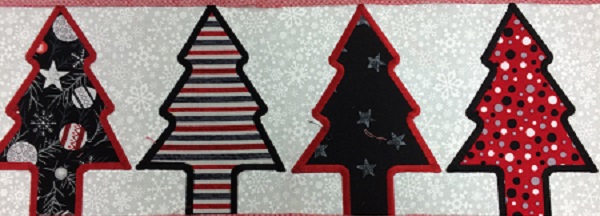
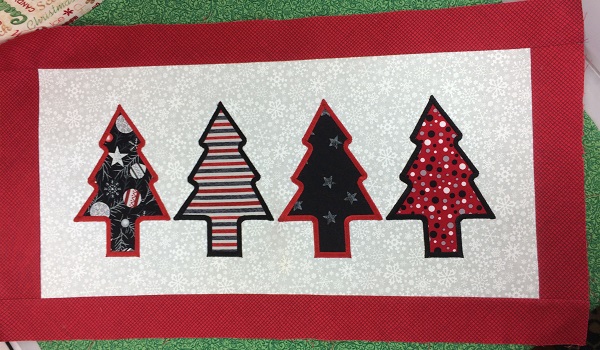
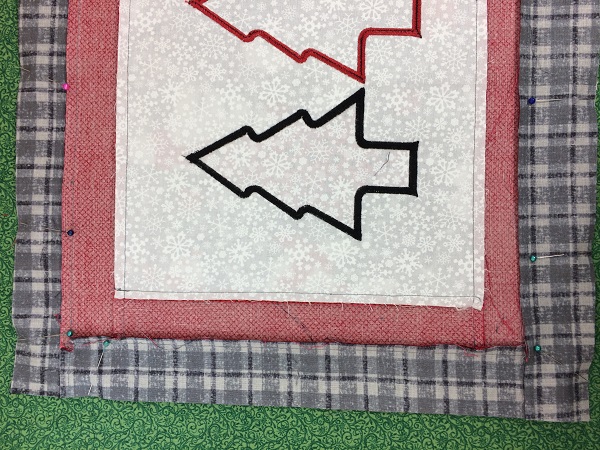
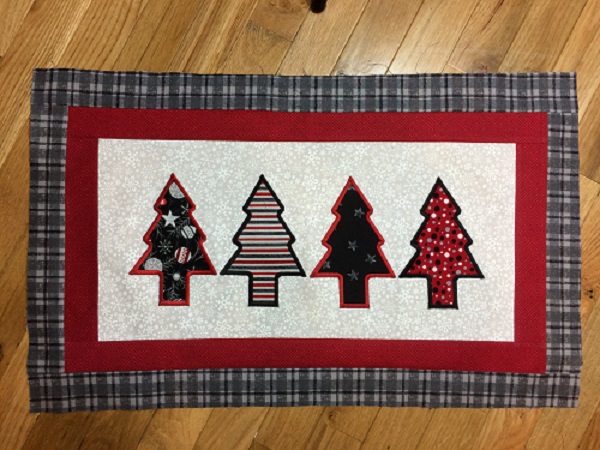
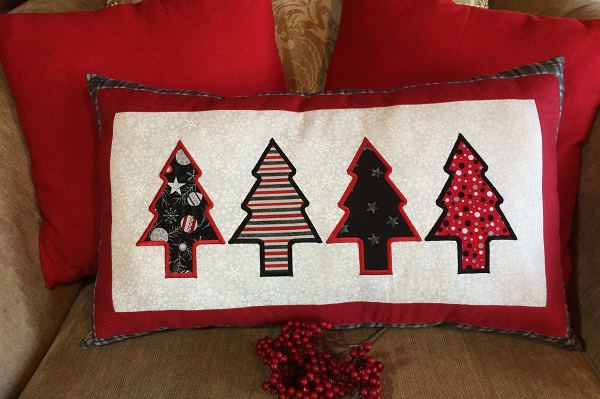
Enhance your holiday décor with this charming Christmas Tree pillow featuring a festive applique design. Perfect for adding a cozy touch to your living room or bedroom during the holiday season. Step-by-step instructions are included.
Step
of
Materials
Project Preview Video

QUICK VIEW
Tear Away Stabilizer
$7.98
Circle Price: $7.18
505 Spray Temporary Spray Adhesive
$19.99
Circle Price: $19.99
{{ item.name }}
{{ item.listPriceDisplay }}{{ item.salePriceDisplay }}
Circle Price:
{{ item.clubPriceDisplay }}

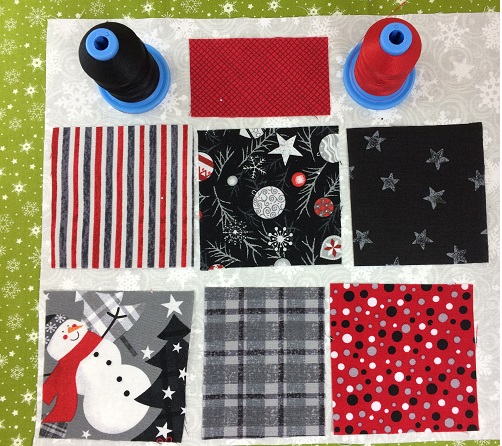
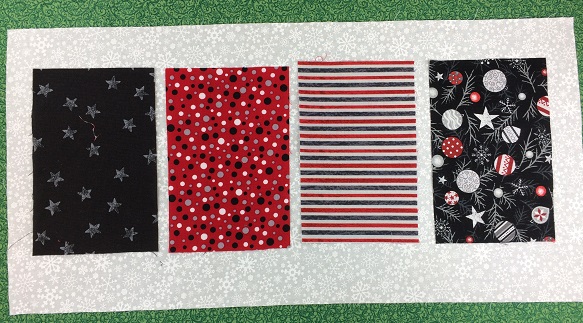
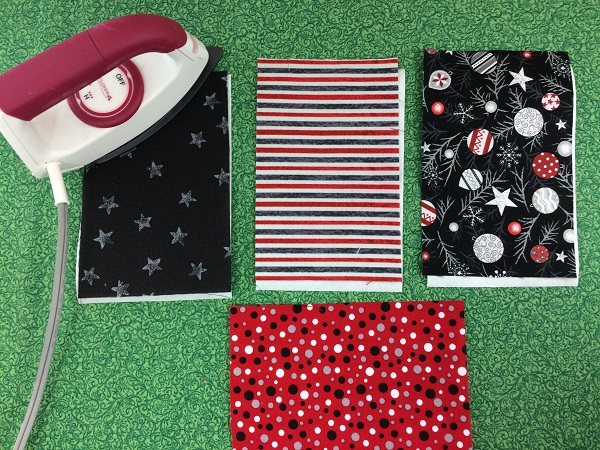
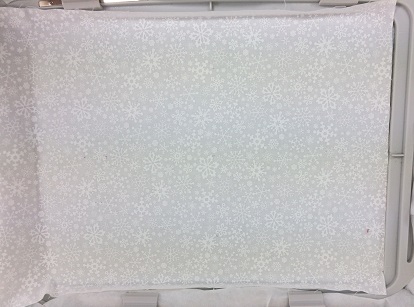
| Materials 5x7 hoop or larger 75/11 Embroidery needles 40 wt. embroidery thread Design template & color chart Polyfil Applique snips Temporary adhesive spray One 10”x20” piece of 100% cotton white fabric Four 4.5”x6.5” pieces of 100% cotton seasonal fabric Four 4.5”x6.5” pieces of Heat n Bond lite Two 2.5”x 10” pieces of 100% cotton seasonal fabric Two 2.5” x 25” pieces of 100% cotton seasonal fabric Two 4” x width of pillow fabric Two 4” x length of pillow fabric |
| Designs used in this project |
| Final Product: What You Will Create |
 |
|
Learn by teaching... Marisa Littleton |
Projects You May Like
Meet the Author:
Marisa Littleton

Marisa Littleton is a retired educator with a love for teaching and learning. Interests include machine embroidery, hand embroidery, quilting, cooking, and antiques.
Feedback
Characters Remaining
Please Login to Submit a Feedback
Invalid Characters, Please enter a valid Comment
Please enter a valid Comment
Reviewed On
Link is Broken, Please check the URL