Border OptionsHugging border, circle, square, or rectangle — with a 3mm satin stitch.
Backing OptionsAvailable with iron-on, sew-on, or velcro backing.
Fast ShippingShipped quickly from the USA.
Free Online Tools
Powerful embroidery utilities that save time and prevent costly mistakes.
Stitch AssistantRECOMMENDED
Get the exact stabilizer, machine settings, needle, and thread color sequence for every embroidery design you purchase — based on that design's stitch density, dimensions, and color count.
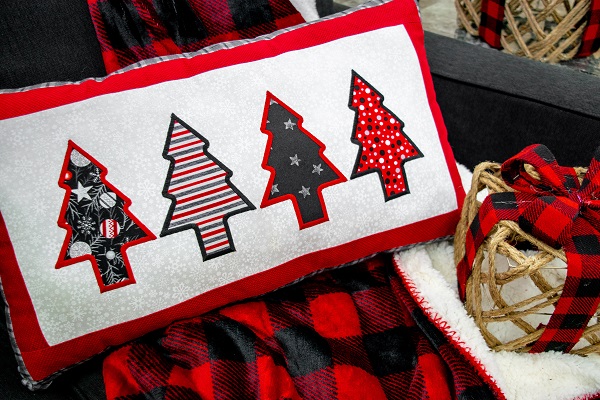
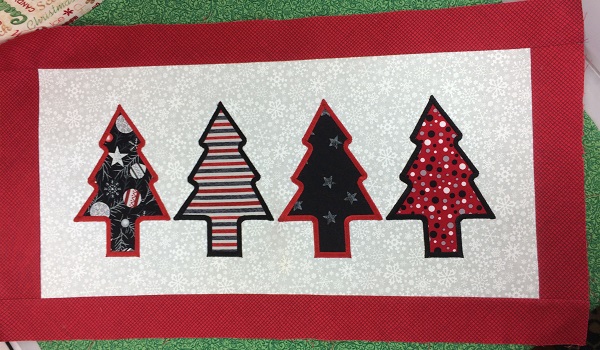
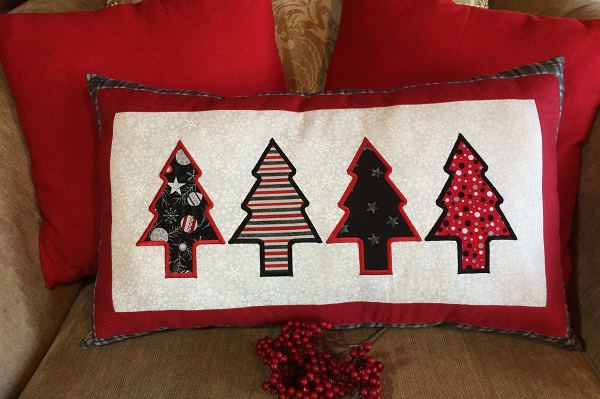
Enhance your holiday décor with this charming Christmas Tree pillow featuring a festive applique design. Perfect for adding a cozy touch to your living room or bedroom during the holiday season. Step-by-step instructions are included.
Step
of
Applique Christmas Tree Pillow
By Marisa Littleton
This design can be made with a 5x7 or 8x12 hoop. If you use a 5x7 hoop, you will have to hoop four times to stitch the design. If you use an 8x12 hoop, you will hoop two times. I used Embrilliance Essentials and made another design template with two trees in it. This project requires an embroidery and sewing machine.
Step 1:
Gather the materials. Read the directions carefully. Print out a design template and color chart.
Step 2:
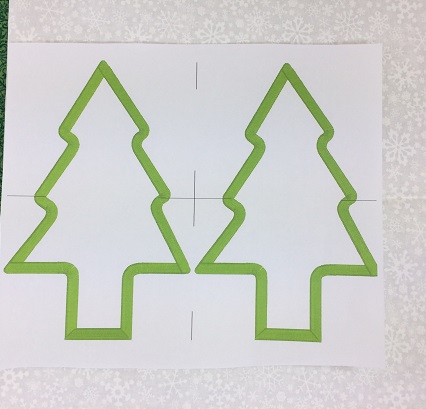
This design can be made with a 5x7 or 8x12 hoop. The pillow has 4 appliqued evergreen trees on it. If you use a 5x7 hoop, you will have to hoop four times to stitch the design. If you use an 8x12 hoop, you will hoop two times. I used Embrilliance Essentials and made another design template with two trees in it.
Step 3:
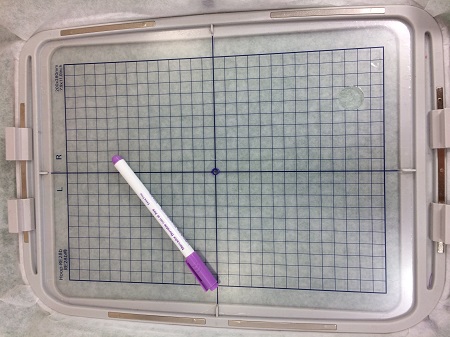
Hoop 1 layer of tear-away stabilizer. Mark the center point and axis on the stabilizer.
Step 4:
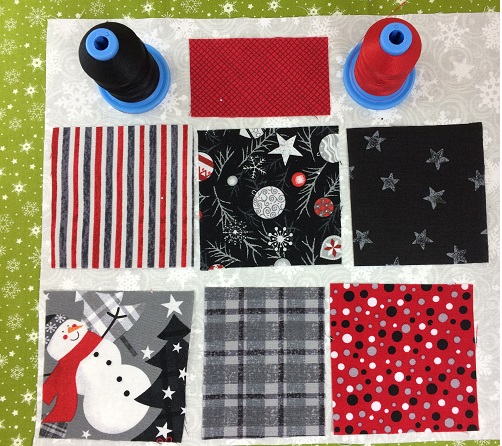
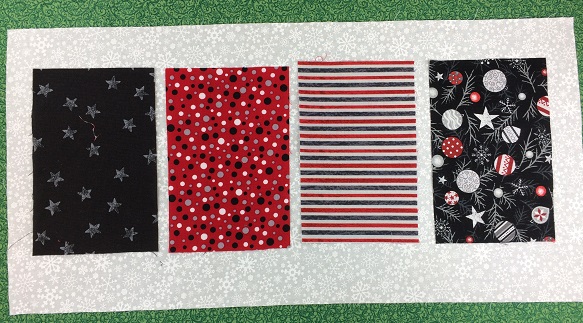
Cut four 4.5” x 6.5” pieces of seasonal fabric.
(Click Image to Enlarge)
Step 5:
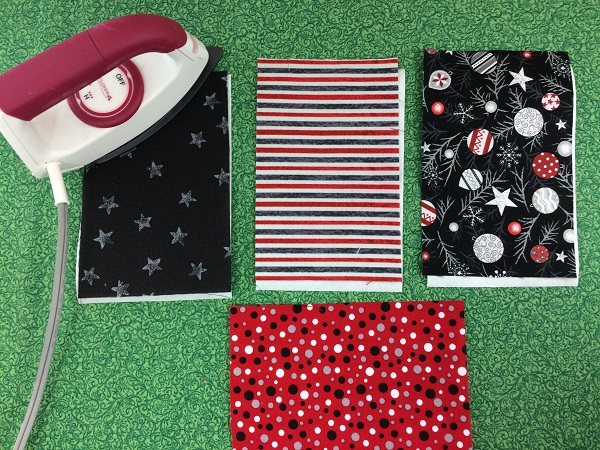
Cut four 4.5” x 6.5” pieces of Heat n Bond lite. Follow the Heat n Bond lite package directions to adhere to the 4.5”x6.5” pieces of fabric.
(Click Image to Enlarge)
Step 6:
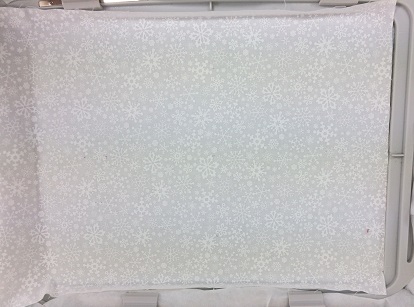
Float the 10”x20” piece of white fabric.
Step 7:
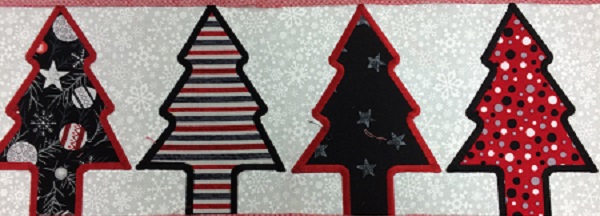
Load the embroidery design onto your machine. Stitch the design. Rehoop as needed. If using a 5x7 hoop, you will need to rehoop 4 times. If using an 8x12 hoop, you can rehoop twice.
Follow the directions on the Heat n Bond lite to bond the appliqued trees to the white fabric.
(Click Image to Enlarge)
Step 8:
The pillow has a double border. The first (red) border was 2.5” wide. Pin the 2.5” x 10” pieces of fabric to the short sides of the white fabric. Stitch ¼” seam along each side. Press seam.
Pin the 2.5" x 25" pieces of fabric to the long sides of the pillow front. Stitch 1/4" seam along each side. Press seam.
(Click Image to Enlarge)
Step 9:
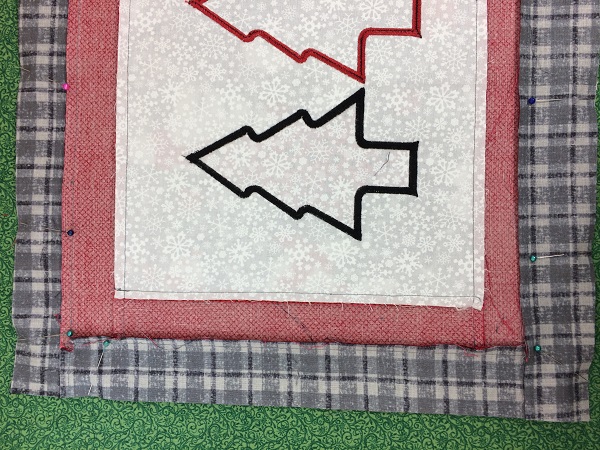
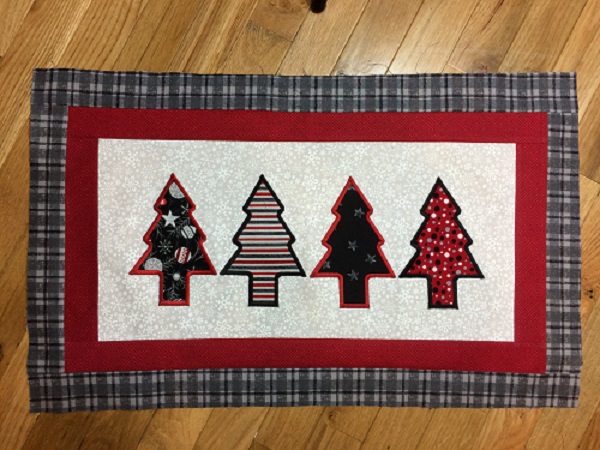
Pin the 4” x width of fabric (approx. 16”) to the pillow. Stitch ¼” seam along each side. Trim the border if needed. Press.
Pin the 4” x length of the side to the pillow. Stitch ¼” seam along each side. Trim the border if needed. Press.
(Click Image to Enlarge)
Step 10:
Measure the width and length of the pillow front. Use these measurements to cut a piece of fabric for the back of the pillow.
Pin the pillow and backing together with right sides facing each other. Leave a 5” opening along one side so that you can turn the pillow. Stitch ¼” seam along each side.
Turn the pillow right sides out. Use the polyfill to stuff the pillow firmly. Slip stitch the opening together.
(Click Image to Enlarge)
Step 11:
Congrats! You have completed your project! Great job!
Marisa Littleton is a retired educator with a love for teaching and learning. Interests include machine embroidery, hand embroidery, quilting, cooking, and antiques.