Border OptionsHugging border, circle, square, or rectangle — with a 3mm satin stitch.
Backing OptionsAvailable with iron-on, sew-on, or velcro backing.
Fast ShippingShipped quickly from the USA.
Free Online Tools
Powerful embroidery utilities that save time and prevent costly mistakes.
Stitch AssistantRECOMMENDED
Get the exact stabilizer, machine settings, needle, and thread color sequence for every embroidery design you purchase — based on that design's stitch density, dimensions, and color count.
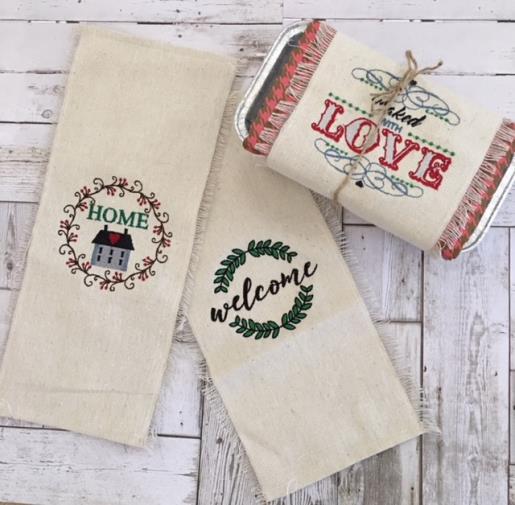
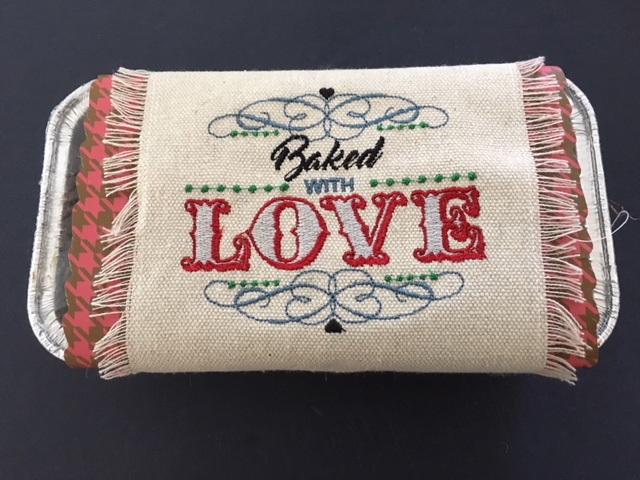
Enhance your baked goods presentation with this quilted bread wrap set, perfect for showcasing loaves at events or as gifts. These wraps feature charming designs that add a touch of elegance to any occasion. Step-by-step instructions are included.
Baked bread is a great gift all on their own. With these cute designs embroidered on a cotton canvas fabric, a cut piece of decorative scrapbooking paper and bakers twine, you can create the perfect packaging for your baked goods.
Step 1:
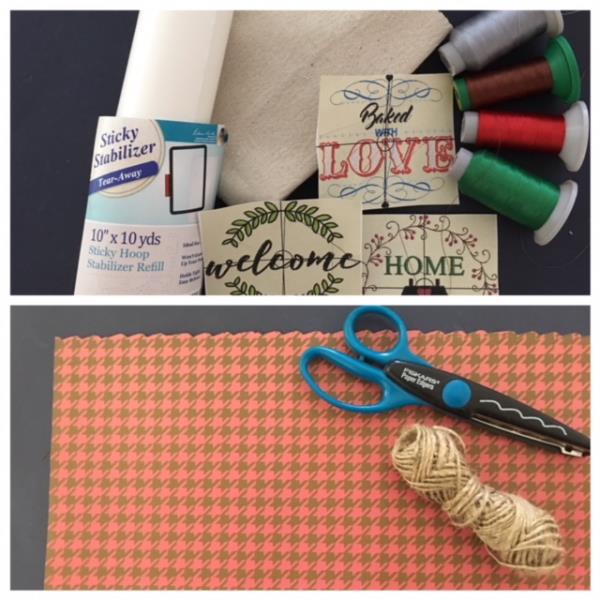
Gather all materials and review instructions before beginning. (Time of completion is based on which embroidery design you choose to embroider.) Print out your embroidery design templates for thread color guide.
(Click Image to Enlarge)
Step 2:
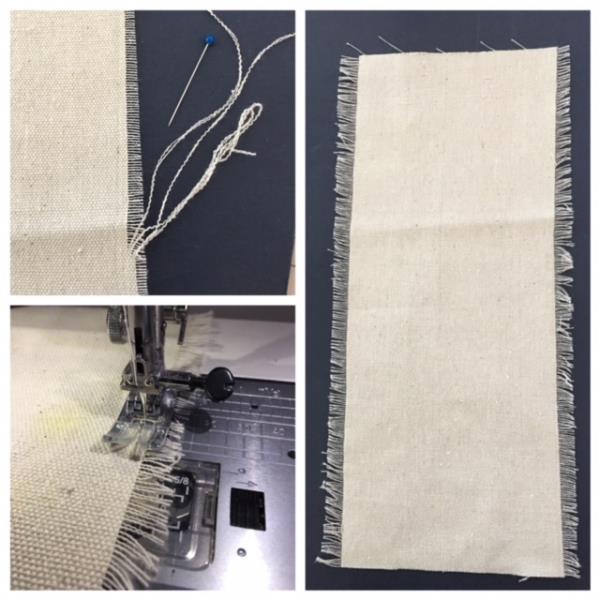
Cut your cotton canvas fabric 6 ½” x 14”. Fringe on each long side edge using a straight pin by pulling loose the top stitched thread that runs parallel. Continue this process until you have fringed approximately ½” on each side. Stitch just inside of the fray on both sides to keep from fraying.
(Click Image to Enlarge)
Step 3:
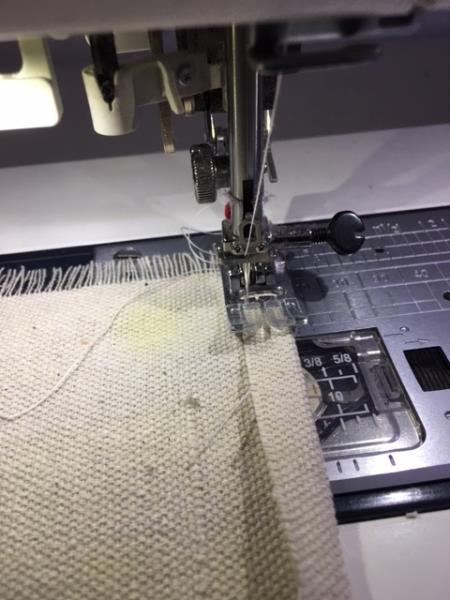
Hem each end by folding down ½”, fingertip press and stitch with a scant 1/8" seamline.
(Click Image to Enlarge)
Step 4:
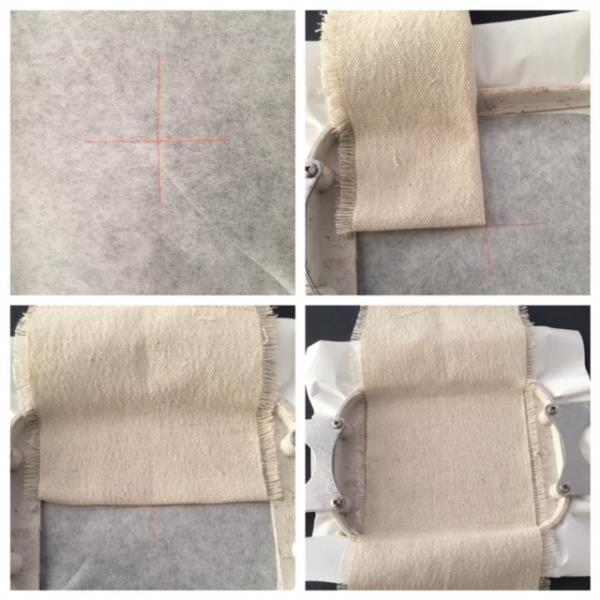
Hoop sticky stabilizer. Remove paper to reveal adhesive and mark with crosshair. Fold your cut/fringed cotton canvas fabric in half. Fingertip press then half again to mark center for placement. Place folded corner at the top left of the crosshair. Unfold across, unfold down. Fingertip press to adhere to the sticky stabilizer. This method should center fabric onto stabilizer. Make any necessary adjustments if needed.
(Click Image to Enlarge)
Step 5:
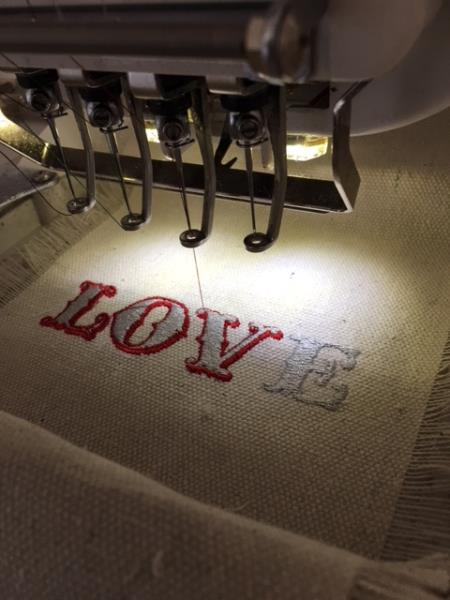
Load your embroidery design into your machine. Attach hoop. Trace ( per your machines instructions) to ensure center placement as the “folded” crosshair will be your guide. Make any necessary adjustments and begin the embroidering process.
(Click Image to Enlarge)
Step 6:
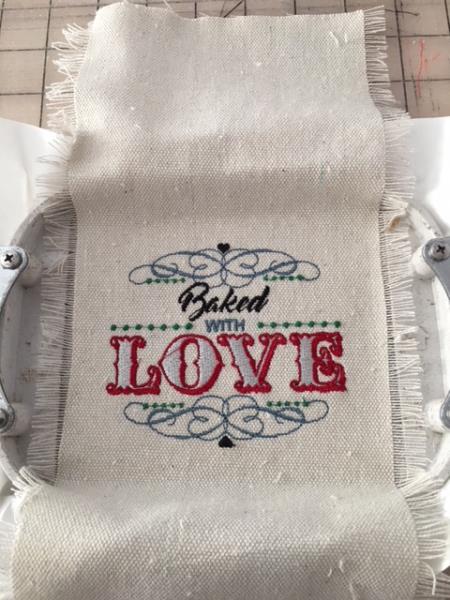
Embroidering complete. Remove hoop from the machine. Cut all jump stitches and loose thread ends. Remove from hoop and remove the stabilizer.
(Click Image to Enlarge)
Step 7:
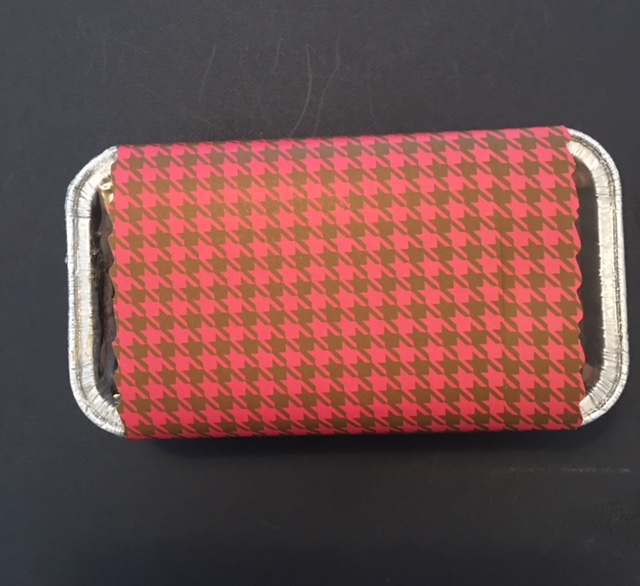
To complete the packaging… Using your decorative scrapbooking paper sheet, cut a 7” x 12” piece and trim edges with your decorative edge scissors. Wrap around your baked bread. Tape to secure ends together.
(Click Image to Enlarge)
Step 8:
Take your embroidered sleeve and wrap around on top of your decorative paper. Using your baker's twine to secure. Your Bread Sleeve Wrap is now complete! Happy Baking!