















































PROJECT INSTRUCTIONS


PROJECT INSTRUCTIONS
Animal Memory Game Cards Embroidery Project
By
Kylie Burke
on
October 16, 2018
Description
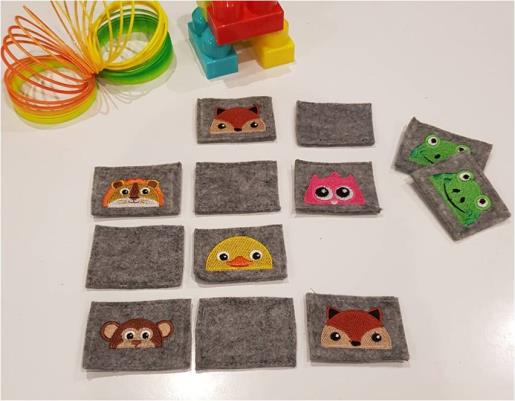
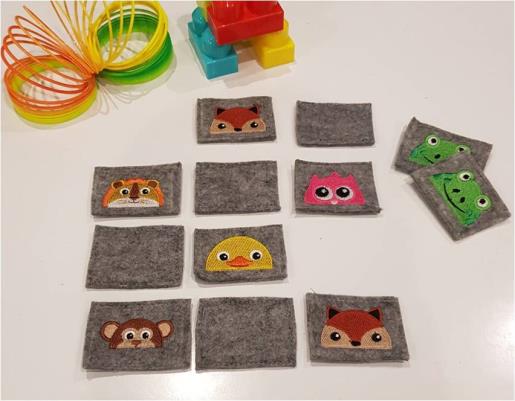
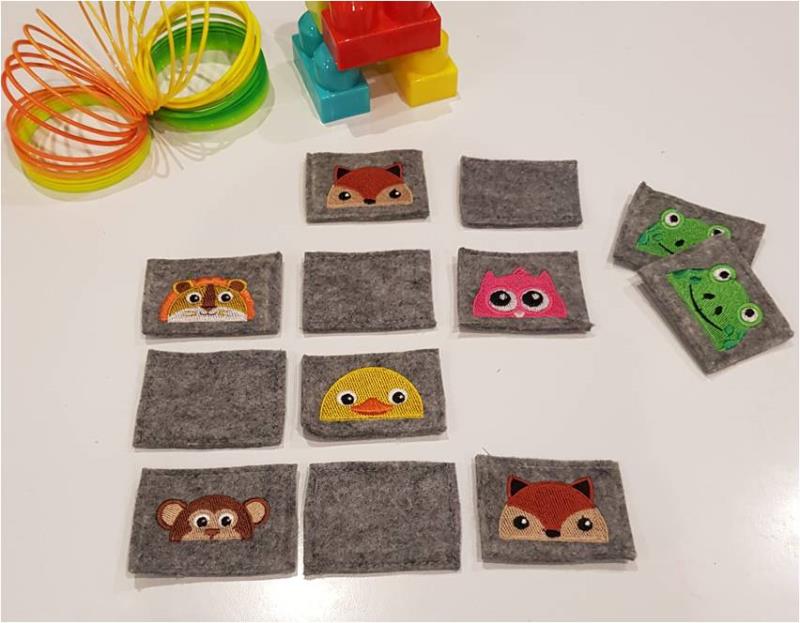
Create a delightful animal memory game with these vibrant and engaging cards. Perfect for young children, these cards offer hours of educational fun. Step-by-step instructions are included.
Step
of
Materials
Project Preview Video

QUICK VIEW
Animal Faces Embroidery Bundle – Cute Characters (12 Designs)
$23.99
$13.19
Circle Price: $13.19

QUICK VIEW
Tear Away Stabilizer
$7.98
Circle Price: $7.18
{{ item.name }}
{{ item.listPriceDisplay }}{{ item.salePriceDisplay }}
Circle Price:
{{ item.clubPriceDisplay }}


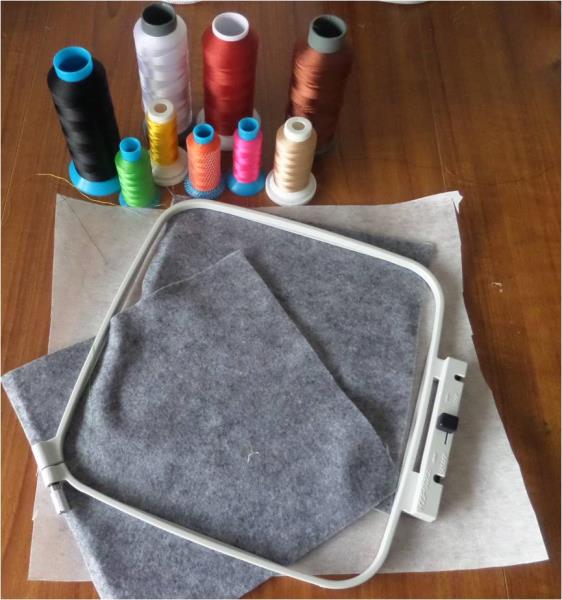
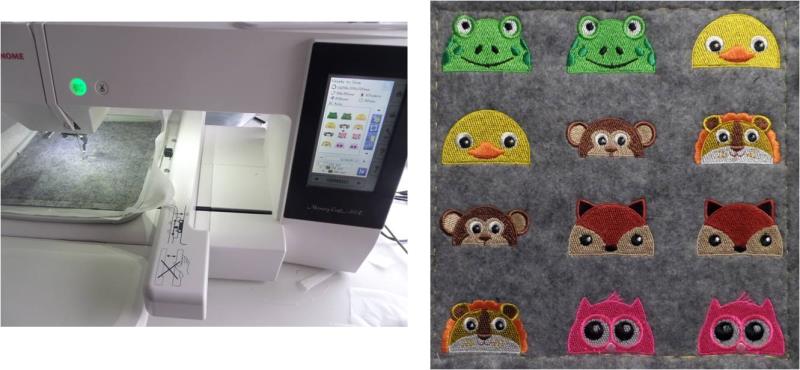
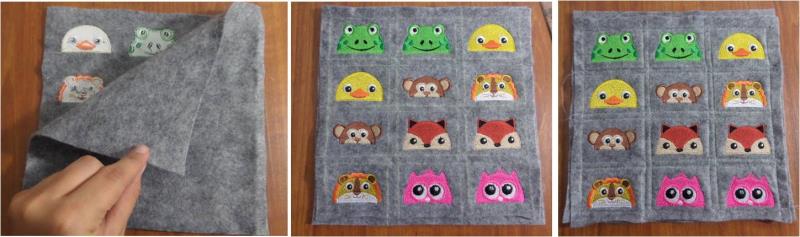
| Materials 2 x 9” squares of felt (color of your choice) Thread colors for the animals you choose Tearaway stabilizer 8” hoop Embroidery software program |
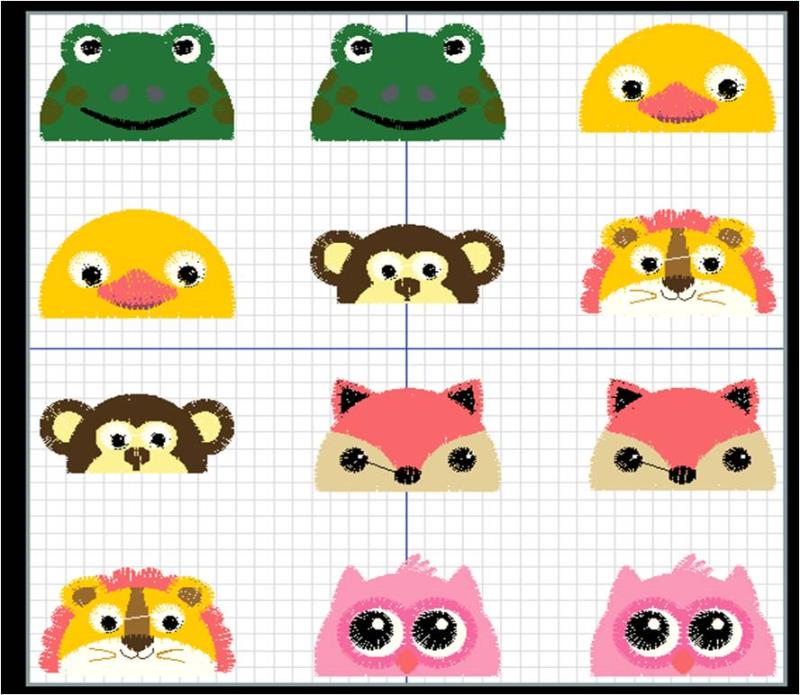
| Designs used in this project |
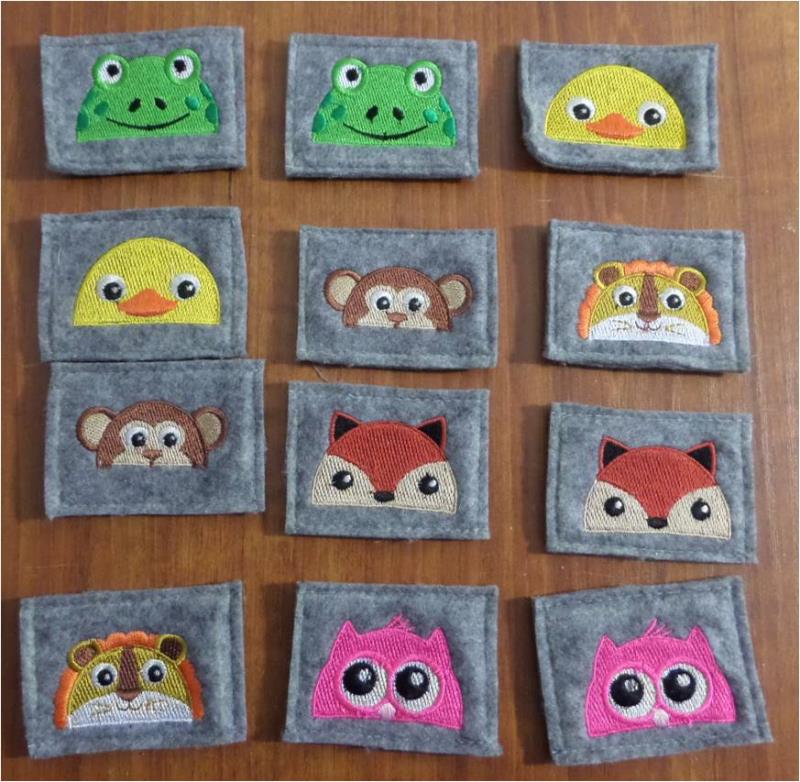
| Final Product: What You Will Create |
 |
|
Projects You May Like
Meet the Author:
Kylie Burke

Kylie is based in Australia and loves creating and sharing her unique pieces.
Feedback
Characters Remaining
Please Login to Submit a Feedback
Invalid Characters, Please enter a valid Comment
Please enter a valid Comment
Reviewed On
Link is Broken, Please check the URL