














































PROJECT INSTRUCTIONS


PROJECT INSTRUCTIONS

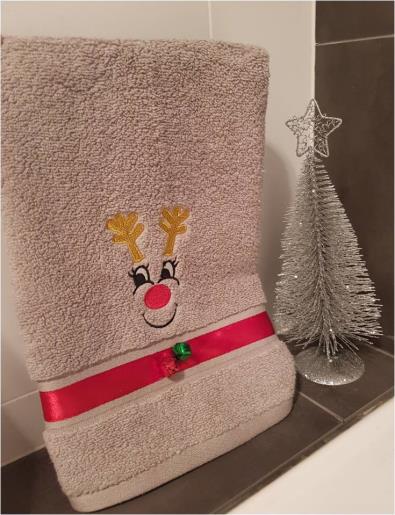
Rudolph Hand Towel Embroidery Project
By
Kylie Burke
on
October 16, 2018
Description
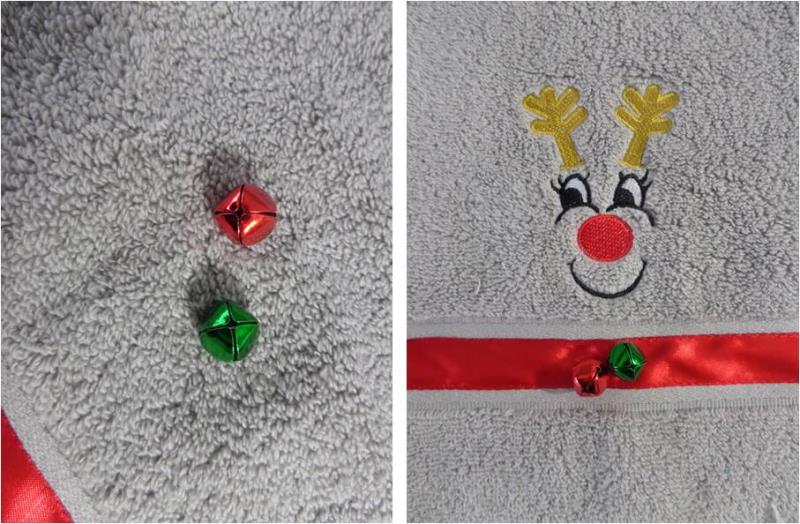
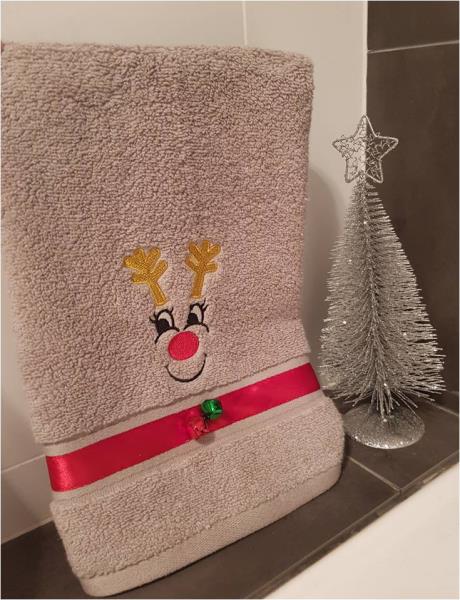
A fun addition to your hand towels to bring some Christmas cheer into the bathroom. They also make a lovely gift
Step
of
Materials
Project Preview Video

Rudolph Face
$5.24
$2.62
Circle Price: $2.47

QUICK VIEW
Tear Away Stabilizer
$7.98
Circle Price: $7.18
{{ item.name }}
{{ item.listPriceDisplay }}{{ item.salePriceDisplay }}
Circle Price:
{{ item.clubPriceDisplay }}


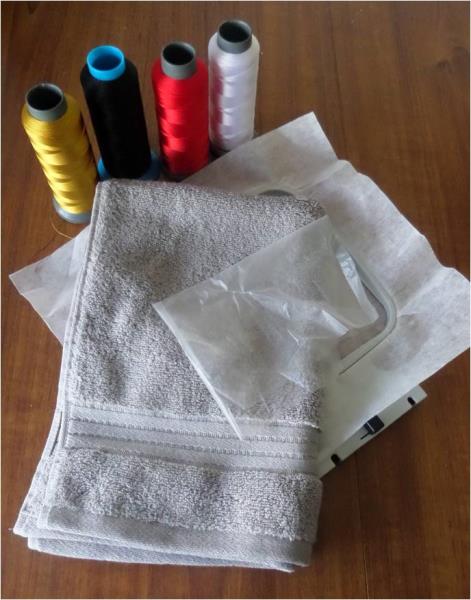
| Materials Hand towel Gold, black, red and white thread Tearaway stabilizer 20mm red ribbon 1 x red and 1 x green bell Sewing machine |
| Designs used in this project |
|
Projects You May Like
Meet the Author:
Kylie Burke

Kylie is based in Australia and loves creating and sharing her unique pieces.
Feedback
Characters Remaining
Please Login to Submit a Feedback
Invalid Characters, Please enter a valid Comment
Please enter a valid Comment
Reviewed On
Link is Broken, Please check the URL