














































PROJECT INSTRUCTIONS


PROJECT INSTRUCTIONS

Christmas Cards Embroidery Project
By
Kylie Burke
on
October 16, 2018
Description
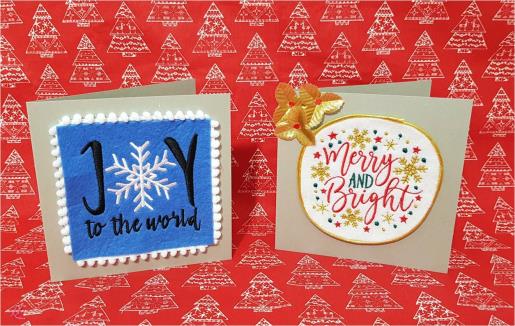
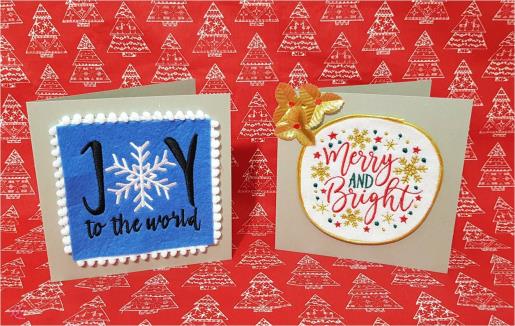
Handmade Christmas cards are always a winner! Use these beautiful designs to add a special touch to some blank cards
Step
of
Materials
Project Preview Video

Joy To The World
$4.99
$2.50
Circle Price: $2.35

Merry And Bright
$4.99
$2.50
Circle Price: $2.35

QUICK VIEW
Tear Away Stabilizer
$7.98
Circle Price: $7.18
{{ item.name }}
{{ item.listPriceDisplay }}{{ item.salePriceDisplay }}
Circle Price:
{{ item.clubPriceDisplay }}


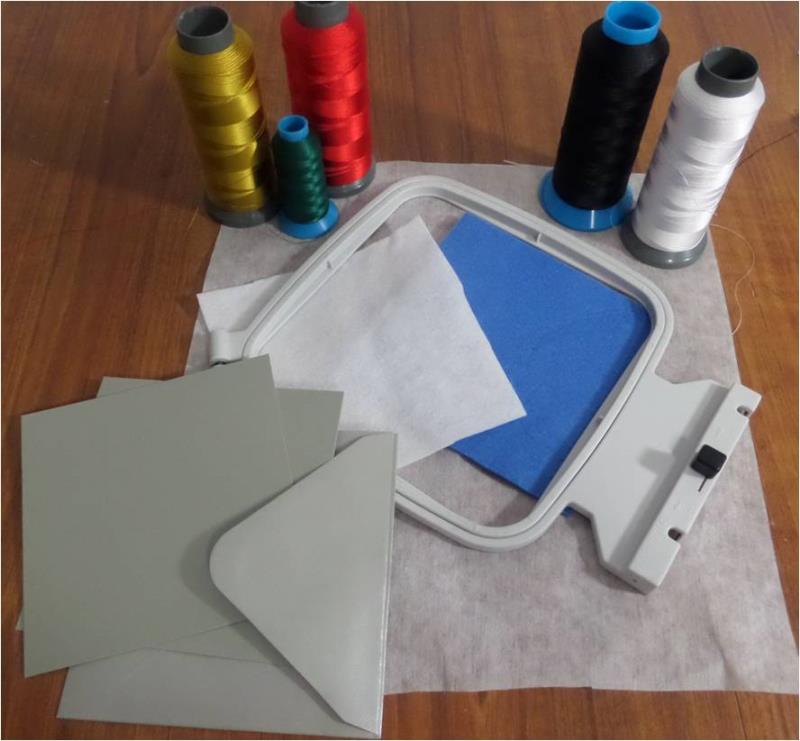
| Materials 5 ¼” square blank cards with envelopes 1 square of blue felt 1 square of white felt Black, white, red, green and gold thread Tearaway stabilizer 16” white bobble trim 13” gold piping trim and gold decorative flowers Double sided tape 4” hoop |
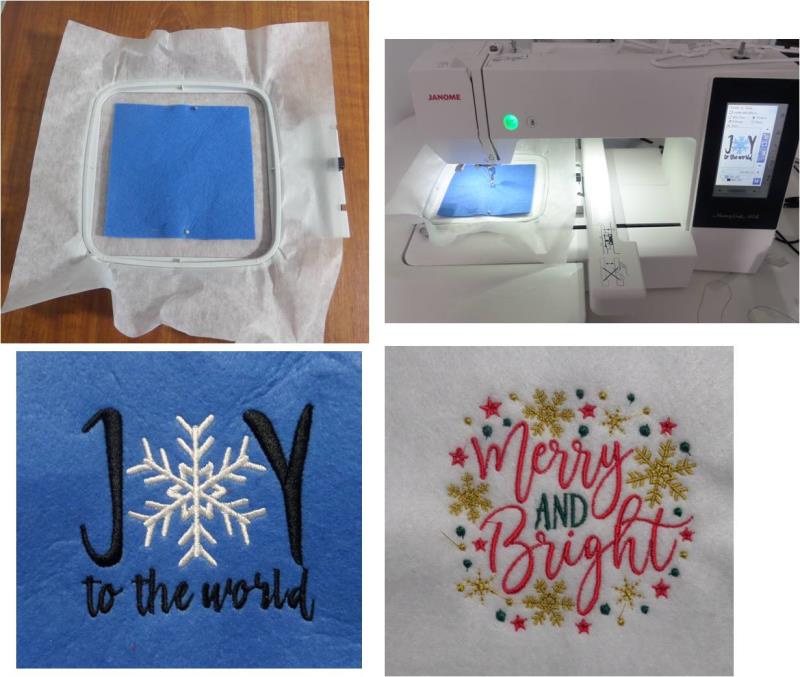
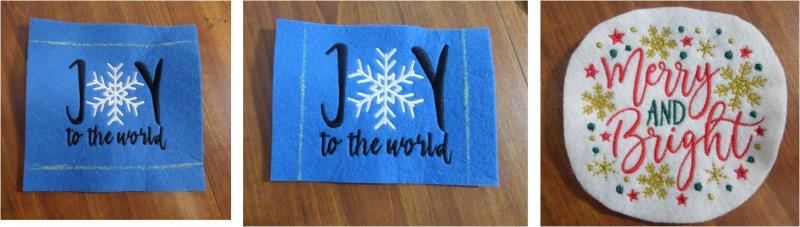
| Designs used in this project |
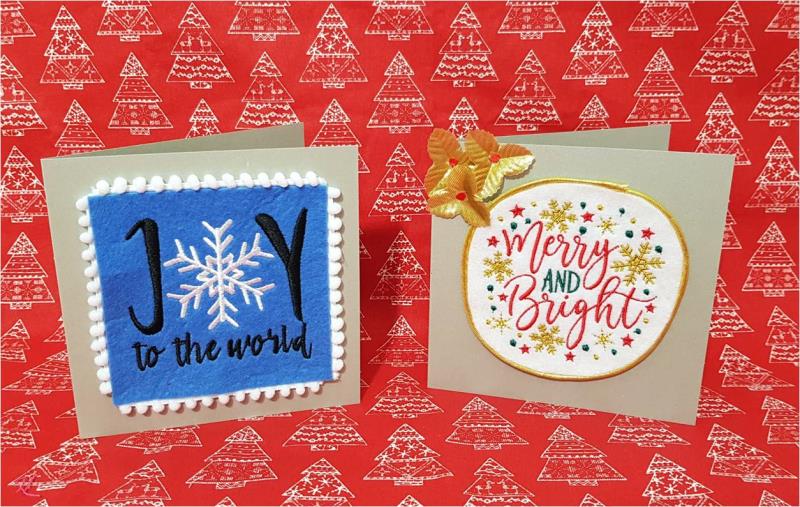
| Final Product: What You Will Create |
 |
|
Projects You May Like
Meet the Author:
Kylie Burke

Kylie is based in Australia and loves creating and sharing her unique pieces.
Feedback
Characters Remaining
Please Login to Submit a Feedback
Invalid Characters, Please enter a valid Comment
Please enter a valid Comment
Reviewed On
Link is Broken, Please check the URL