2026 Flash Sale
Live Chat
Embroidery Designs
Welcome, Embroiderer
Login
Holiday Wrapping
{{mainImageAlt || (productInfo._source && productInfo._source.name) || ''}}

Holiday Wrapping Embroidery Project

By   Linda Mills   on   October 16, 2018
  • SKILL LEVELSome Experience
  • TIME REQUIRED01:30
Description

Create your own holiday wrapping paper this year with FSL (Free Standing Lace) designs and your imagination. "If you can imagine it, you can create it!"

Step of

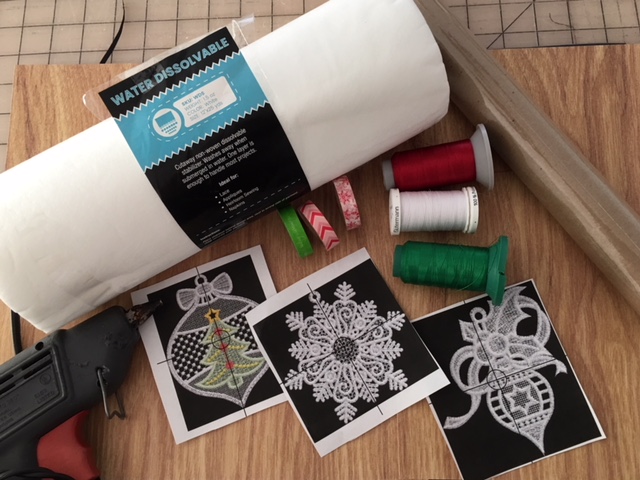
Materials

Project Preview Video

Materials
  • Solid color wrapping paper/Kraft paper roll
  • Embroidery thread
  • Water Dissolvable Backing Stabilizer
  • Glue gun
  • Adhesive decorative tape ( i.e washi tape)

  • Designs used in this project

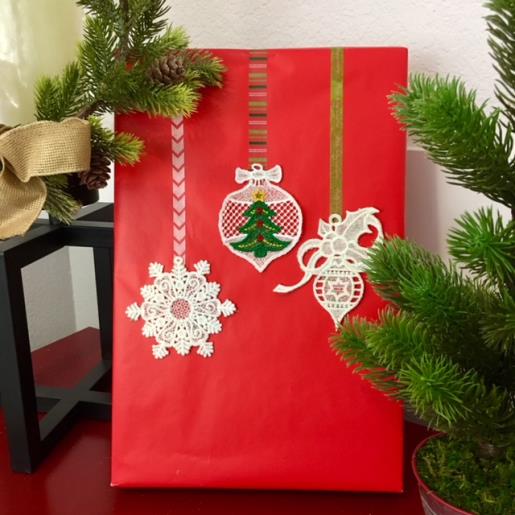
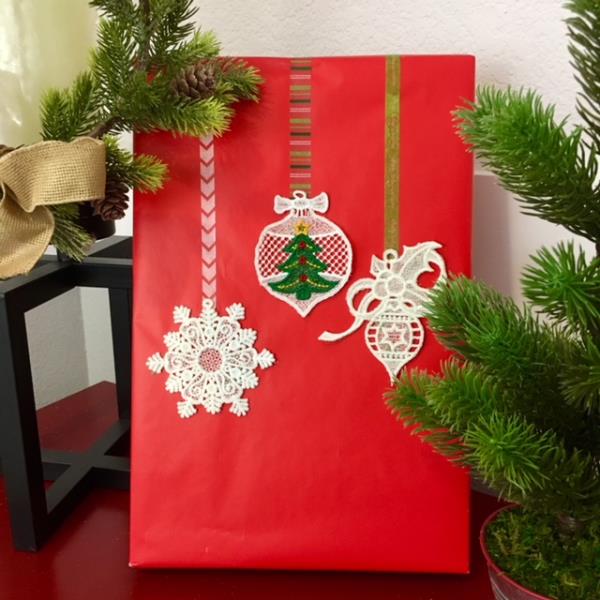
    Final Product: What You Will Create

    Preface:
    Add your own personal touch by creating your own holiday gift wrap. Using plain wrapping paper and embroidering a few FSL ( Free Standing Lace) designs along with colorful adhesive tape will definitely be a step up to your holiday gift giving with something a little more personal.


    Step 1:
    Gather all materials and review instructions before beginning.

    (Click Image to Enlarge)


    Step 2:
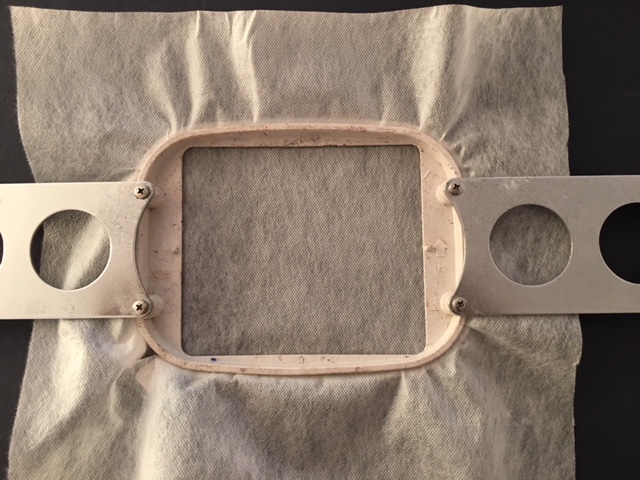
    Choose your first design to embroider. Hoop your water dissolvable stabilizer.

    (Click Image to Enlarge)


    Step 3:
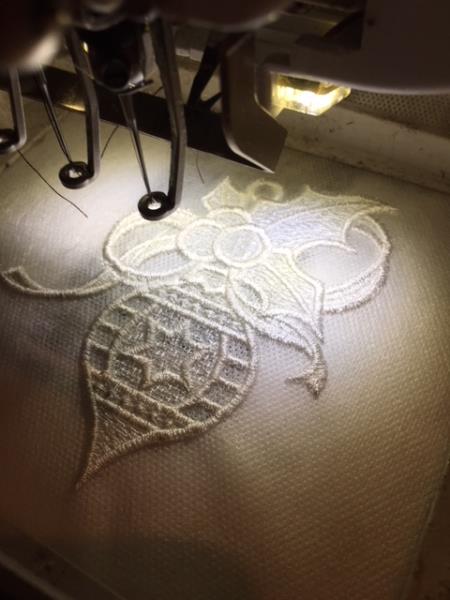
    Load design into your machine. Attach hoop and begin the embroidering process. 

    (Click Image to Enlarge)


    Step 4:
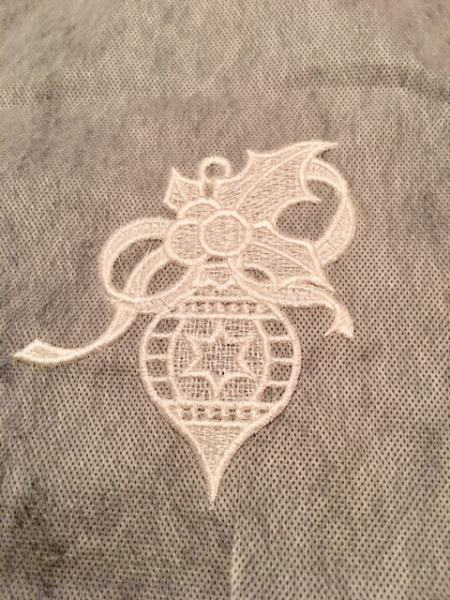
    Embroidering complete. Remove hoop from machine. Cut any and all jump stitches as well as any loose thread ends.   

    (Click Image to Enlarge)


    Step 5:
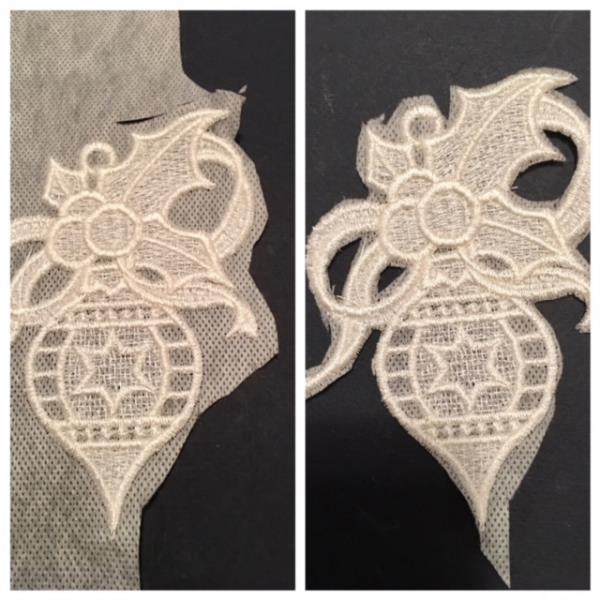
    Unhoop stabilizer and trim excess.

    (Click Image to Enlarge)


    Step 6:
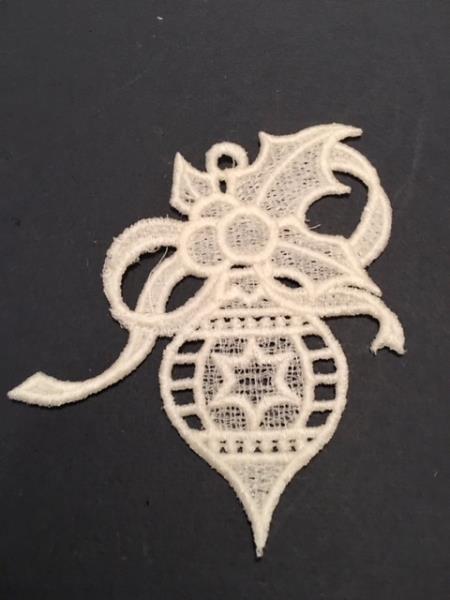
    Water submerge embroidered design to remove excess stabilizer according to your stabilizer instructions Blot to remove any excess water and let air dry. Press with a pressing cloth once lace is completely dry. 

    (Click Image to Enlarge)


    Step 7:
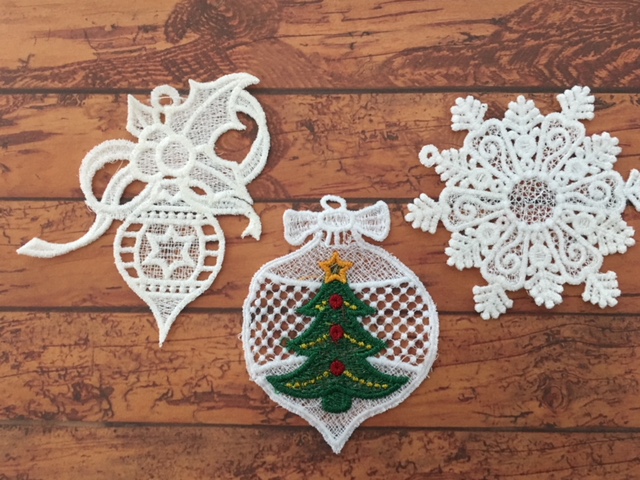
    Repeat the above steps for the remainder of designs. 

    (Click Image to Enlarge)


    Step 8:
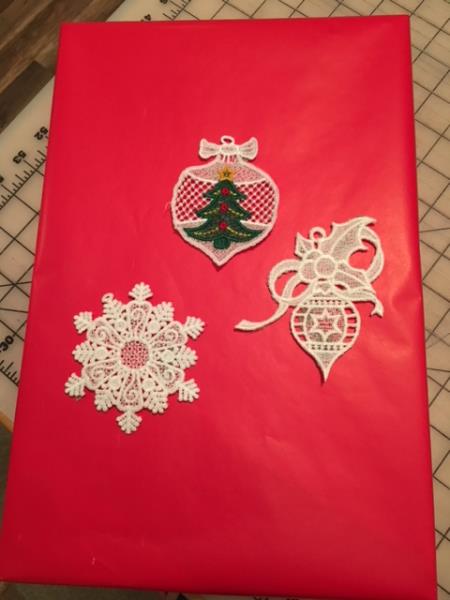
    Wrap your gift and arrange your embroidered designs on top of the paper. Mark placement of design with a pencil at the top of each design eyelet.

    (Click Image to Enlarge)


    Step 9:
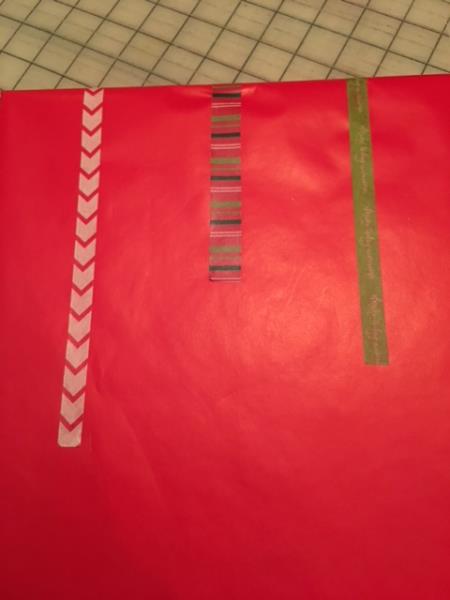
    Remove designs and using the adhesive tape of your choice apply the tape to make the "lines" on your paper.  

    (Click Image to Enlarge)


    Step 10:
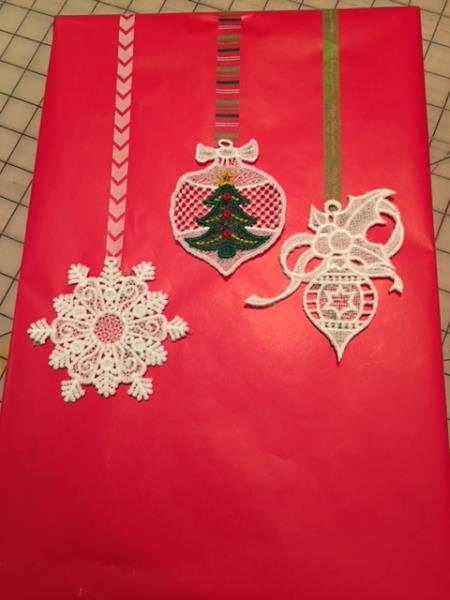
    Hot glue the embroidered designs onto the wrapped box.  

    (Click Image to Enlarge)


    Step 11:
    Done! Now stand back and admire your pretty packaging.

    (Click Image to Enlarge)

    Meet the Author: Linda Mills
    Linda Mills
    Linda loves to create by sharing her different sewing and machine embroidery techniques so others can utilize their machines to the fullest
    More From This Author
    Link is Broken, Please check the URL
    Exclusive Embroidery Offers!
    Copyright © {{ currentDate | date:'yyyy'}} - EmbroideryDesigns.com
    GET 50% OFF! ×