














































PROJECT INSTRUCTIONS


PROJECT INSTRUCTIONS

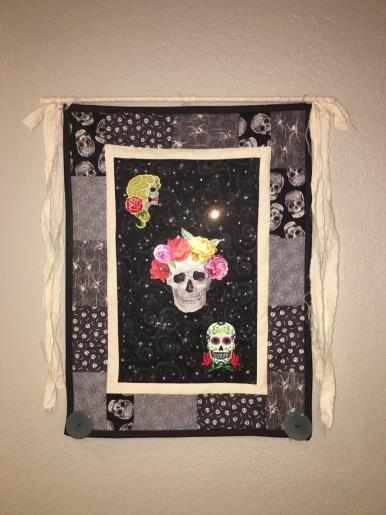
Multi Media Wall Hanging Embroidery Project
By
ruth vangrowski
on
October 16, 2018
Description
Wall Hanging using embroidery, applique, and Hotfix crystals Skull designs
Step
of
Materials
Project Preview Video

QUICK VIEW
DAY OF THE DEAD SKULL
$6.94
$3.47
Circle Price: $3.32

QUICK VIEW
WOMANS SKULL
$6.94
$3.47
Circle Price: $3.32

Cut Away Stabilizer - 2.5 Oz wt.
$8.94
Circle Price: $8.05

Cut Away Stabilizer - 2 oz wt.
$8.52
Circle Price: $7.67

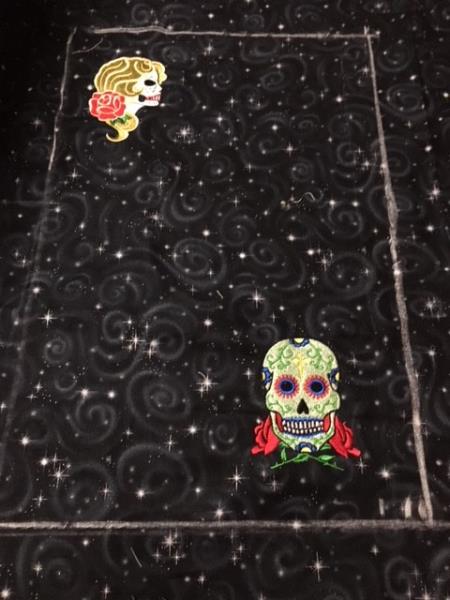
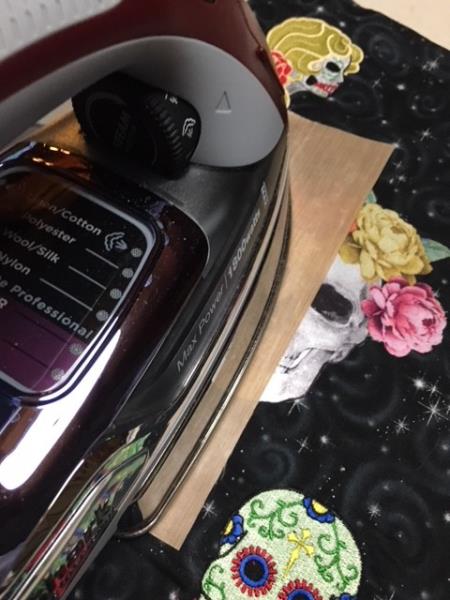
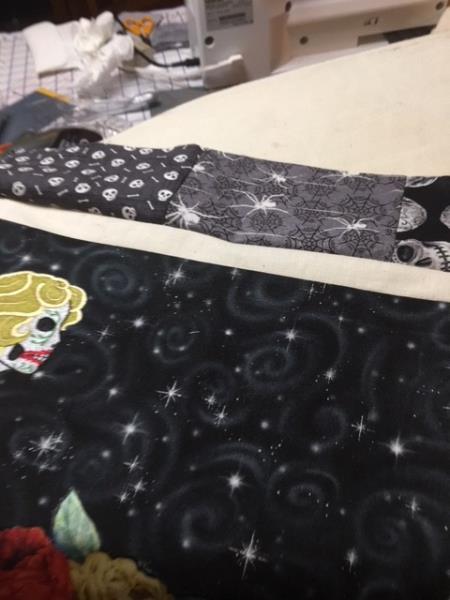
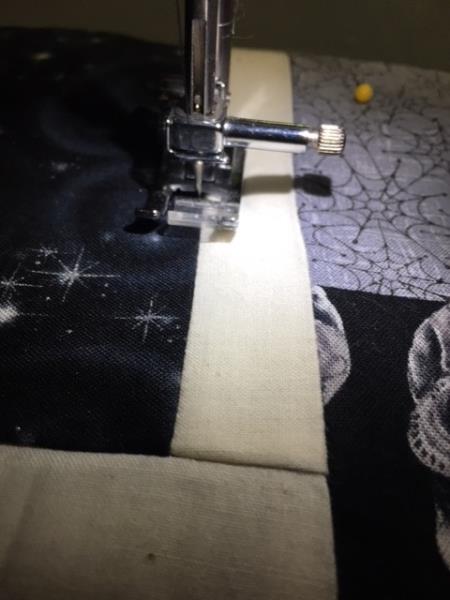
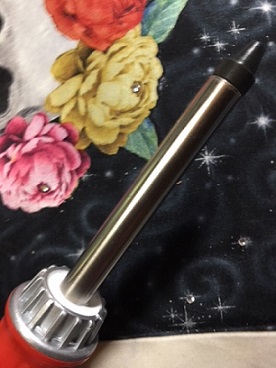
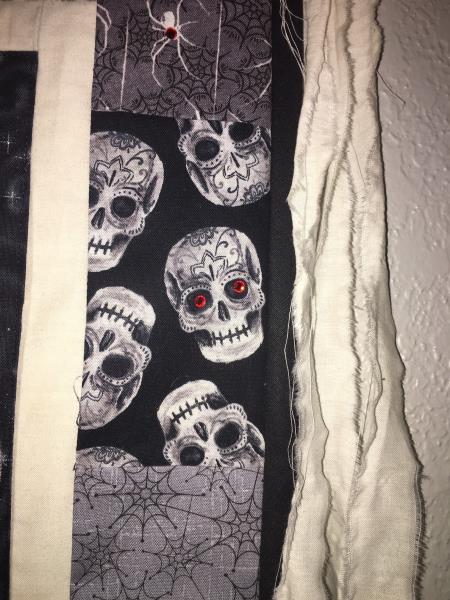
| Materials Designs by Great Notions 63490 and 63482 Thread by Robison-Anton as stated on color sheets 1 piece of low loft batting to fit the finished hanging Stitch Witchery to apply to back of fabric for applique Fabric for applique Silicone Pressing sheet Fuse-n-tear stabilizer 1/2 yard of 45" fabric for background and back of wall hanging 1/2 yard of 45" muslin 1/4 yard of several coordinating prints Hotfix Wand Hotfix crystals Two large Buttons 1 dowel 22" long |
|
| I hope you enjoy making this easy project! |
Projects You May Like
Meet the Author:
ruth vangrowski

Ruth has been a customer service rep for Great Notions for 30 years. She has been sewing for over 65 years.
Feedback
Characters Remaining
Please Login to Submit a Feedback
Invalid Characters, Please enter a valid Comment
Please enter a valid Comment
Reviewed On
Link is Broken, Please check the URL