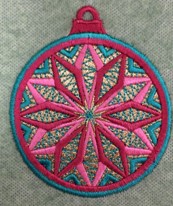
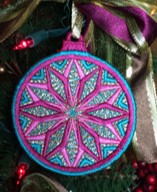
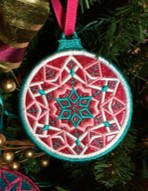
Vinyl Applique Ornaments

Vinyl Applique Ornaments Embroidery Project

By   Marisa Littleton   on   October 01, 2018
  • SKILL LEVELSome Experience
  • TIME REQUIRED04:45
Description

Applique Ornaments using glitter vinyl

Step of

Materials

Project Preview Video

Materials
  • Design Template & Color Chart
  • 4” x 4” hoop
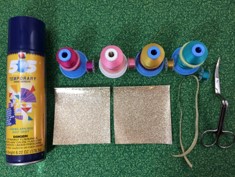
  • 40 wt. embroidery thread & matching bobbins (Robison-Anton poly)
  • Water Soluble Backing Stabilizer
  • Two 3.5” x 3.5” squares of Glitter Vinyl per ornament
  • 505 Temporary Adhesive Spray
  • 90/14 Embroidery Needle
  • Applique Scissors

  • Designs used in this project

    Preface:
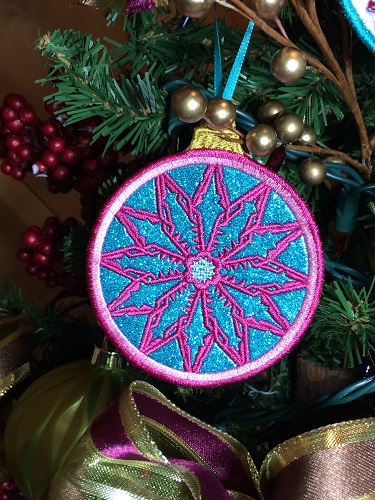
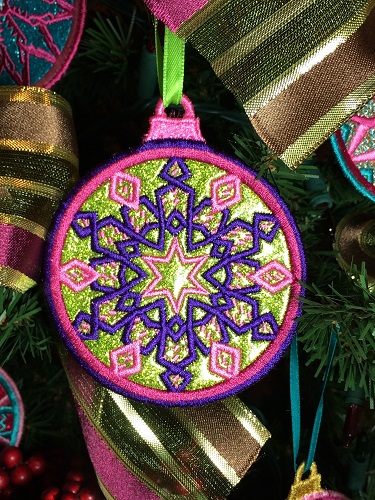
    Applique Globe Ornament package with 13 different designs.  Sparkle vinyl was used for the applique fabric for the ornaments.  The designs stitched smoother with a larger needle and at a slower stitch per minute speed.  Each design has approximately 13,000-18,000 stitches.  The bobbin thread matched the color of the thread on the spool.  Matching colors makes the back of the ornament pretty like the front of the ornament.


    Step 1:
    (Click Image to Enlarge)
    Gather the materials.  Read through the instructions before beginning.


    Step 2:
    (Click Image to Enlarge)
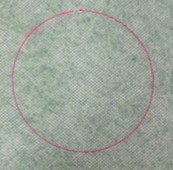
    Hoop one piece of water soluble backing stabilizer.
     
    Load the design onto your machine.  Stitch Step 1.  Step 1 is a placement stitch.


    Step 3:
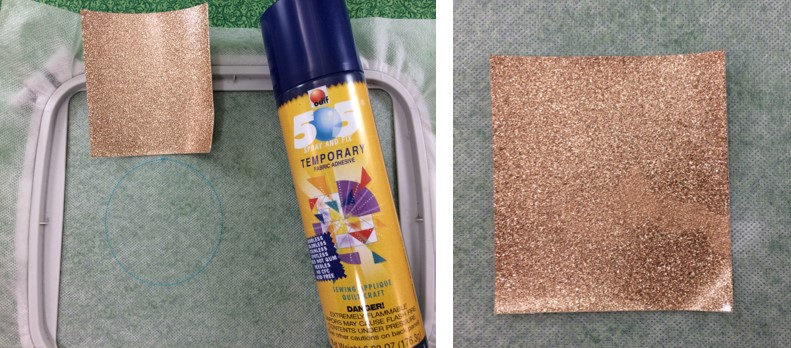
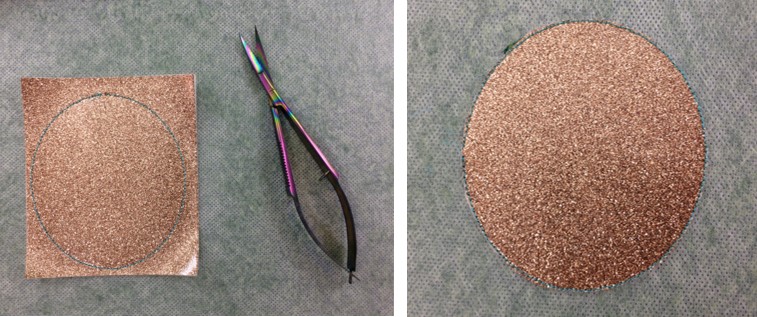
    Remove the hoop from the machine.  Lightly mist the back of a 3.5” x 3.5” square with temporary adhesive spray.  Press the vinyl square gently in place on top of the circle.

    (Click Image to Enlarge)


    Step 4:
    (Click Image to Enlarge)
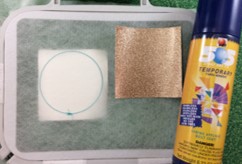
    Turn the hoop over so that the back of the hoop is facing you.  Lightly mist the back of a 3.5” x 3.5” square with temporary adhesive spray.  Press the vinyl square gently in place on top of the circle.


    Step 5:
    Attach the hoop.  Stitch step 2. 
     
    Remove the hoop from the machine but do not remove the project from the hoop.  Trim excess vinyl from around the ornament.  Turn the hoop over.  Trim excess vinyl from the around the ornament.

    (Click Image to Enlarge)


    Step 6:
    (Click Image to Enlarge)
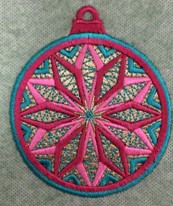
    Follow the color guide to finish stitching the ornament.


    Step 7:
    (Click Image to Enlarge)
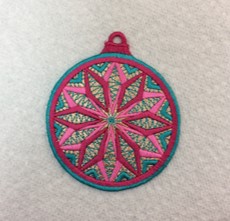
    Remove the ornament from the hoop.  Trim excess stabilizer from around the ornament.
     
    Using very hot water, moisten your finger tip and dab the water around the edges of the ornament to remove the excess water- soluble stabilizer.  Lay the ornament on a flat surface to dry.


    Step 8:
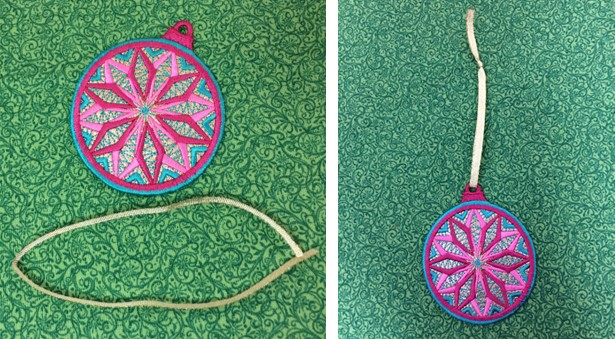
    Cut the ¼” ribbon 10” long.  Loop the ribbon through the ornament hanger. Match the ends of the ribbon together.  Tie a single knot about 1.5” from the end of the ribbon.

    (Click Image to Enlarge)


    Step 9:
    (Click Image to Enlarge)
    Congrats!  You have completed your project!  Great job!


    Step 10:
    (Click Image to Enlarge)
    I love how the lights on the tree catch the sparkle in the vinyl!  WTG! 
     
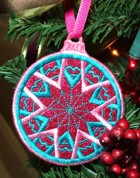
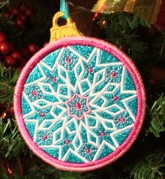
    Here are some examples of other ornaments in the package.


    Step 11:
    (Click Image to Enlarge)
    Ornament 2


    Step 12:
    (Click Image to Enlarge)
    Ornament 3


    Step 13:
    (Click Image to Enlarge)
    Ornament 4


    Step 14:
    (Click Image to Enlarge)
    Ornament 5


    Step 15:
    (Click Image to Enlarge)
    Ornament 6

    learn by teaching...
     
    Marisa Littleton 
    Meet the Author: Marisa Littleton
    Marisa Littleton
    Marisa Littleton is a retired educator with a love for teaching and learning. Interests include machine embroidery, hand embroidery, quilting, cooking, and antiques.
    More From This Author
    Link is Broken, Please check the URL
    Exclusive Embroidery Offers!
    Copyright © {{ currentDate | date:'yyyy'}} - EmbroideryDesigns.com
    GET 50% OFF! ×