Live Chat
Embroidery Designs
Welcome, Embroiderer
Login
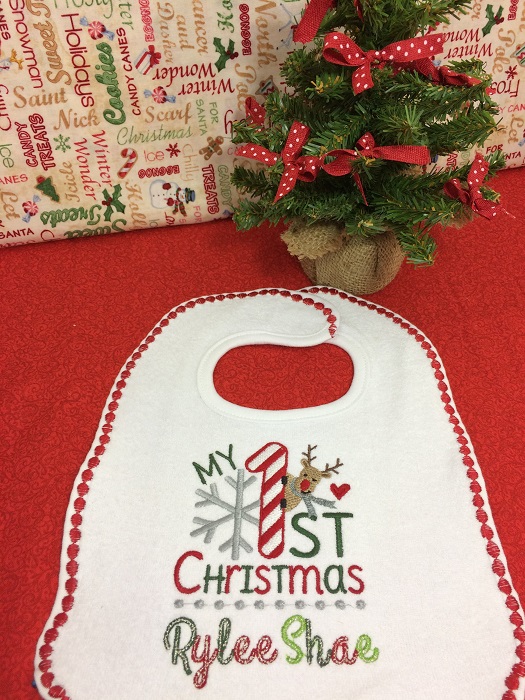
Baby's 1st Christmas Bib
{{mainImageAlt || (productInfo._source && productInfo._source.name) || ''}}

Baby's 1st Christmas Bib Embroidery Project

By   Marisa Littleton   on   October 01, 2018
  • SKILL LEVELSome Experience
  • TIME REQUIRED01:00
Description

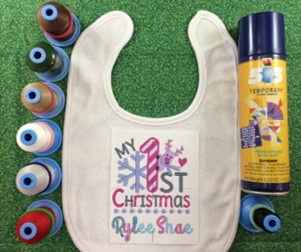
Personalized Christmas baby bib

Step of

Materials

Project Preview Video

Materials
  • 4X4 hoop
  • Design Template & Color Chart
  • Baby Bib
  • 2.0 oz. Cutaway Stabilizer
  • Water Soluble Topping Stabilizer
  • 505 Temporary Adhesive Spray
  • 40 wt. Machine Embroidery Thread (Robison-Anton poly)
  • 75/11 Embroidery Needle
  • Air-erase pen for marking (Clover)
  • Seam-Fixs (seam ripper)

  • Designs used in this project

    Preface:
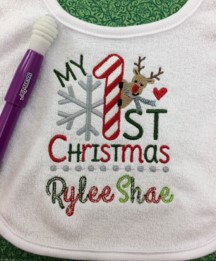
    Celebrate Baby's 1st Christmas with a personalized bib.  Personalize by adding text using Christmas Dot font.  


    Step 1:
    (Click Image to Enlarge)
    Read through the instructions before beginning.  Gather the materials for the project.  An embroidery software program (Embrilliance Essentials) was used to personalize the bib with Christmas Dot font.


    Step 2:
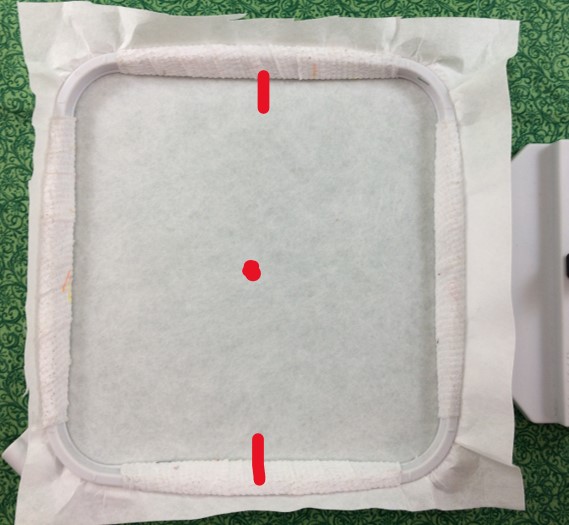
    Hoop the cutaway stabilizer.  A light weight permanent stabilizer was used because the fabric of the bib was stretchy.  Mark the center point on the stabilizer.

    (Click Image to Enlarge)


    Step 3:
    (Click Image to Enlarge)
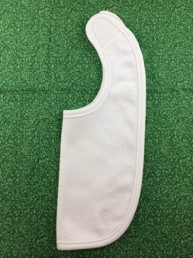
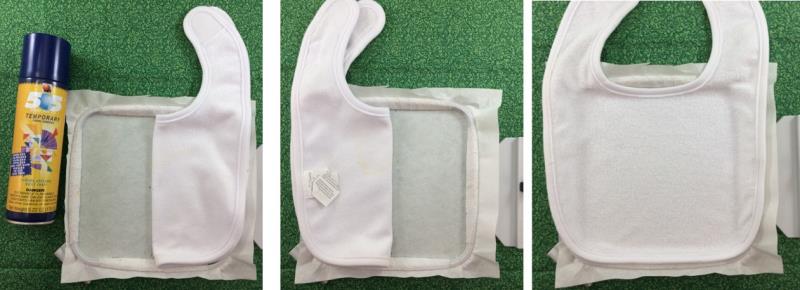
    Place the baby bib on a flat surface with the right side facing you.  Fold the bib in half.
     
    Use the design template as a tool for positioning and placement of the design on the bib.  Mark the center point on the bib using an air erase marker pen.


    Step 4:
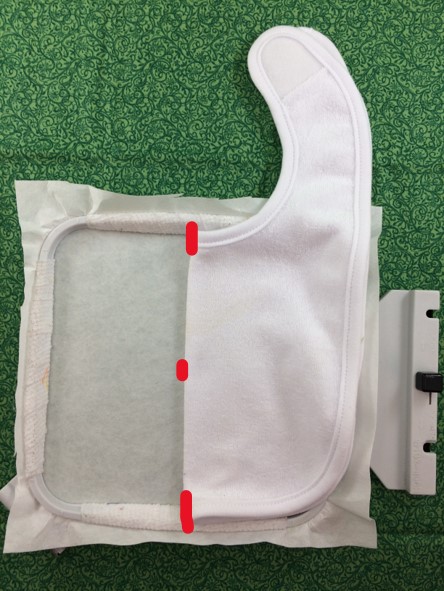
    Align the center point on the stabilizer with the center point on the folded bib.

    (Click Image to Enlarge)


    Step 5:
    Lightly mist the visible stabilizer with 505 Temporary Adhesive Spray.
    Unfold the bib and gently press onto the stabilizer.  The surface should be smooth and wrinkle free.  Repeat for the other side of the bib.

    (Click Image to Enlarge)


    Step 6:
    (Click Image to Enlarge)
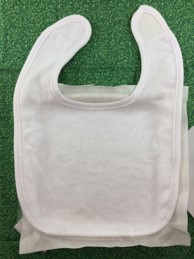
    Place a piece of water-soluble topping stabilizer on top of the bib.  Pin in place.


    Step 7:
    (Click Image to Enlarge)
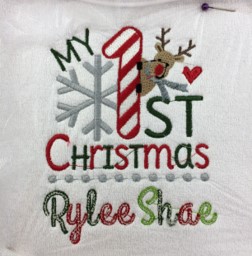
    Load embroidery design.  Stitch the design using the color chart as a guide for each step.


    Step 8:
    (Click Image to Enlarge)
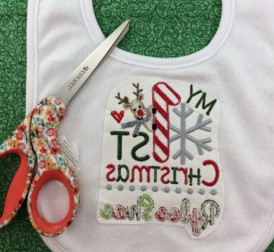
    Remove the bib from the hoop.  Trim the cutaway stabilizer to about ½” around the design.  Trim threads on the back of the bib if needed.


    Step 9:
    (Click Image to Enlarge)
    Gently tear away the water-soluble topping.  The white tip on the seam-fix seam ripper works very well for removing any remaining pieces of the topping.


    Step 10:
    (Click Image to Enlarge)
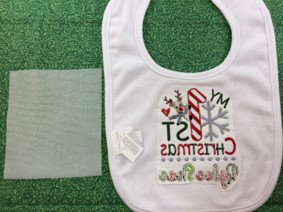
    Cut a piece of Baby Soft Iron On slightly larger than the design and stabilizer on the back of the baby bib.


    Step 11:
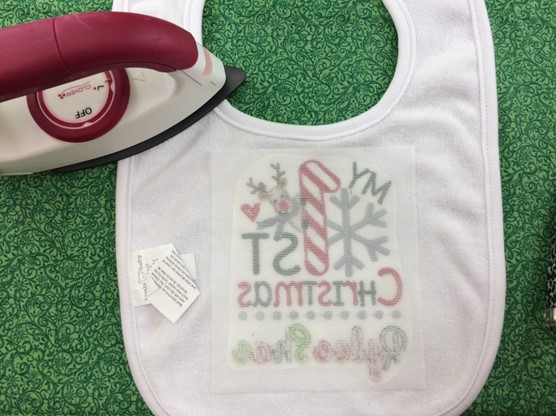
    Follow the instructions on the Baby Soft package to iron it on the back of the baby bib.

    (Click Image to Enlarge)


    Step 12:
    (Click Image to Enlarge)
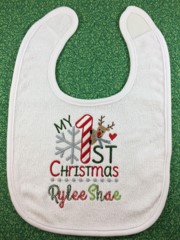
    Congrats!  You have completed your project!  


    Step 13:
    (Click Image to Enlarge)
    A decorative stitch was added around the outer edge of the bib.  The bib in this project was made of a very stretchy fabric.  The decorative stitching made the edges want to curl upward slightly.  You may skip the decorative stitching if your bib is really stretchy or use a bib with a different fabric for your project.

    learning by teaching
     
    Marisa Littleton 
    Meet the Author: Marisa Littleton
    Marisa Littleton
    Marisa Littleton is a retired educator with a love for teaching and learning. Interests include machine embroidery, hand embroidery, quilting, cooking, and antiques.
    More From This Author
    Link is Broken, Please check the URL
    Exclusive Embroidery Offers!
    Copyright © {{ currentDate | date:'yyyy'}} - EmbroideryDesigns.com
    GET 50% OFF! ×