{{superHeaderAds.title}}
Live Chat
Embroidery Designs
Welcome, Embroiderer
Login
Cornhole Bags
{{mainImageAlt || (productInfo._source && productInfo._source.name) || ''}}

Cornhole Bags Embroidery Project

By   Kylie Burke   on   September 18, 2018

PROJECT DETAILS

SKILL LEVEL
Some Experience
TIME REQUIRED
03:30
FINISHED SIZE
6 x 6 inches
Description

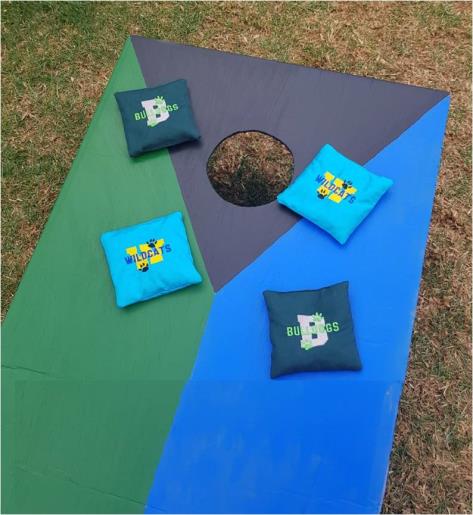
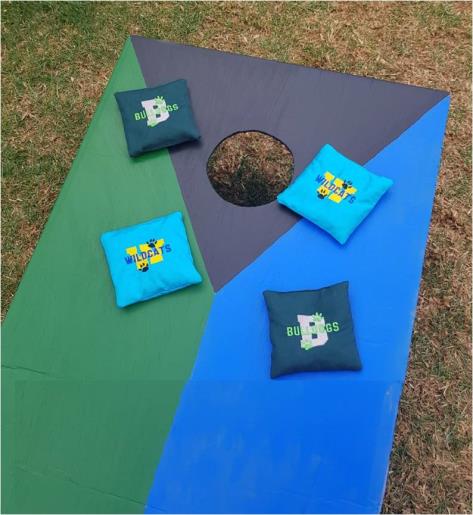
Any easy project to create for some outdoor fun playing cornhole!

Project Preview Video

Materials
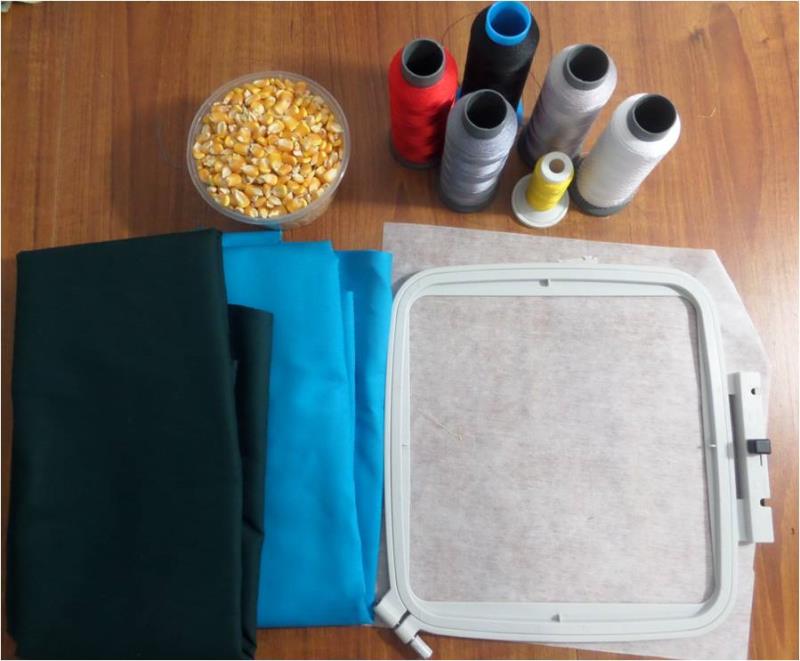
  • ½ yard of cotton drill in 2 colors of your choice
  • Thread colors of your choice
  • Tearaway stabilizer
  • 12 cups of dried corn

  • Designs used in this project

    Final Product: What You Will Create

    Preface:
    There are many great designs to use for these cornhole bags, so you can use the ones I have used or search the site for ones that suit you.


    Step 1:
    Gather the materials and read through the instructions before beginning. Have a copy of the color sequence on hand for reference

    (Click Image to Enlarge)


    Step 2:
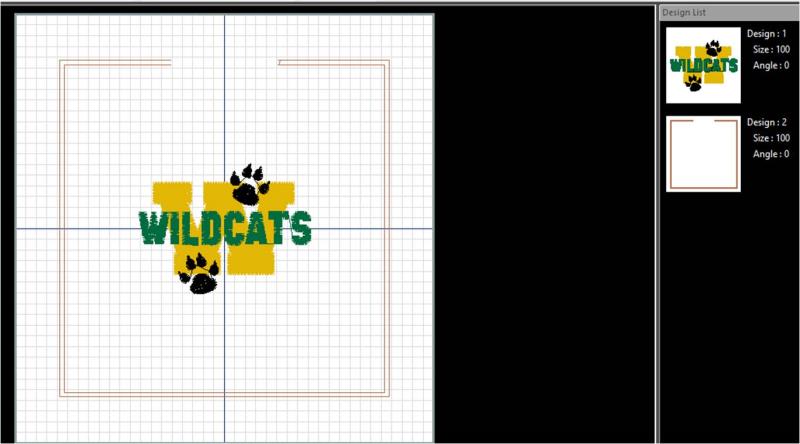
    If you have embroidery software, you can load the team logo and the cornhole bag design together and save as one file, ensure the stitch sequence has the logo stitch out first. If you don’t have software, you can load each design separately onto your machine.  

    (Click Image to Enlarge)


    Step 3:
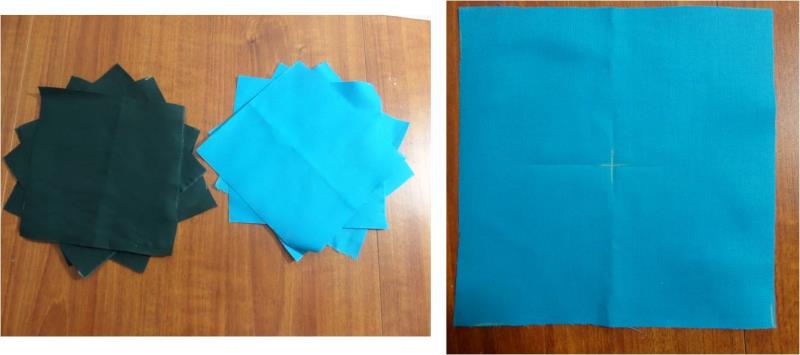
    From the cotton drill fabric, cut 8 x 6.5” squares from each color. For each color mark the center point on 4 squares.

    (Click Image to Enlarge)


    Step 4:
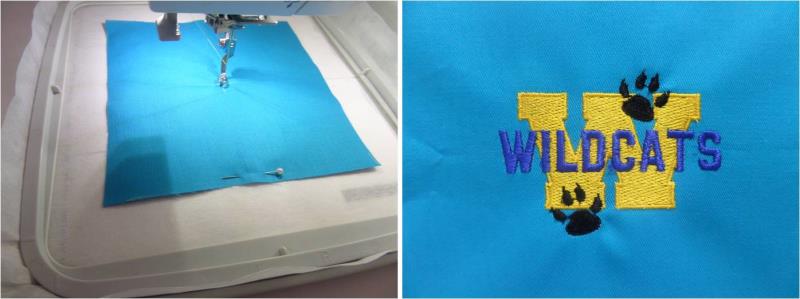
    Hoop the tearaway stabilizer and attach the hoop to the machine. Lay the 6.5” square under the foot ensuring it is centered, pin down to the stabilizer. You could also use spray adhesive to hold it in place. Stitch out the logo design.

    (Click Image to Enlarge)


    Step 5:
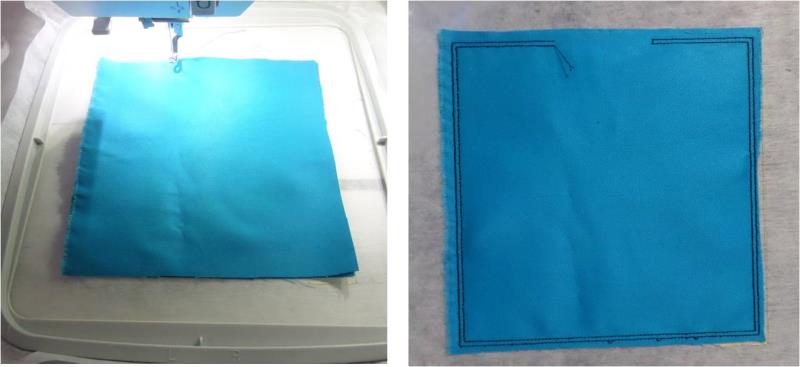
    Once the logo is complete, lay the backing piece of fabric right side down onto the embroidered panel and stitch out the cornhole bag design. 

    (Click Image to Enlarge)


    Step 6:
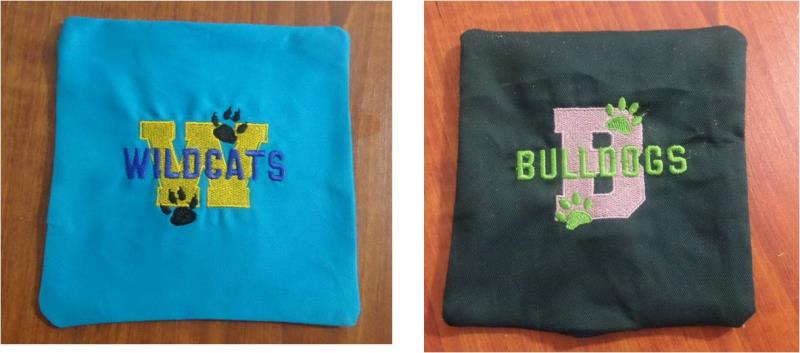
    Once complete, remove the hoop from the machine and tear away the stabilizer then turn the cornhole bag right side out and push the corners out. Repeat these steps for the other bags. Traditionally you need 4 bags of each color but you can make as many as you like.

    (Click Image to Enlarge)


    Step 7:
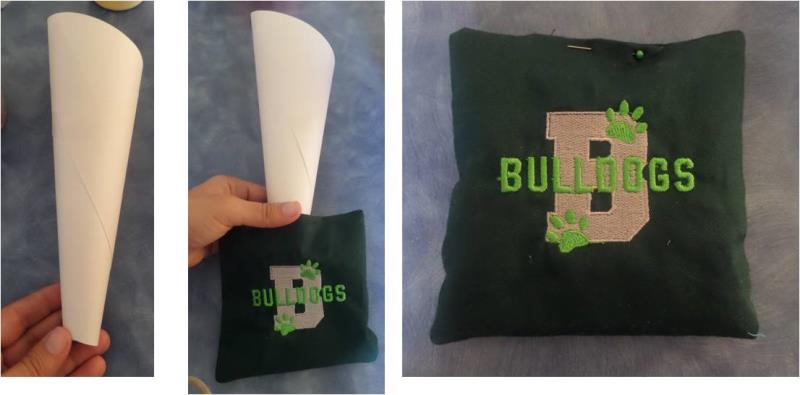
    Now to fill the bags, it is easiest if you have a funnel. If not, you can easily create one with an A4 sheet of paper. Insert the funnel into the opening of the bag and fill with 1 ½ cups of dried corn and pin the bag closed until you fill all the bags.

    (Click Image to Enlarge)


    Step 8:
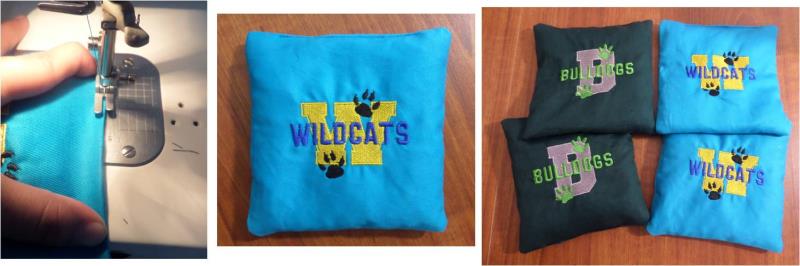
    You can either close the bag by doing a blind hand-stitch, or I have chosen to pinstitch on the edge. Do this for all the bags.

    (Click Image to Enlarge)


    Step 9:
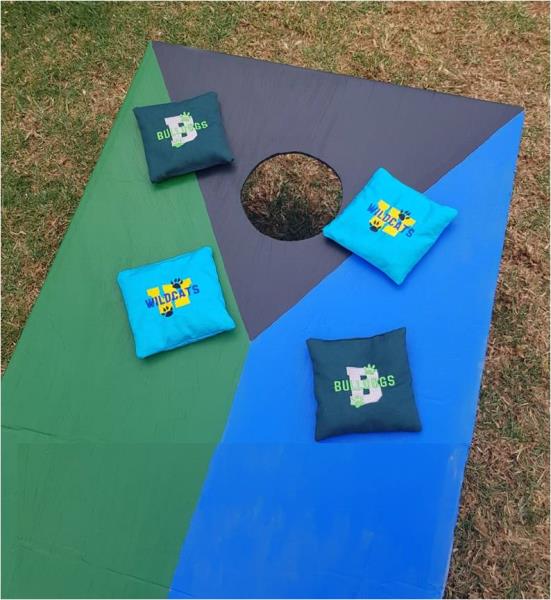
    It’s now time to play cornhole!!! 

    (Click Image to Enlarge)

    Meet the Author: Kylie Burke
    Kylie Burke
    Kylie is based in Australia and loves creating and sharing her unique pieces.
    More From This Author
    Link is Broken, Please check the URL
    Exclusive Embroidery Offers!
    Copyright © {{ currentDate | date:'yyyy'}} - EmbroideryDesigns.com
    GET 50% OFF! ×