Border OptionsHugging border, circle, square, or rectangle — with a 3mm satin stitch.
Backing OptionsAvailable with iron-on, sew-on, or velcro backing.
Fast ShippingShipped quickly from the USA.
Free Online Tools
Powerful embroidery utilities that save time and prevent costly mistakes.
Stitch AssistantRECOMMENDED
Get the exact stabilizer, machine settings, needle, and thread color sequence for every embroidery design you purchase — based on that design's stitch density, dimensions, and color count.
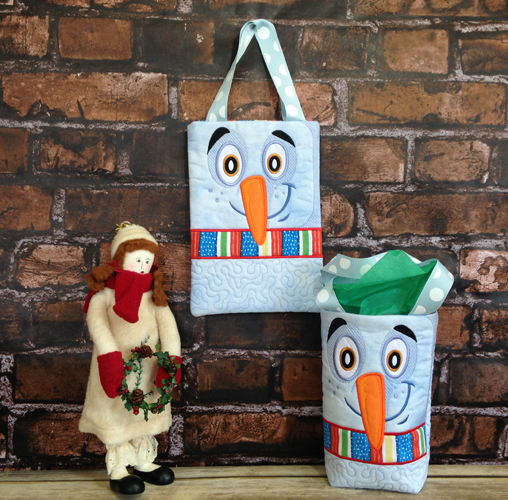
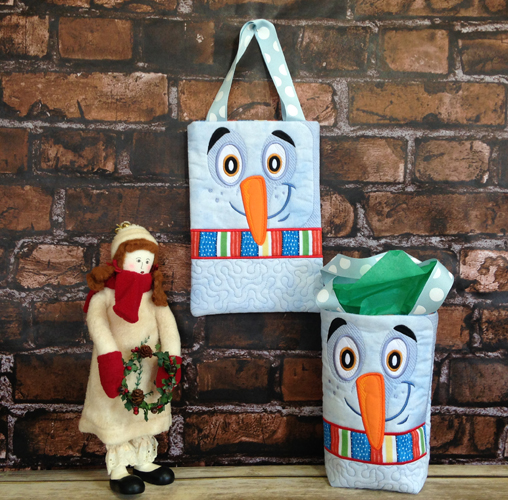
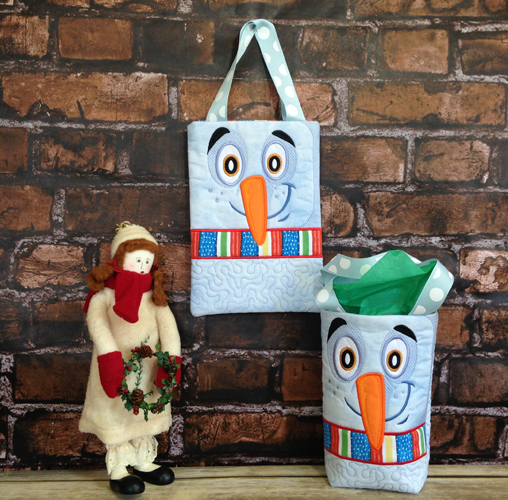
Create a charming snowman tote bag with this in-the-hoop project. The bag features quilted and appliqued elements, assembled in two hoopings for a seamless finish. Perfect for carrying gifts or everyday items. Step-by-step instructions are included.
The front and back of this Snowman Tote are quilted and appliqued in the hoop. The lining is even added in the hoop. Just two quick seams at your sewing machine complete the project. Add two more seams to box the corners to make this a gift bag.
Step 1:
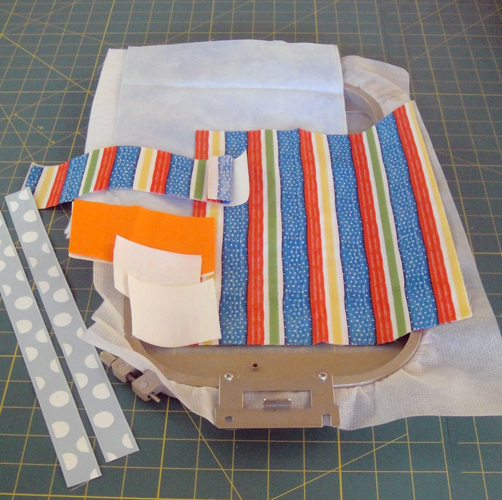
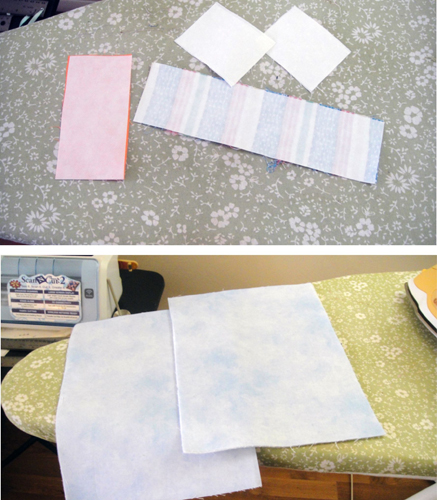
Cut: a. 2 12” x 9” rectangles of the ice blue fabric and fusible batting b. 2 11” 9” rectangles of the striped Christmas fabric c. 1 2.5” x 9” rectangle of the striped Christmas fabric and Heat N Bond Lite® d. 1 5” x 2 ½” rectangle of the orange fabric and Heat N bond Lite® e. 2 3” x 2 ½” rectangles of the white fabric and Heat N Bond Lite® f. 2 13” sections of the 7/8th” grosgrain ribbon g. 2 rectangles of no show stabilizer to fit your 12” x 8” hoop
Step 2:
Press all fabrics with Magic Sizing® or spray starch. Apply the Heat N Bond Lite® to the back of the applique pieces and the Pellon fusible batting to the back of the ice blue fabrics following the manufacturer’s instructions.
Step 3:
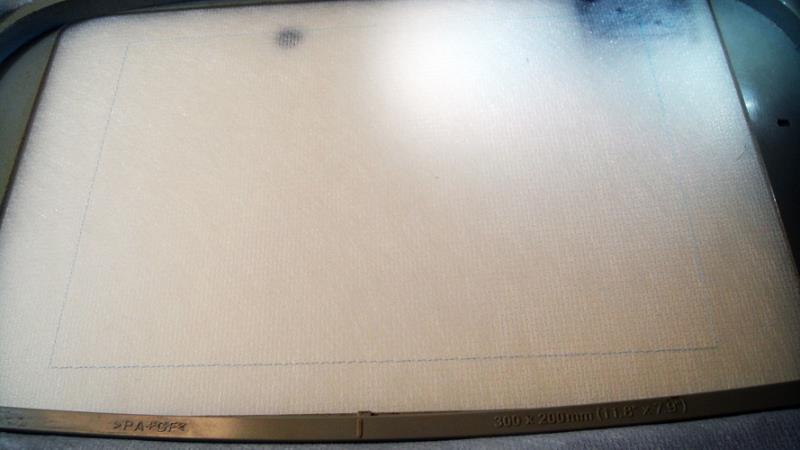
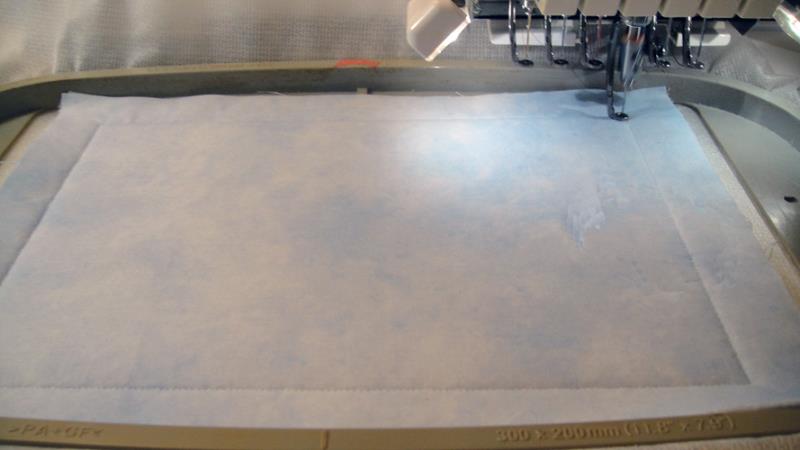
Tautly hoop your stabilizer and run color stop (CS) 1 as a placement line for your prepared ice blue fabric.
(Click Image to Enlarge)
Step 4:
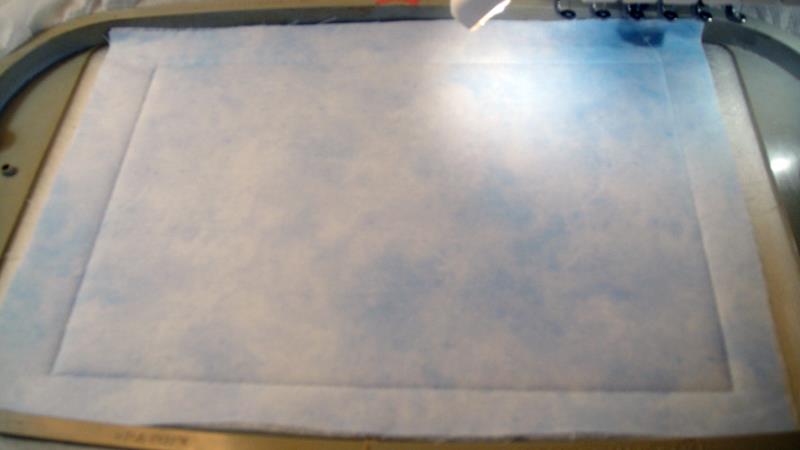
Spray adhesive of the back of the Pellon® and position the fabric over the placement lines so that the fabric exceeds the placement line by ½” on all sides. Run CS 2 is water soluble thread to tack down the fabrics. Water soluble thread is used so that you can dampen and remove it after the project is completed. If you are very sure that you can match up your seam lines and won’t need to remove it any regular embroidery thread that matches your fabric can be used for CS 2.
(Click Image to Enlarge)
Step 5:
Run CS 3 in periwinkle as a placement line for the scarf applique.
(Click Image to Enlarge)
Step 6:
Remove the Heat N Bond Lite® paper backing, spray the back of the applique with adhesive and position over the placement lines. Run CS 4 in periwinkle to tack down the applique.
(Click Image to Enlarge)
Step 7:
Trim the applique as close as possible to the tack down stitches, then press with an applique iron.
(Click Image to Enlarge)
Step 8:
Run CS 5 in periwinkle and CS 5 in dark federal blue to embroider the shadows the mouth and quilting.
(Click Image to Enlarge)
Step 9:
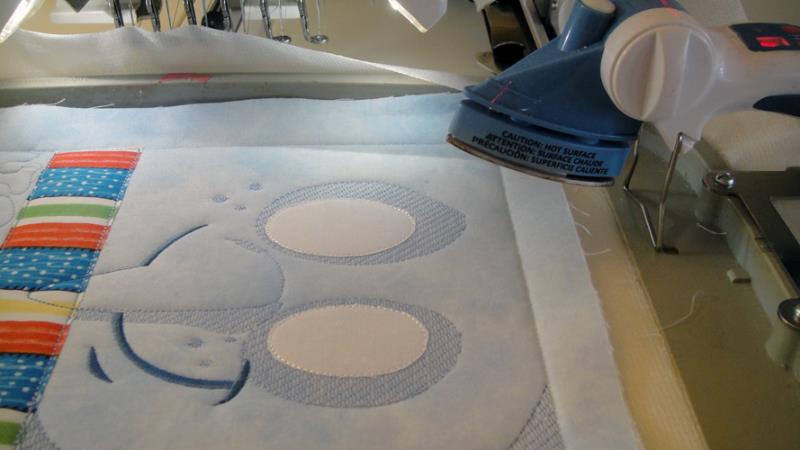
Run CS 7 in white as a placement line for the left eye, place the fabric as in Step 6, run CS 8 to tack down the applique. Repeat with CS 9 and 10 to applique the right eye. Trim both appliques as close as possible to the tack down stitches and press with an applique iron.
(Click Image to Enlarge)
Step 10:
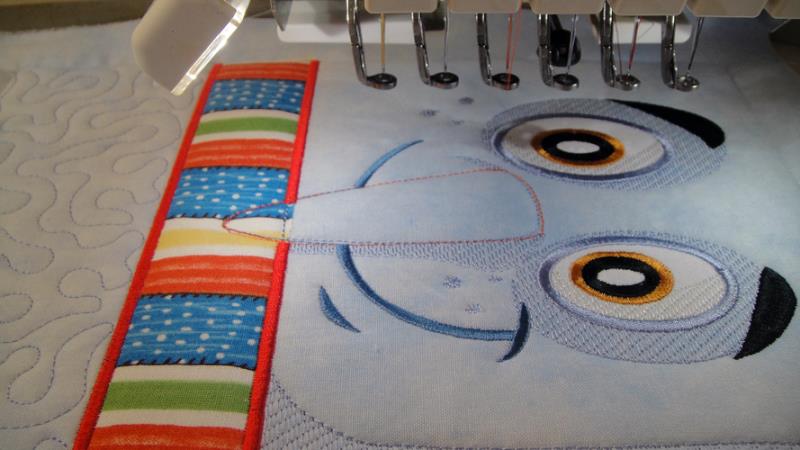
Follow the color chart through CS 16 to embroider the eyes and border the scarf. CS 16 will be a placement line for the carrot applique. Place the orange applique fabric and run CS 17 through 19 to complete the applique of the carrot nose.
(Click Image to Enlarge)
Step 11:
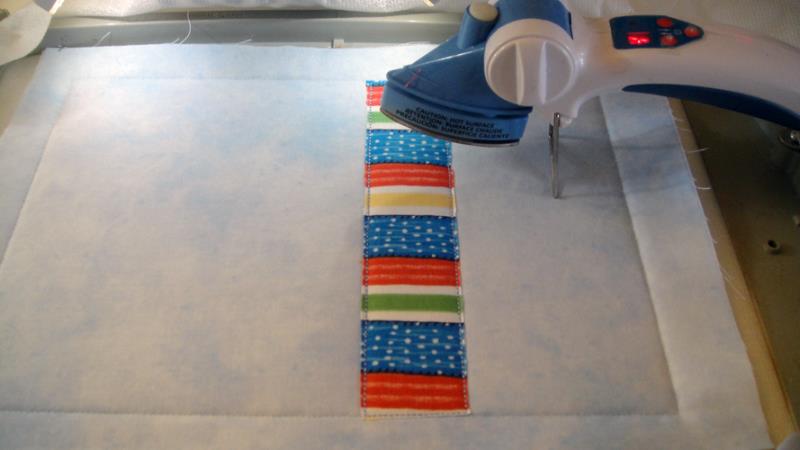
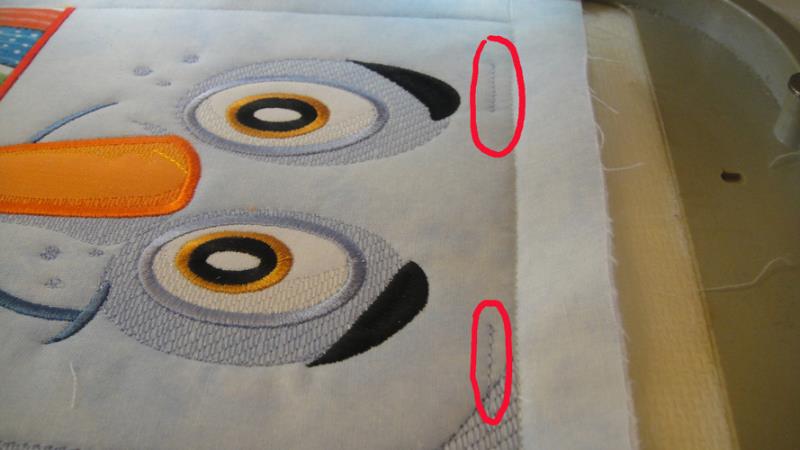
Run CS 20 in periwinkle as a placement line for the ribbon handle.
(Click Image to Enlarge)
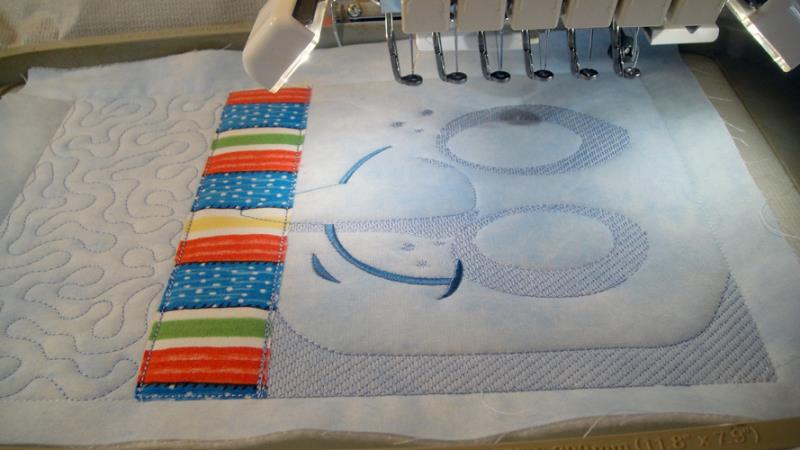
Step 12:
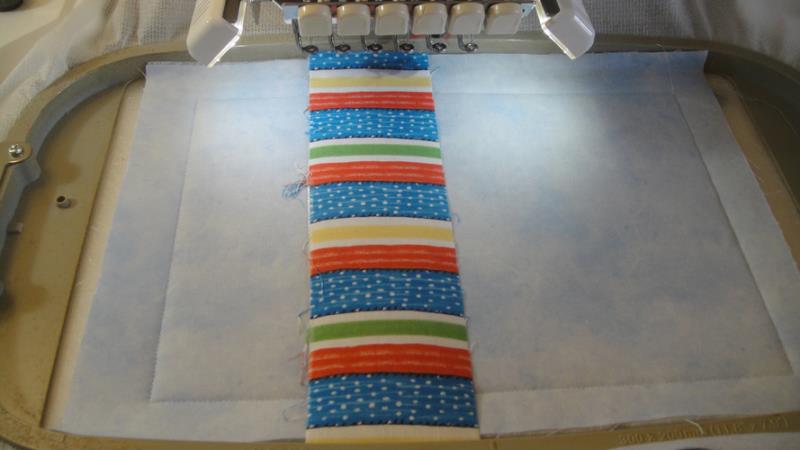
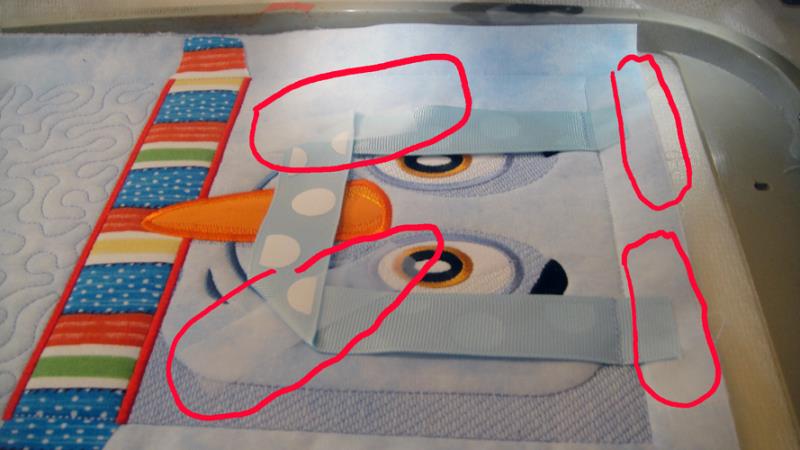
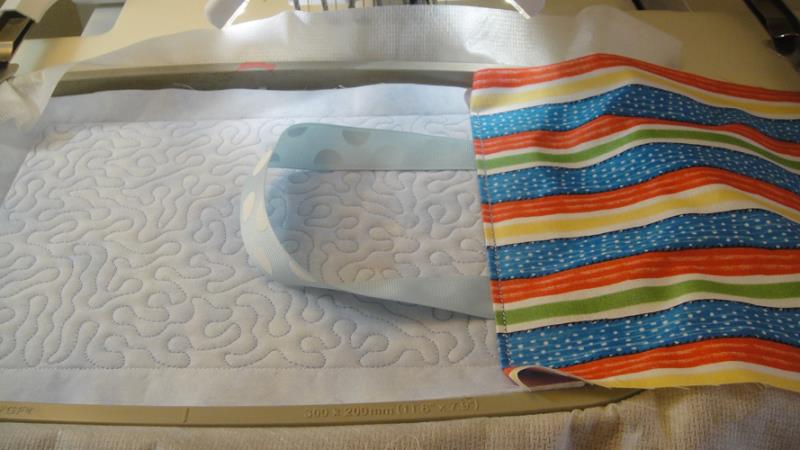
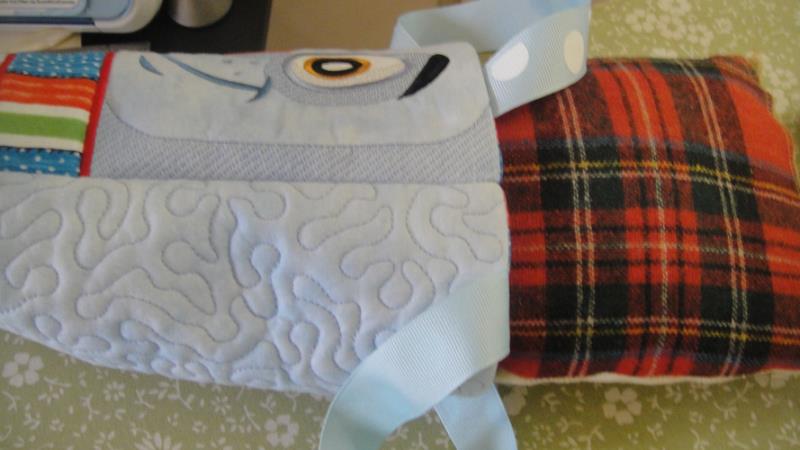
Position the ends of the ribbon ½” above the original tack down stitches for the block and over the placement lines just sewn. If your ribbon is printed as in the sample place the ribbon right sides down. Also tape the inner sides of the handle to the face so the ribbon doesn’t get caught on your presser foot when the hoop returns to center. Run CS 21 to tack down the ribbon handle.
(Click Image to Enlarge)
Step 13:
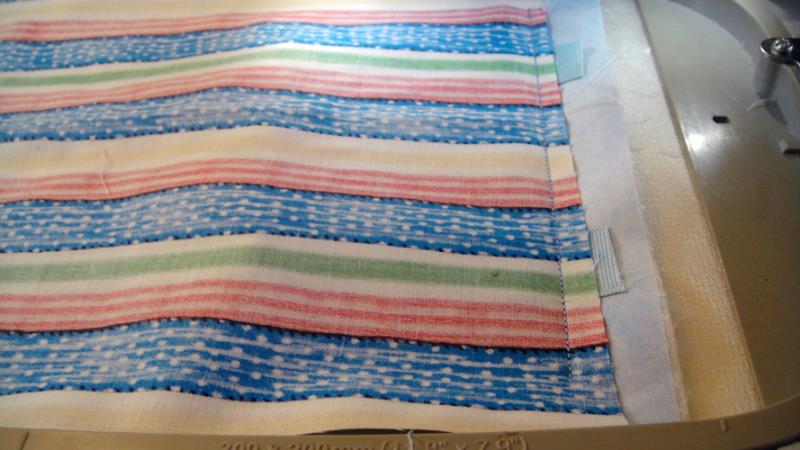
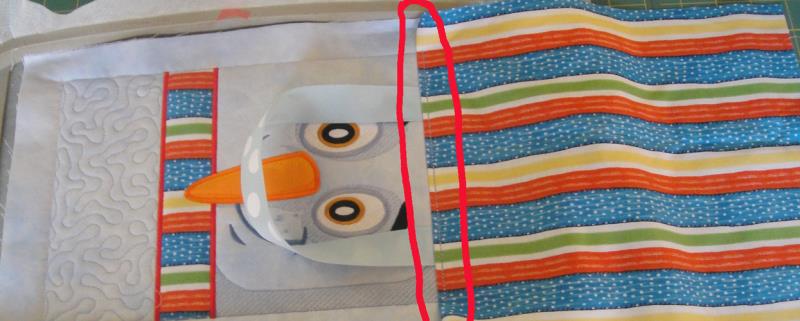
Place the lining fabric face down over the project having the raw edges aligned with the original tack down stitches for the block. Run CS 22 to seam the lining to the block.
(Click Image to Enlarge)
Step 14:
Fold the lining fabric out to the right. Finger press or press with your applique iron. Note: Be careful with the iron so that it does not touch the grosgrain ribbon. It will melt it. Run CS 23 to stitch the lining to the seam allowance. Remove the project from the hoop.
(Click Image to Enlarge)
Step 15:
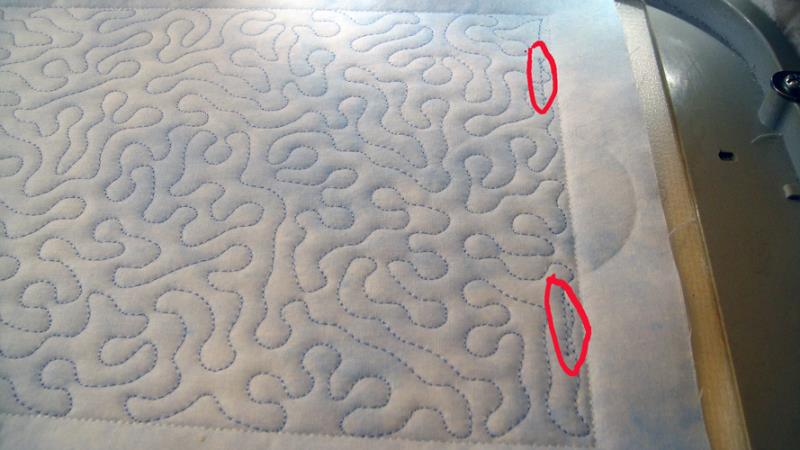
Load design CFGB01B in your machine. Tautly hoop stabilizer and repeat Steps 3 and 4 with the first two CS of this design.
(Click Image to Enlarge)
Step 16:
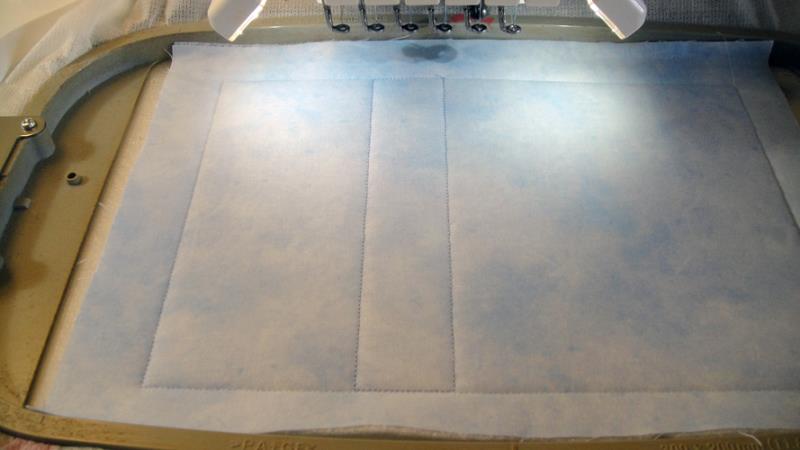
CS 3 will quilt the bag back. CS 4 is a placement line for the ribbons.
(Click Image to Enlarge)
Step 17:
Complete the back as in Steps 12 through 14. CS 5 will tack down the ribbon, CS 6 will seam the lining and CS 7 will stitch the lining to the seam allowances. Remove the project from the hoop.
(Click Image to Enlarge)
Step 18:
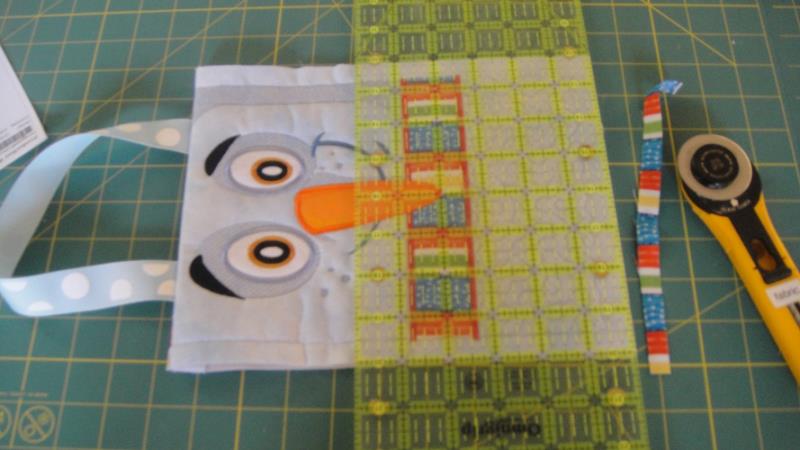
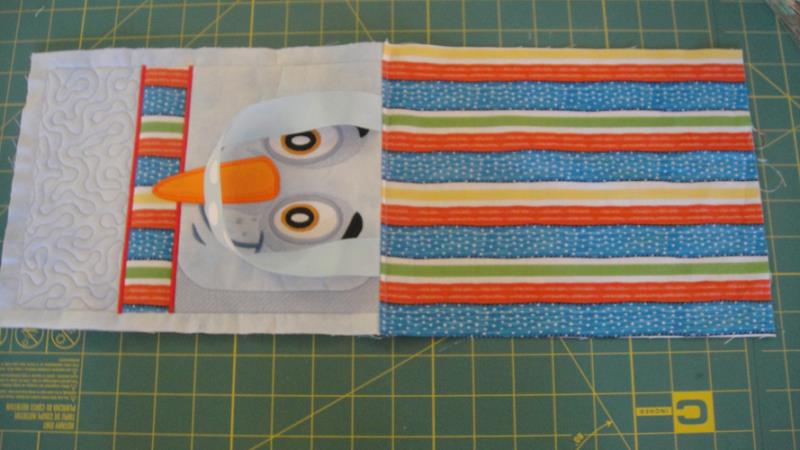
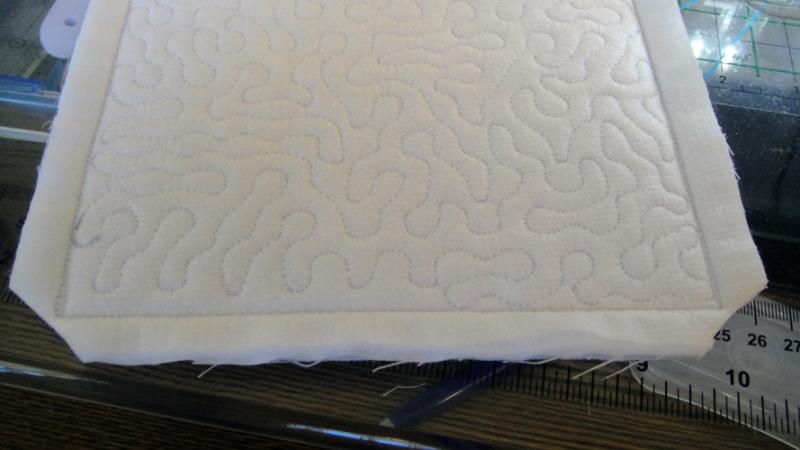
Align the ½” mark of a clear see through quilter’s ruler along the original water soluble thread tack down line and trim the seam allowance to ½” along both sides of the block and the lining. Do the same at the bottom of the quilted portion of the block. Do this to both the front and back pieces of the bag.
(Click Image to Enlarge)
Step 19:
Fold the lining behind the quilted sections of the bag and trim off the excess lining from both the front and back of the bag.
Step 20:
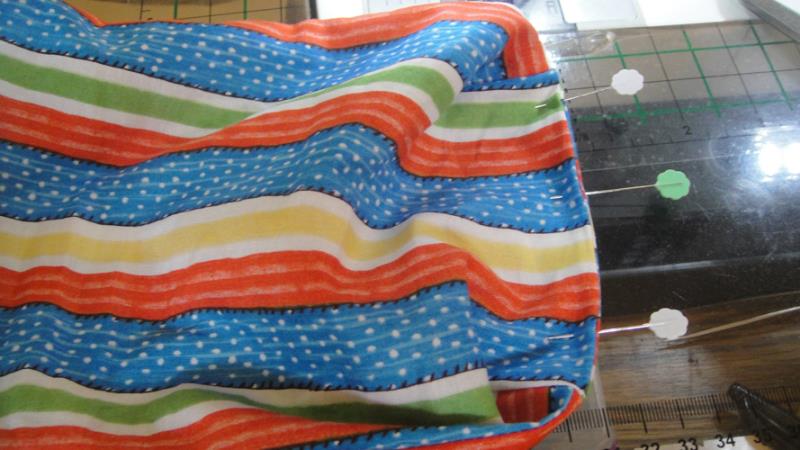
Lay the bag front face side up on a table. Lay the back and lining sections on top of the front right sides together. Align the outer bag and lining seams and pin together. Place a few more pins around the sides and the outer bag sections to hold them together.
(Click Image to Enlarge)
Step 21:
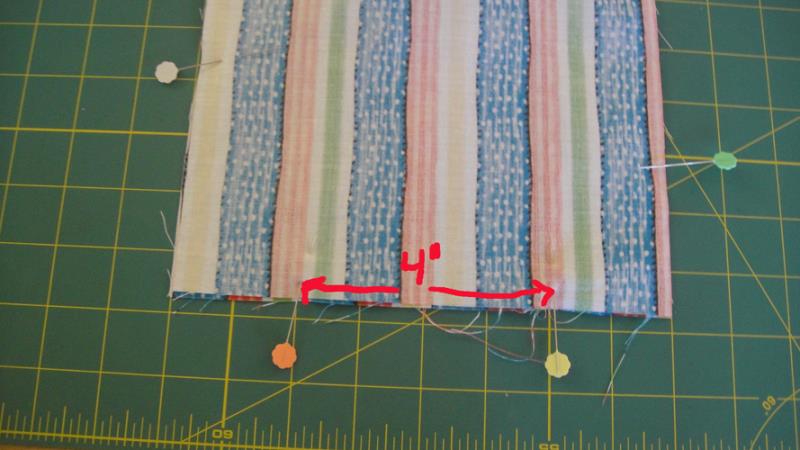
At the bottom of the bag lining place pins 4” apart to mark the section you will leave open for turning the bag.
(Click Image to Enlarge)
Step 22:
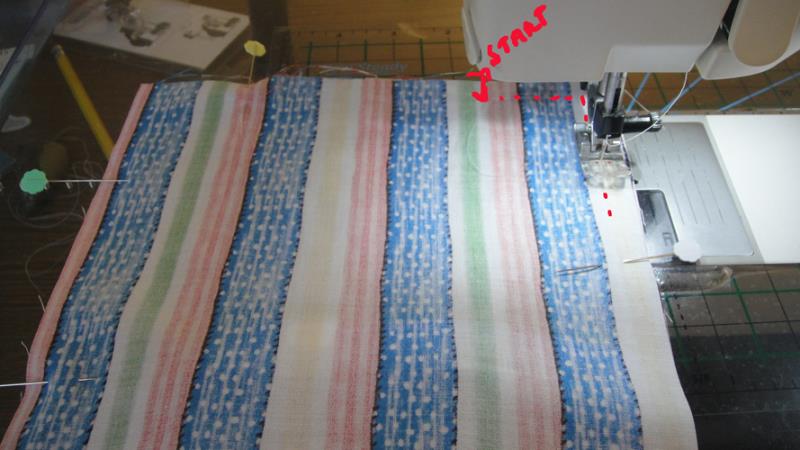
At your sewing machine, using a stitch length of 3mm and a walking foot if you have one, starting at the right hand pin and the bottom of lining stitch all the way around the bag to the second pin marking your opening with a ½” seam allowance. Back stitch at the beginning and end of this seam.
(Click Image to Enlarge)
Step 23:
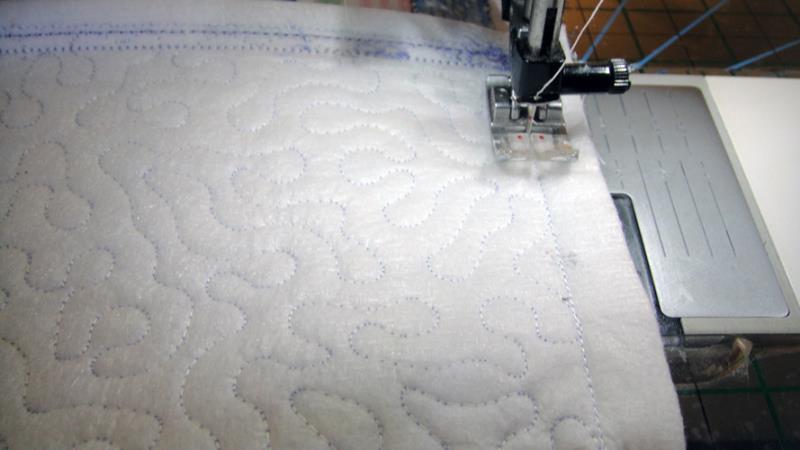
When you are stitching the seams on the quilted sections of the bag stitch just a thread width inside the original water soluble thread tack down lines so they won’t show on the outside of the bag.
(Click Image to Enlarge)
Step 24:
Trim the 2 bottom corners of the outer bag and the two bottom corners of the lining. To complete as a tote bag skip to Step 27.
(Click Image to Enlarge)
Step 25:
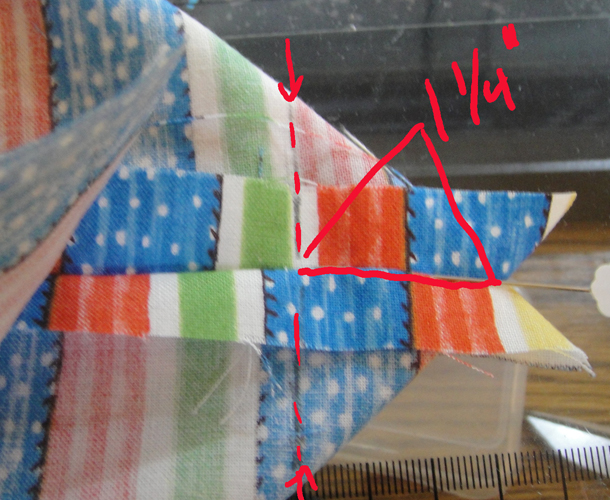
To square the corners to finish as a gift bag, open up the bottom and side seams at the bottom of the lining. Pull out the sides of the lining so that the side seam and bottom seam match up at one corner. Align these two seam so that a triangle is formed. Measure up 1 1/4” from the bottom of that triangle and draw a line across the triangle.
(Click Image to Enlarge)
Step 26:
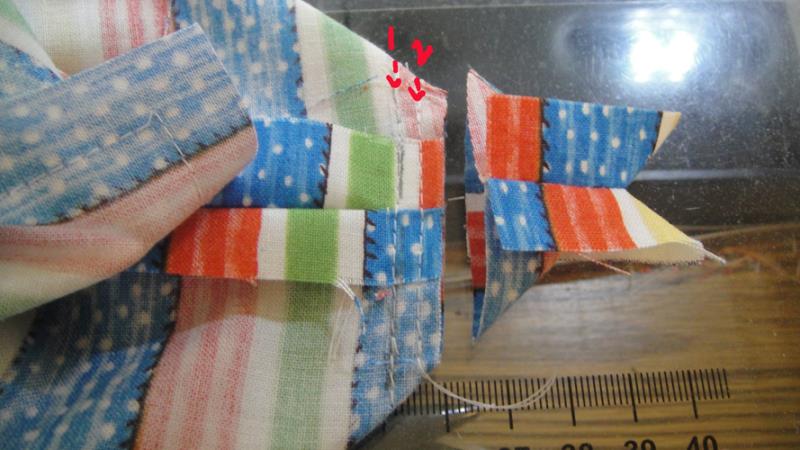
Stitch across the drawn line and a stitch a second row of stitching a scant ¼” below that first row of stitching. Trim the corner off to a ¼” seam allowance. Repeat on the other corner of the lining and both bottom corners of the outer bag.
(Click Image to Enlarge)
Step 27:
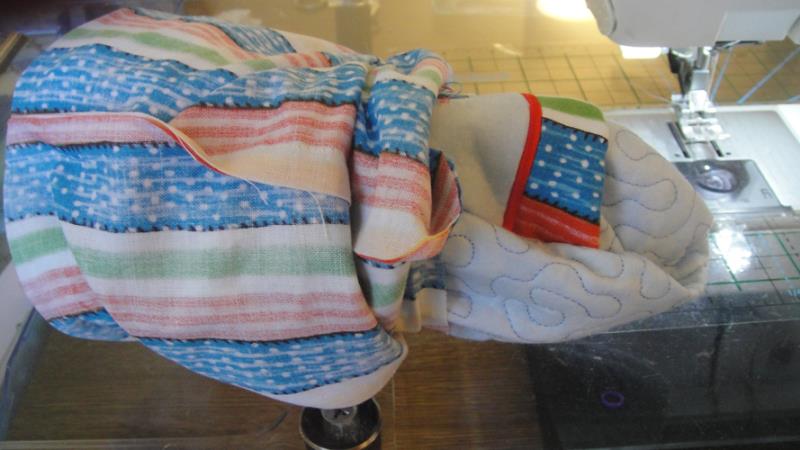
Pull the outer bag through the opening in the lining to turn the bag right sides out.
(Click Image to Enlarge)
Step 28:
Fold the seam allowances of the opening to the inside and edge stitch shut.
(Click Image to Enlarge)
Step 29:
Tuck the lining inside the bag. To give the bag a nice top edge use a ham or rolled up towel inside the bag to press the edges, be careful of getting a hot iron too close to the grosgrain ribbon.
(Click Image to Enlarge)
Step 30:
Congratulations your Snowman Tote or gift bag is complete!
Award winning Digitizer, Embroidery Educator, Author and a Consultant to the Industry, Pat Williams has 30 years of experience in the embroidery industry. Pat has won multiple awards for her digitizing expertise including the 2007 Impressions Awards Grand Championship, Best of Show as well as the 1st and 2nd Place Awards. Pat’s love of digitizing has afforded her the opportunity to write numerous articles for Impressions magazine in the United States and Images Magazine in Europe. In 2001 Pat was named “Embroidery Educator of the Year.” For many years Pat taught digitizing seminars at the ISS Shows in Long Beach, CA and for Compucon software. She now resides in Tucson, AZ.