














































PROJECT INSTRUCTIONS


PROJECT INSTRUCTIONS

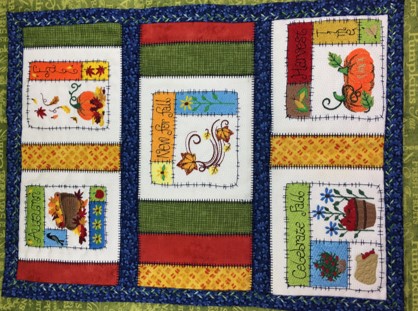
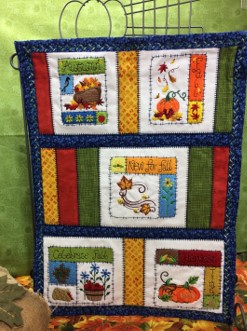
Happy Fall Wall Hanging Embroidery Project
By
Marisa Littleton
on
September 04, 2018
Description
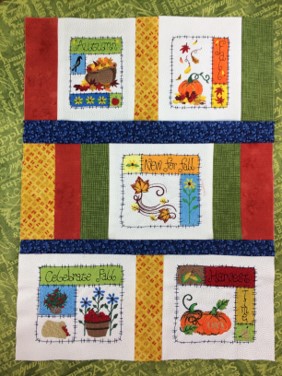
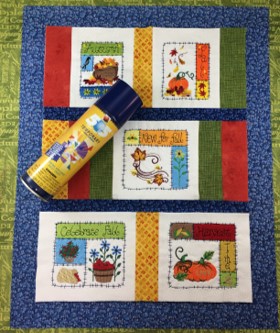
A mini quilt perfect for a tabletop display or wall hanging.
Step
of
Materials
Project Preview Video

QUICK VIEW
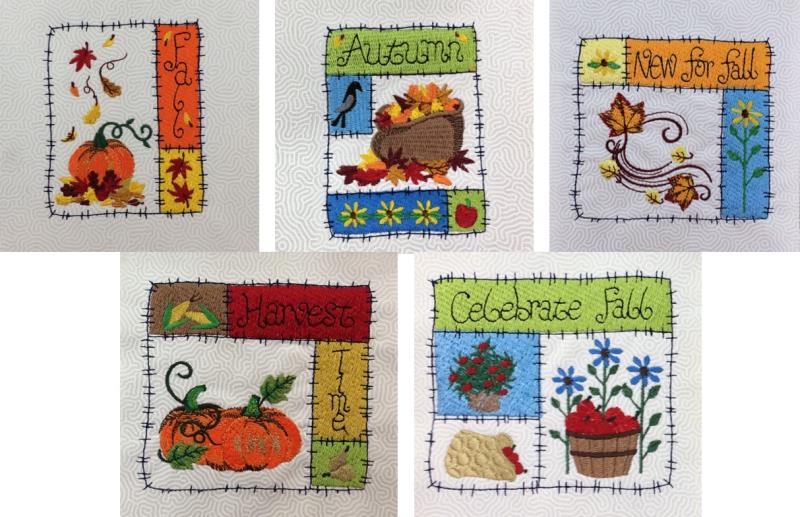
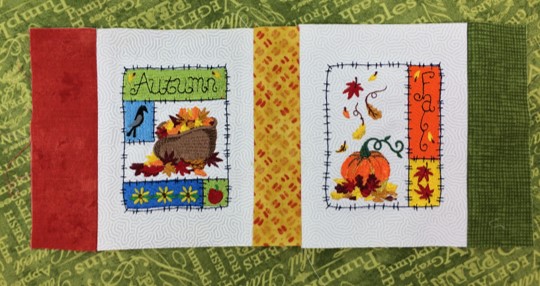
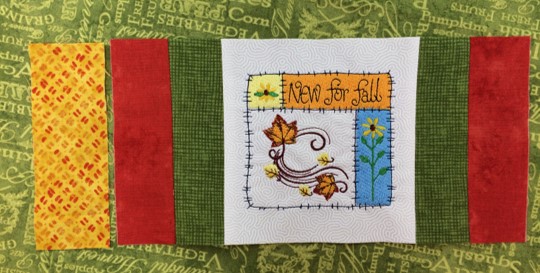
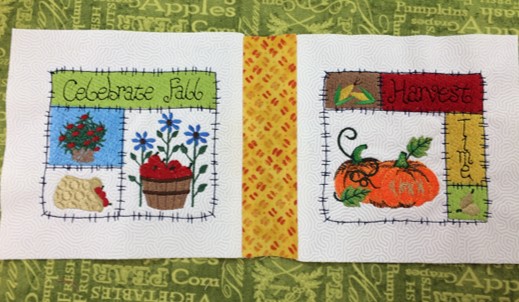
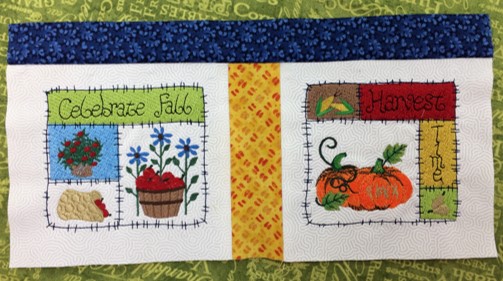
Autumn Harvest Embroidery Designs Bundle – Autumn Basket with Leaves, Harvest Pumpkin, Thankful Autumn & More (5 Designs)
$15.00
$9.00
Circle Price: $9.00

Cut Away Stabilizer - 2.5 Oz wt.
$8.94
Circle Price: $8.05

Cut Away Stabilizer - 2 oz wt.
$8.52
Circle Price: $7.67

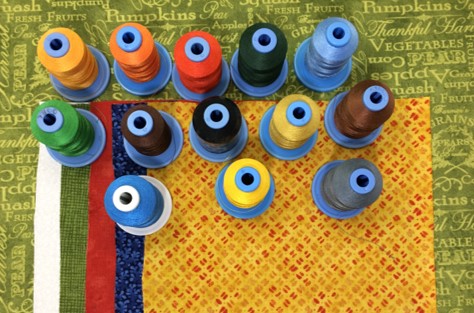
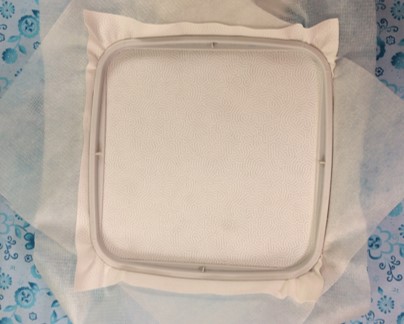
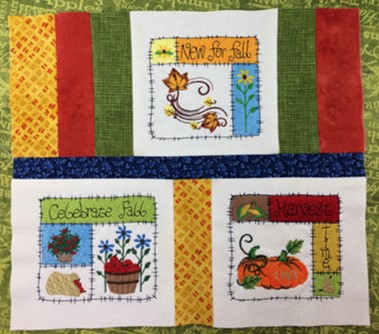
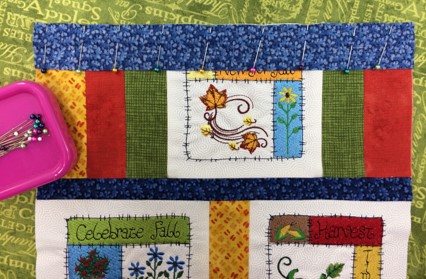
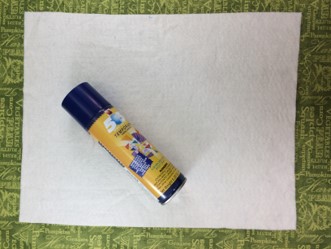
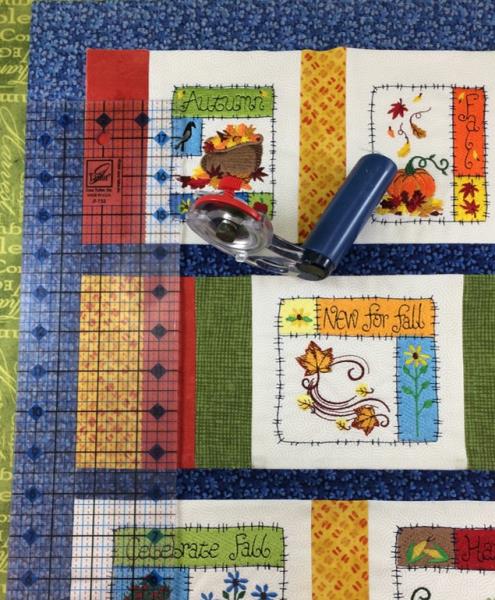
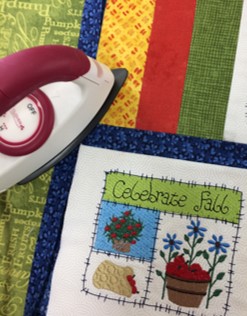
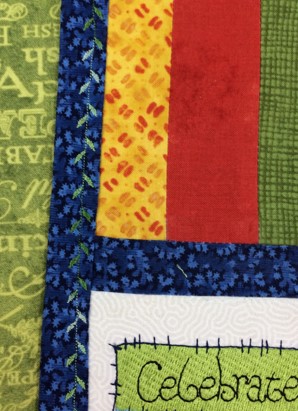
| Materials 100% cotton neutral fabric Design Template & Color Chart 40 wt. Embroidery Thread (Robison-Anton) 75/11 embroidery needle 505 Temporary Adhesive Spray No Show Mesh Stabilizer 4 x 4 hoop One 15” x 19” 100% cotton fabric for backing One 13” x 17” piece low nap batting (wait to cut until ready to use to get exact size) Five 6” x 6” pieces 100% cotton fabric in a neutral color Two 13” x 1 ½ “strips coordinating fabric Five 1 ½ x 5” strips in coordinating fabric Four 1” x 5” strips in coordinating fabric |
| Designs used in this project |
|
Learn by teaching others.... Marisa Littleton |
Projects You May Like
Meet the Author:
Marisa Littleton

Marisa Littleton is a retired educator with a love for teaching and learning. Interests include machine embroidery, hand embroidery, quilting, cooking, and antiques.
Feedback
Characters Remaining
Please Login to Submit a Feedback
Invalid Characters, Please enter a valid Comment
Please enter a valid Comment
Reviewed On
Link is Broken, Please check the URL