














































PROJECT INSTRUCTIONS


PROJECT INSTRUCTIONS
Applique Monogrammed Fall Placemats Embroidery Project
By
Marisa Littleton
on
August 31, 2018
Description
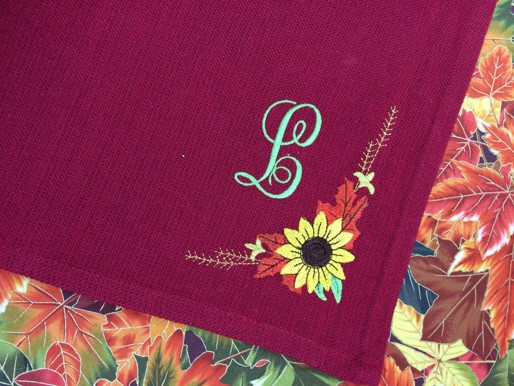
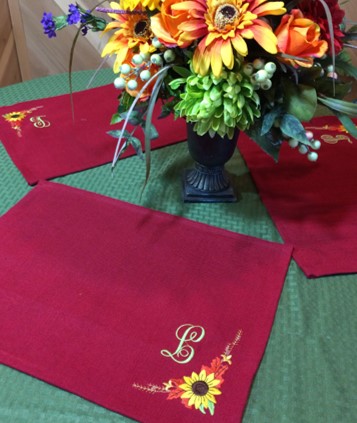
Enhance your fall décor with these elegant monogrammed placemats, featuring vibrant applique designs. Perfect for adding a personalized touch to your autumn table setting. Step-by-step instructions are included.
Step
of
Materials
Project Preview Video

Autumn Season Quilting
$3.89
$1.95
Circle Price: $1.80
Embrilliance Essentials - Software Download
$139.00
Circle Price: $125.10

Cut Away Stabilizer - 2.5 Oz wt.
$8.94
Circle Price: $8.05

Cut Away Stabilizer - 2 oz wt.
$8.52
Circle Price: $7.67


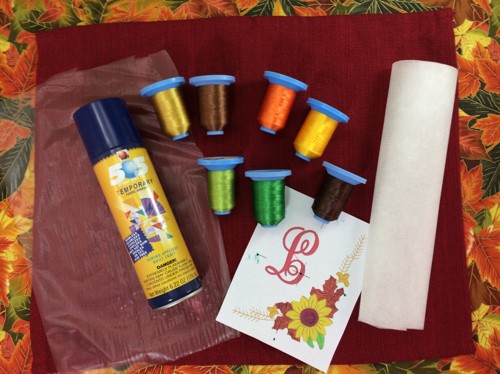
| Materials Design Template & Color Chart 40 wt. Embroidery Thread (Robison-Anton) 75/11 embroidery needle 505 Temporary Adhesive Spray No Show Mesh Stabilizer Lightweight water-soluble stabilizer (WSS) Seam-Fix (seam ripper) 4 x 4 hoop 13x18” placemat Embroidery Software program (Embrilliance Essentials) |
| Designs used in this project |
|
Learn by teaching others... Marisa Littleton |
Projects You May Like
Meet the Author:
Marisa Littleton

Marisa Littleton is a retired educator with a love for teaching and learning. Interests include machine embroidery, hand embroidery, quilting, cooking, and antiques.
Feedback
Characters Remaining
Please Login to Submit a Feedback
Invalid Characters, Please enter a valid Comment
Please enter a valid Comment
Reviewed On
Link is Broken, Please check the URL