














































PROJECT INSTRUCTIONS


PROJECT INSTRUCTIONS

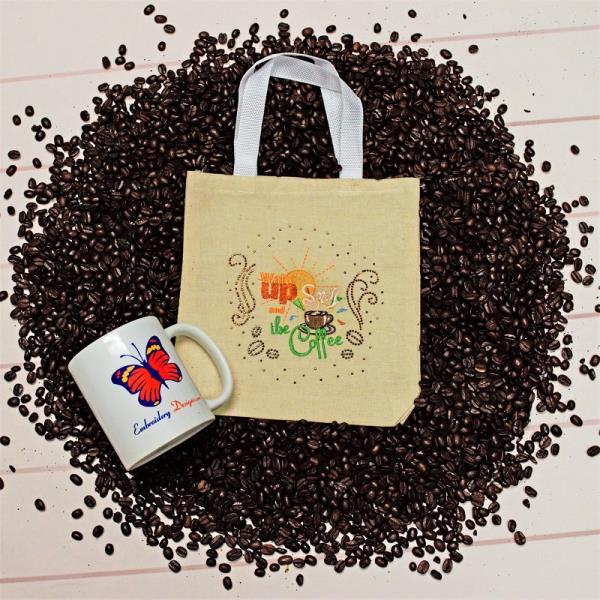
Embroidery & Crystal Combo Coffee Bag Embroidery Project
By
Embroidery Designs Team
on
August 22, 2018
Description
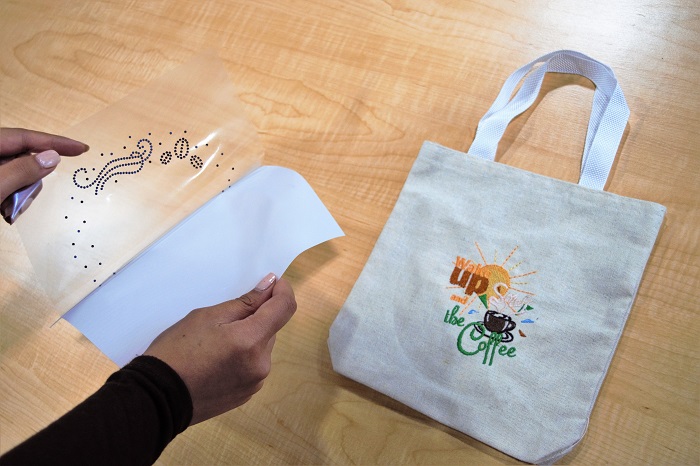
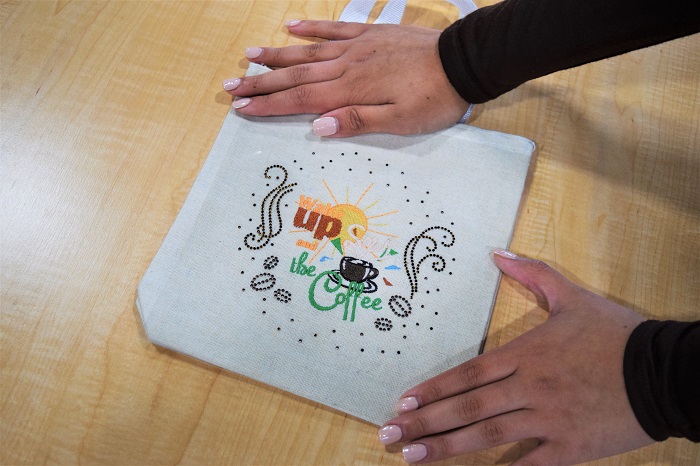
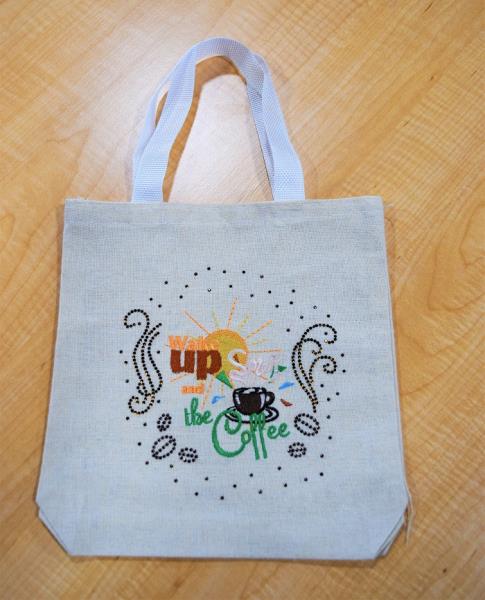
An Embroidery & Crystal Combo is an embroidery design with a rhinestone overlay that was designed specifically to accent the embroidery. These combo packs work great with knits as well!
Step
of
Materials
Project Preview Video

Wake Up Coffee
$20.00
Circle Price: $20.00

QUICK VIEW
Tear Away Stabilizer
$7.98
Circle Price: $7.18
{{ item.name }}
{{ item.listPriceDisplay }}{{ item.salePriceDisplay }}
Circle Price:
{{ item.clubPriceDisplay }}


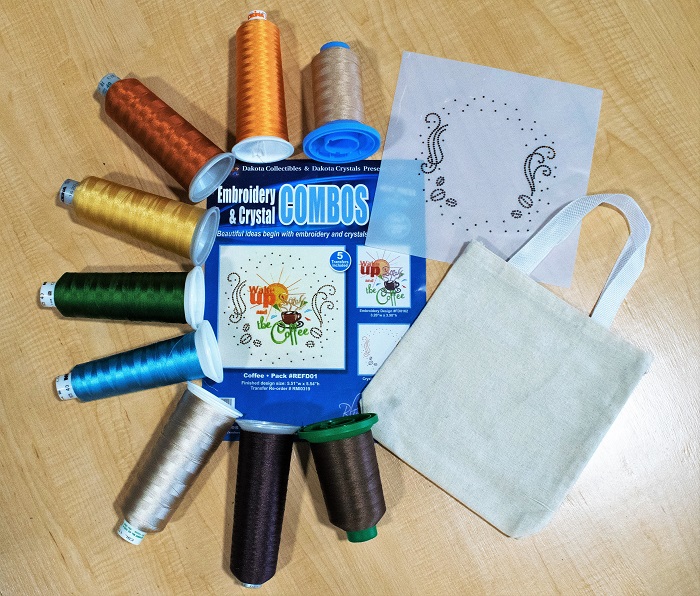
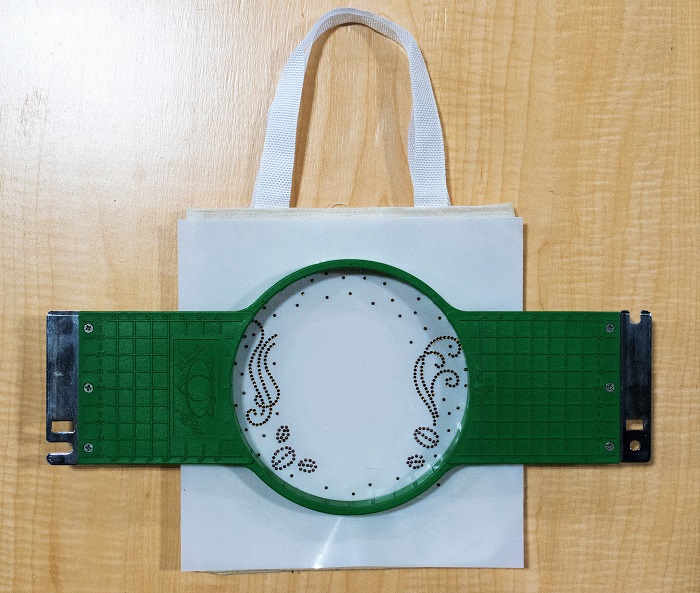
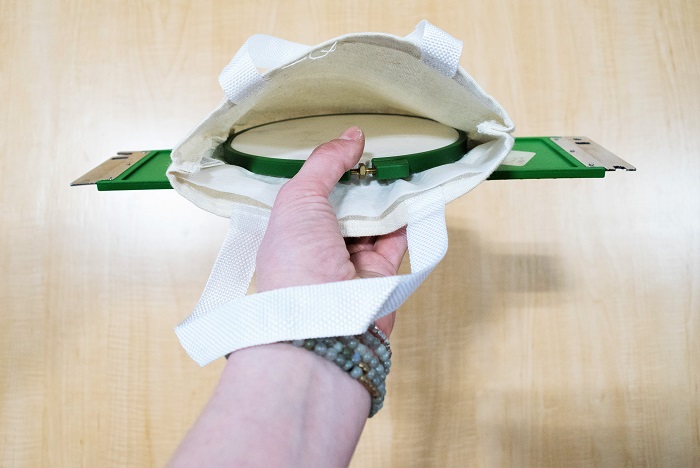
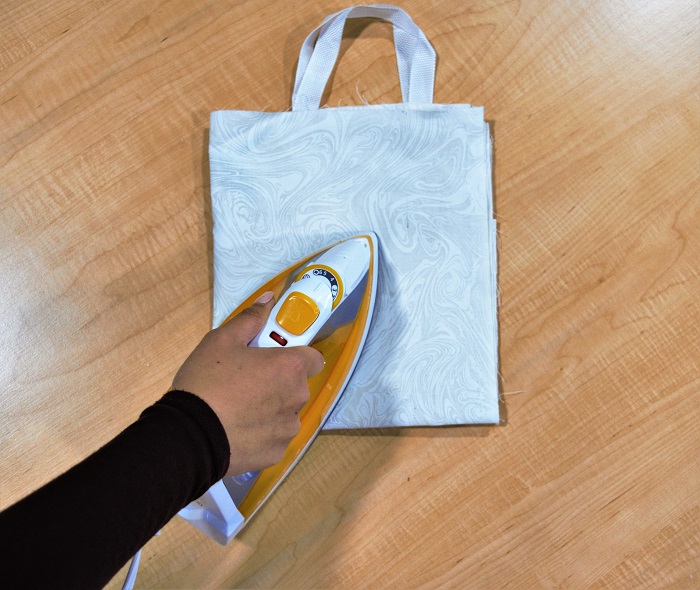
| Materials Dakota Embroidery & Crystal Combo Pack (Coffee Pack) Reusable Bag (Make sure you can iron the material) Tear Away Stabilizer Iron |
| Designs used in this project |
| Final Product: What You Will Create |
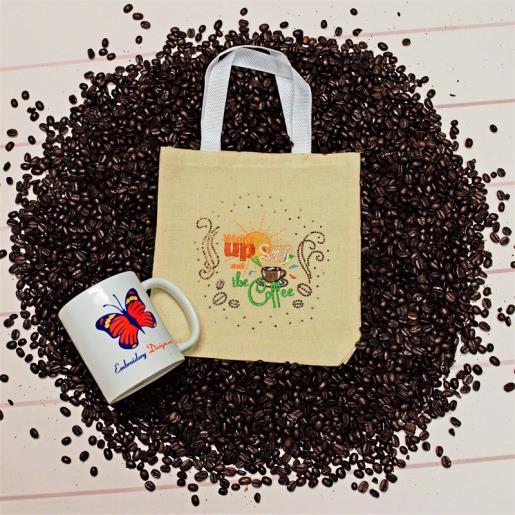 |
|
Projects You May Like
Meet the Author:
Embroidery Designs Team

The Embroidery Designs team loves working on new and creative projects. We love using embroidery in unexpected ways, and hope that you find our projects inspiring and fun!
Feedback
Characters Remaining
Please Login to Submit a Feedback
Invalid Characters, Please enter a valid Comment
Please enter a valid Comment
Reviewed On
Link is Broken, Please check the URL