














































PROJECT INSTRUCTIONS


PROJECT INSTRUCTIONS

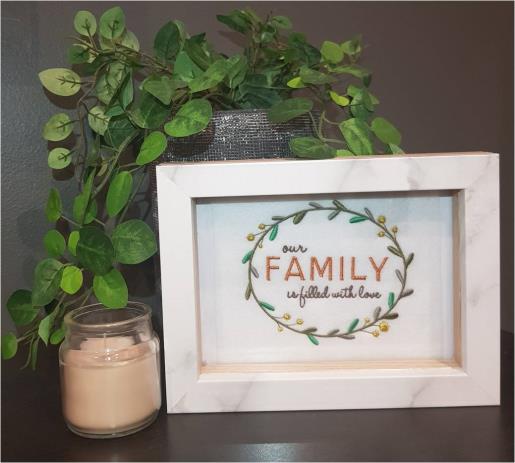
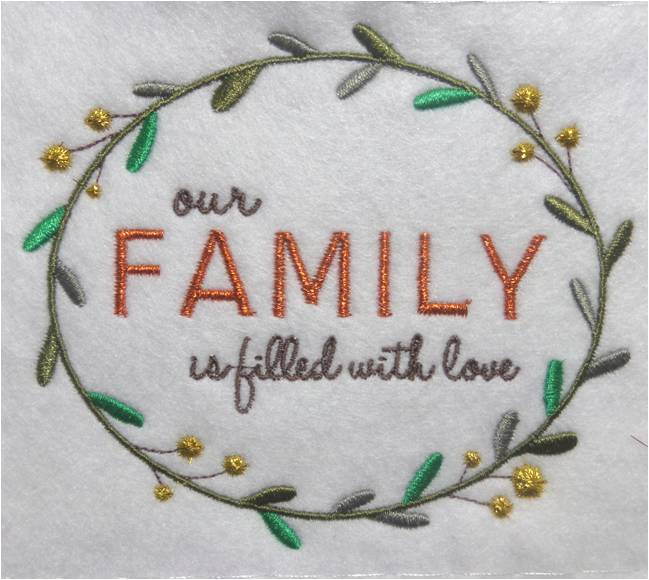
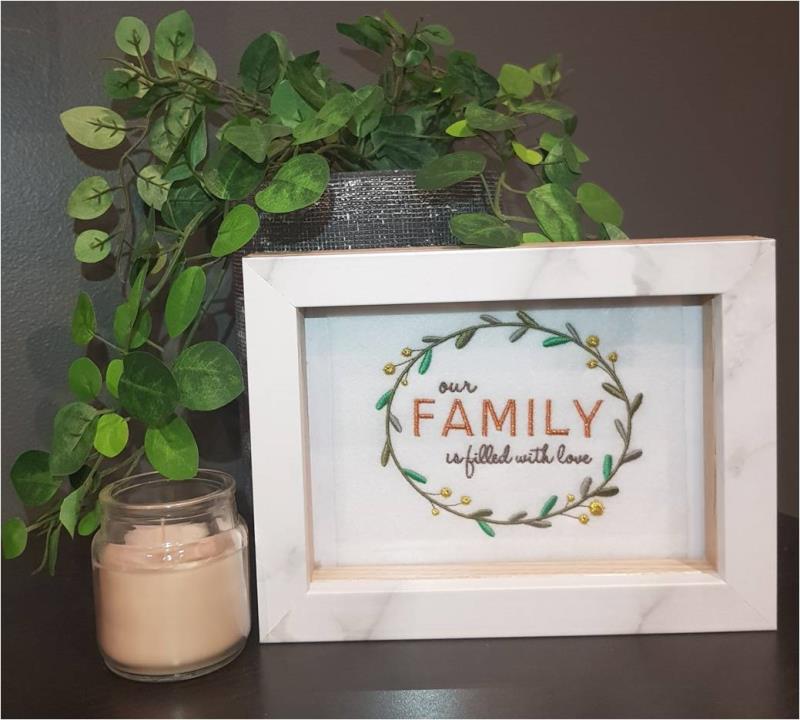
Family Wreath Embroidery Project
By
Kylie Burke
on
August 20, 2018
Description
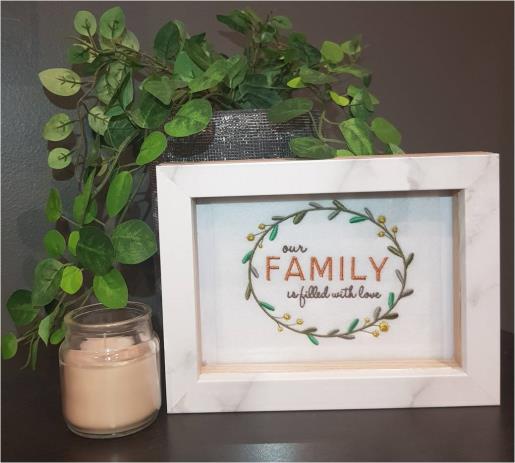
Use metallic threads to make this spring wreath design stand out in your home and be a special piece of decor.
Step
of
Materials
Project Preview Video

Spring Wreath
$4.39
Circle Price: $3.29

QUICK VIEW
Tear Away Stabilizer
$7.98
Circle Price: $7.18
{{ item.name }}
{{ item.listPriceDisplay }}{{ item.salePriceDisplay }}
Circle Price:
{{ item.clubPriceDisplay }}


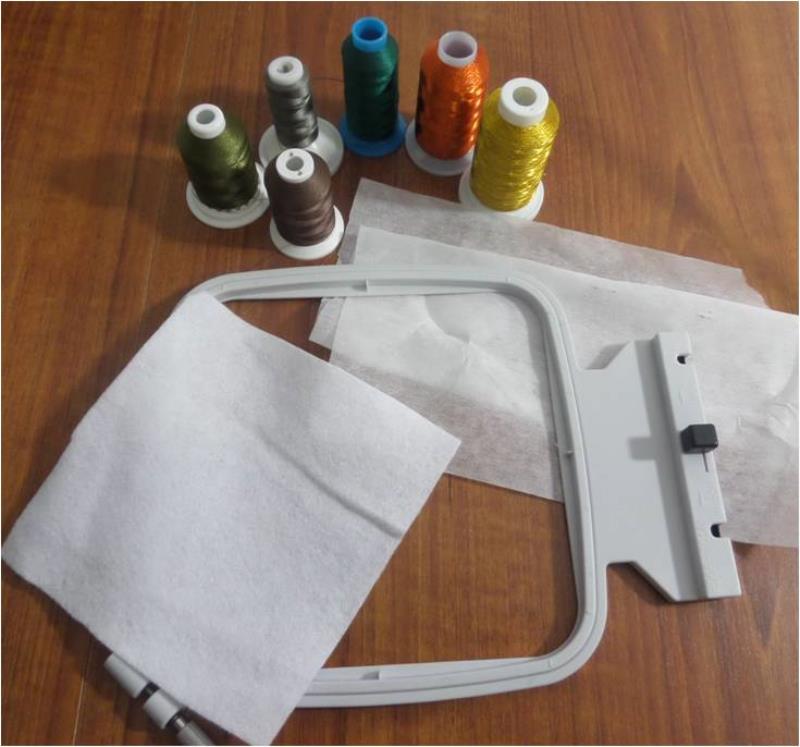
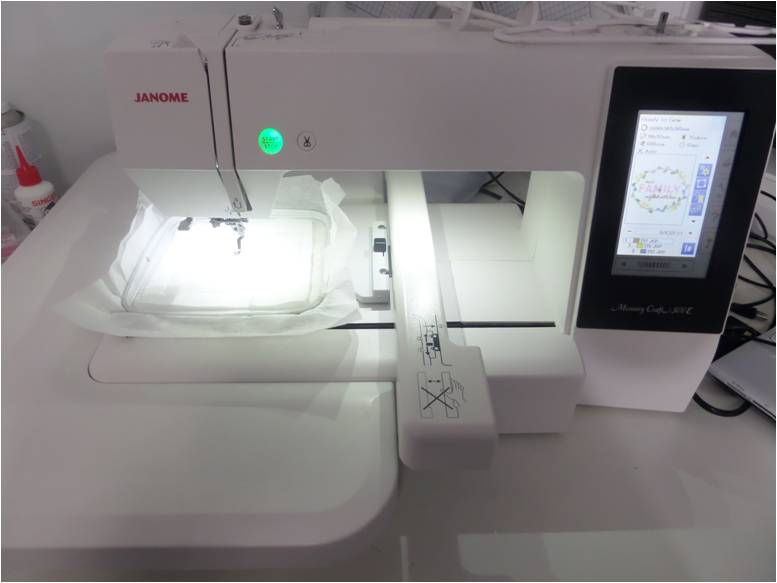
| Materials 5” x 7” piece of felt or fabric of your choice 6 thread colors (2 metallics) Tearaway stabilizer 5” x 7” photo frame |
| Designs used in this project |
| Final Product: What You Will Create |
 |
|
Projects You May Like
Meet the Author:
Kylie Burke

Kylie is based in Australia and loves creating and sharing her unique pieces.
Feedback
Characters Remaining
Please Login to Submit a Feedback
Invalid Characters, Please enter a valid Comment
Please enter a valid Comment
Reviewed On
Link is Broken, Please check the URL