














































PROJECT INSTRUCTIONS


PROJECT INSTRUCTIONS

FSL Neckline Embroidery Project
By
Kylie Burke
on
August 14, 2018
Description
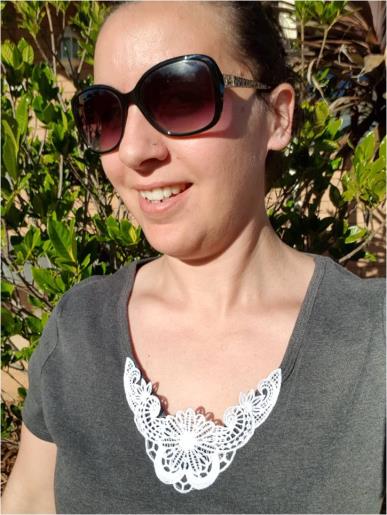
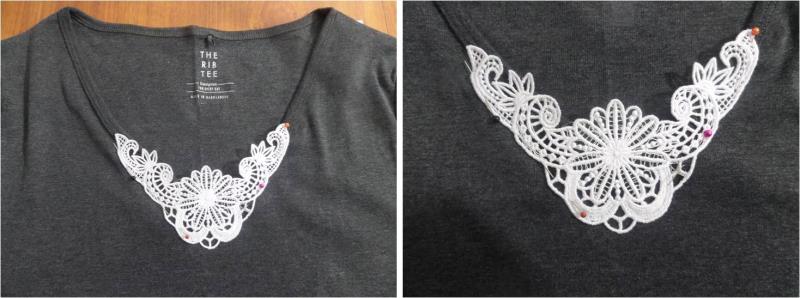
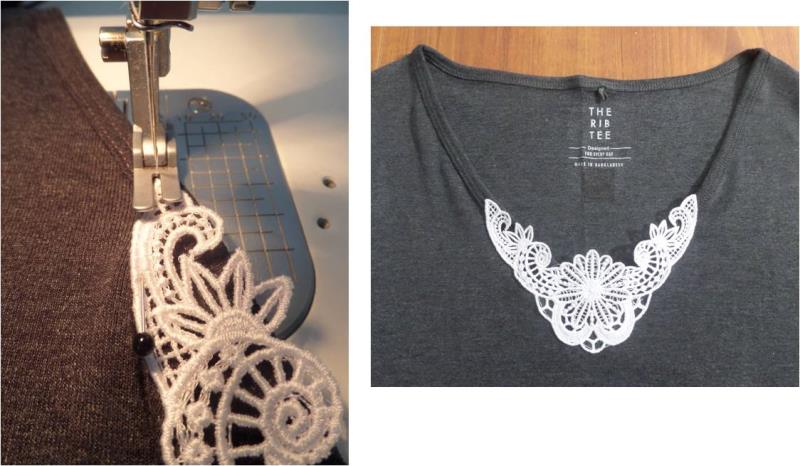
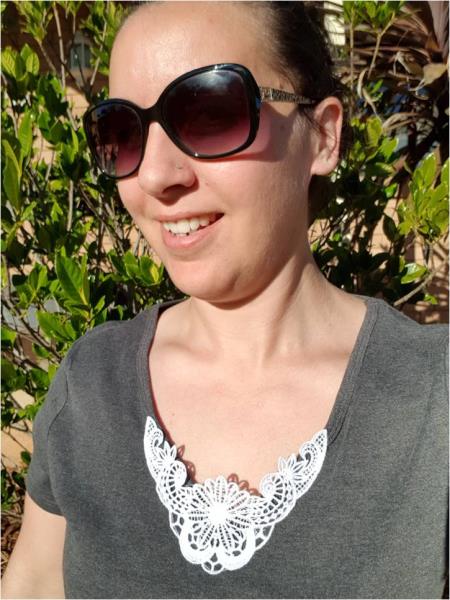
Do you have a blouse or shirt which has a neckline a little too low for your liking or you just want to jazz up a simple plain tee? This FSL project is for you!
Step
of
Materials
Project Preview Video

QUICK VIEW
FSL Flower Neckline
$12.00
$3.49
Circle Price: $3.34

Water Soluble Stabilizer - 12" x 25 Yds
$32.46
Circle Price: $29.21
{{ item.name }}
{{ item.listPriceDisplay }}{{ item.salePriceDisplay }}
Circle Price:
{{ item.clubPriceDisplay }}


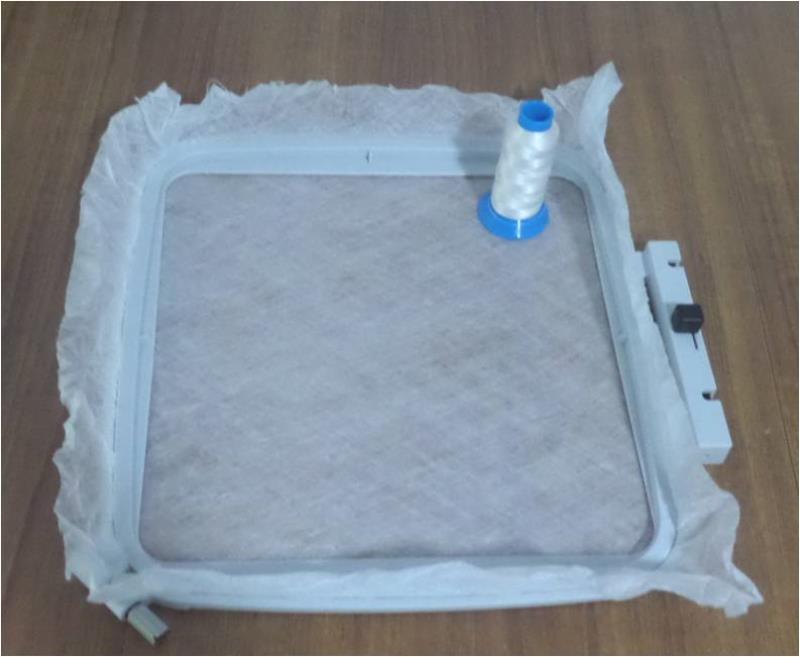
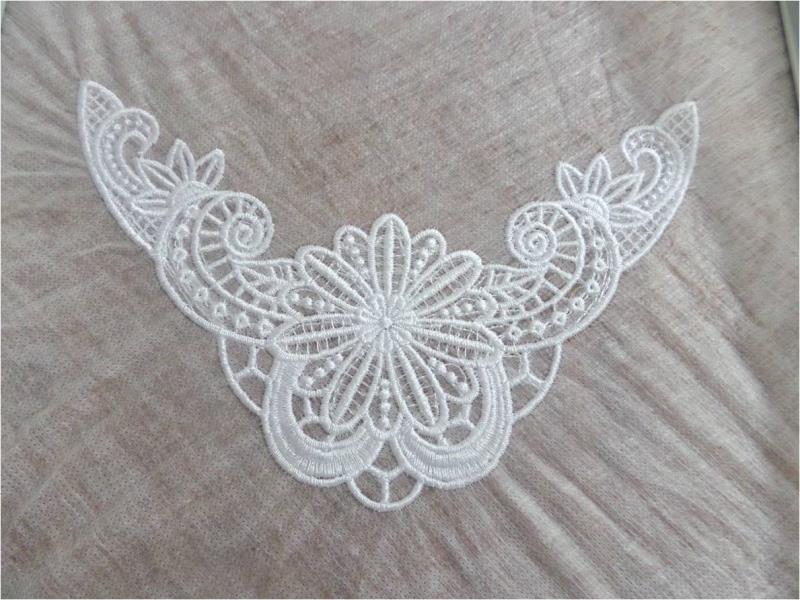
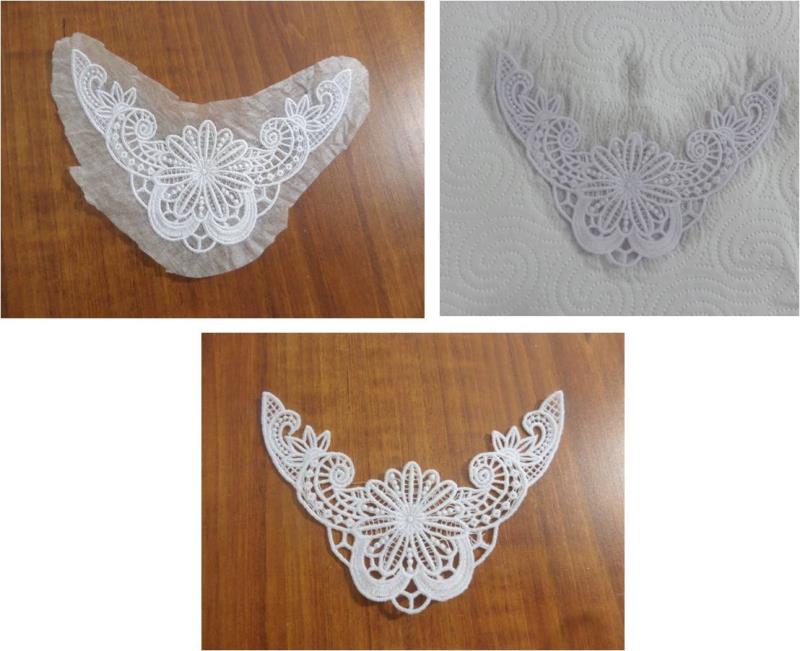
| Materials Water dissolvable backing 4” hoop Thread color of your choice Shirt or blouse of your choice |
| Designs used in this project |
|
Projects You May Like
Meet the Author:
Kylie Burke

Kylie is based in Australia and loves creating and sharing her unique pieces.
Feedback
Characters Remaining
Please Login to Submit a Feedback
Invalid Characters, Please enter a valid Comment
Please enter a valid Comment
Reviewed On
Link is Broken, Please check the URL