














































PROJECT INSTRUCTIONS


PROJECT INSTRUCTIONS
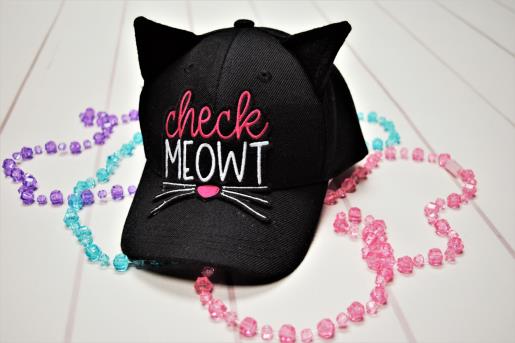
Kids Cat Hat with Ears Embroidery Project
By
Amber Stevens
on
August 08, 2018
Description
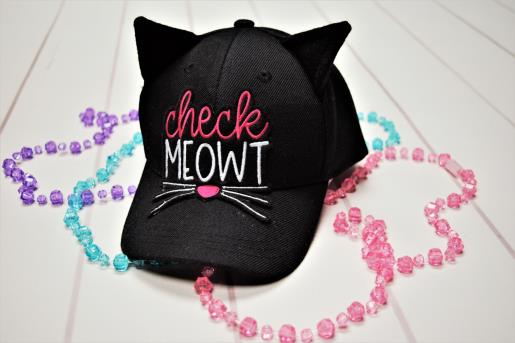
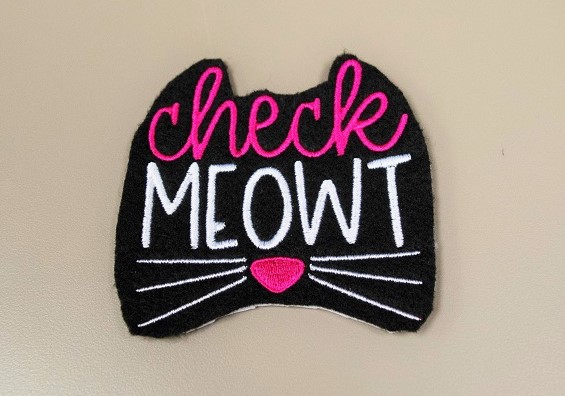
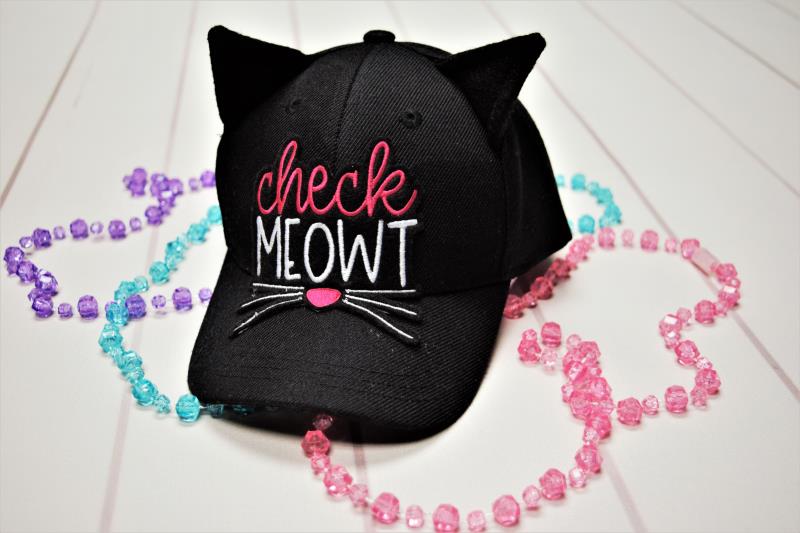
This adorable kids' hat features playful cat ears and a fun 'check meowt' phrase on the front. Perfect for adding a touch of whimsy to any outfit. Step-by-step instructions are included.
Step
of
Materials
Project Preview Video

Check Meowt
$4.99
$2.50
Circle Price: $2.35
Tear Away Stabilizer
$7.98
$6.38
Circle Price: $6.38
{{ item.name }}
{{ item.listPriceDisplay }}{{ item.salePriceDisplay }}
Circle Price:
{{ item.clubPriceDisplay }}


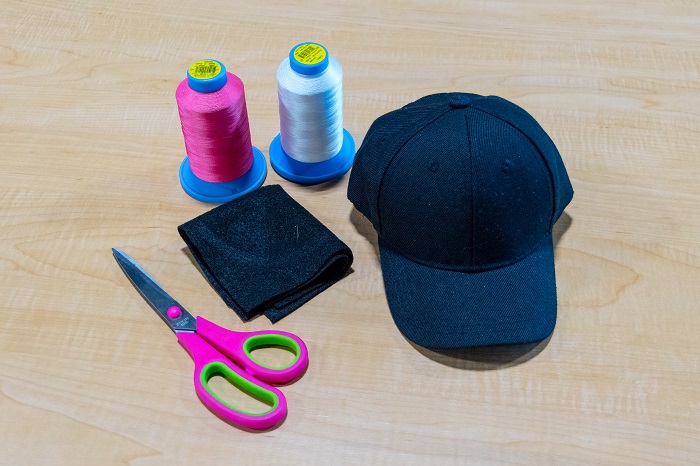
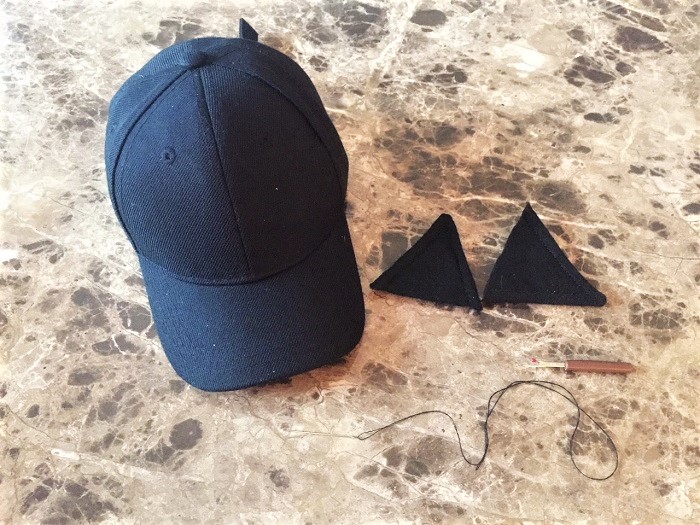
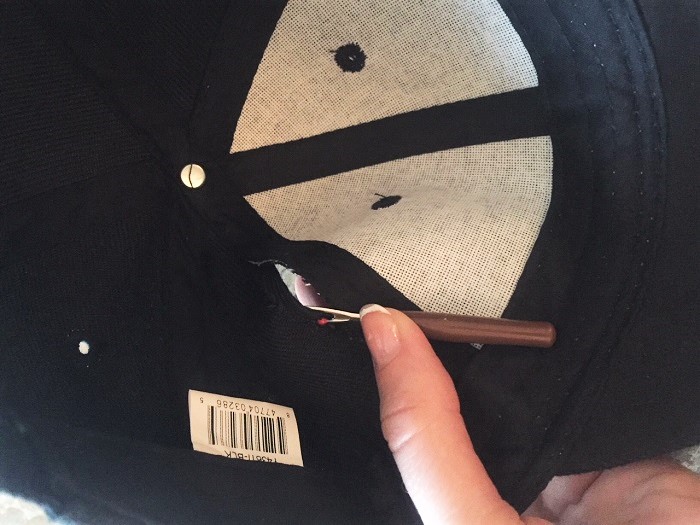
| Materials Blank Cap Felt Tear Away Stabilizer Thread Needle Hot Glue & Glue Gun Seam Ripper |
| Designs used in this project |
| Final Product: What You Will Create |
 |
|
Projects You May Like
Meet the Author:
Amber Stevens

Amber, the Designer Extraordinaire over at Adventures in Stitcherland, has been sewing since she was 9 years old. When she's not creating stunning embroidery designs, she is elbow-deep in all things fashion.
Feedback
Characters Remaining
Please Login to Submit a Feedback
Invalid Characters, Please enter a valid Comment
Please enter a valid Comment
Reviewed On
Link is Broken, Please check the URL