Border OptionsHugging border, circle, square, or rectangle — with a 3mm satin stitch.
Backing OptionsAvailable with iron-on, sew-on, or velcro backing.
Fast ShippingShipped quickly from the USA.
Free Online Tools
Powerful embroidery utilities that save time and prevent costly mistakes.
Stitch AssistantRECOMMENDED
Get the exact stabilizer, machine settings, needle, and thread color sequence for every embroidery design you purchase — based on that design's stitch density, dimensions, and color count.
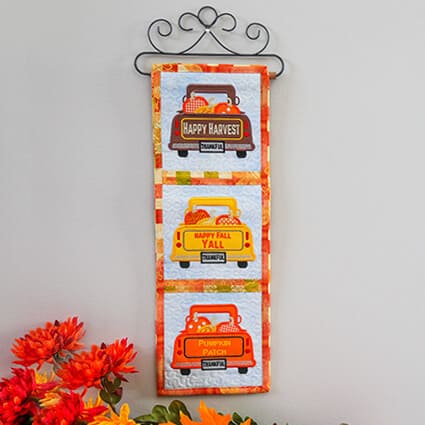
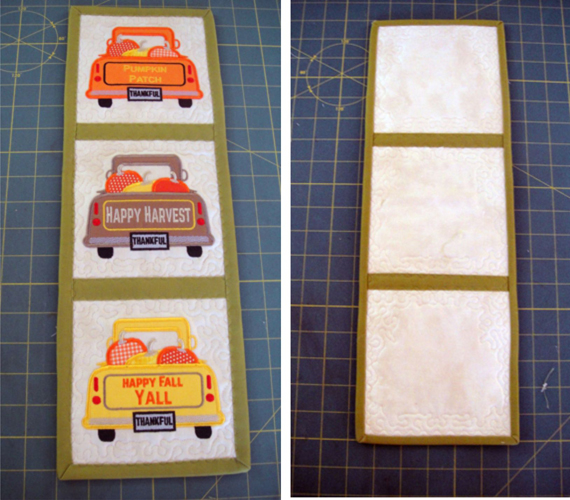
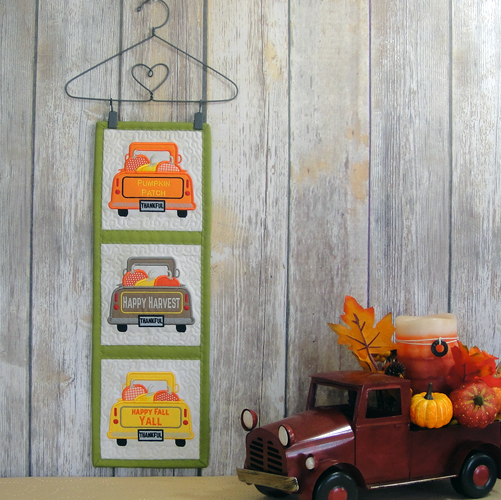
Create a charming wall hanging featuring vintage trucks, perfect for adding a touch of nostalgia to your home decor. The blocks are appliqued and quilted in your hoop, then assembled with your sewing machine. Step-by-step instructions are included.
Step
of
Patch Vintage Fall Truck Wall Hanging
By Pat Williams
There are a number of color changes in these designs, but don’t let that intimidate you. There are 5 appliques. The three color stops (placement line, tack down and border) that are used for each applique can be stitched in the same color so that automatically eliminates about half of the color changes listed.
Step 1:
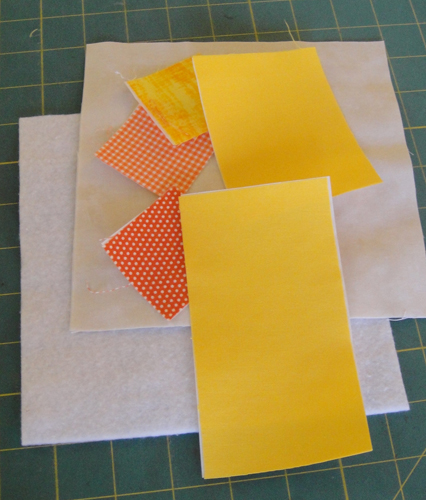
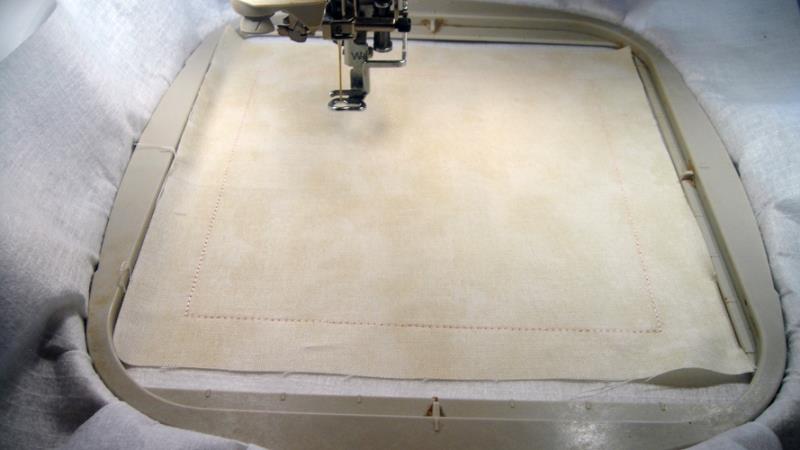
For each block you will need to cut: a. 2 7” x 7” fabric squares of fabric, one for the background and one for the back of the quilt block b. 1 5 ½” X 3” rectangle of the truck fabric and Heat N Bond Lite® c. 1 4” x 3” rectangle of the truck fabric and Heat N Bond Lite® d. 2 2” squares of orange fabric prints and Heat N Bond Lite® for 2 of the pumpkins e. 1 2” square of gold fabric and Heat N Bond Lite® for the center pumpkin f. 1 7” x 7” square of Battilizer® or low loft batting g. Cutaway stabilizer to fit the size embroidery hoop you are using.
Step 2:
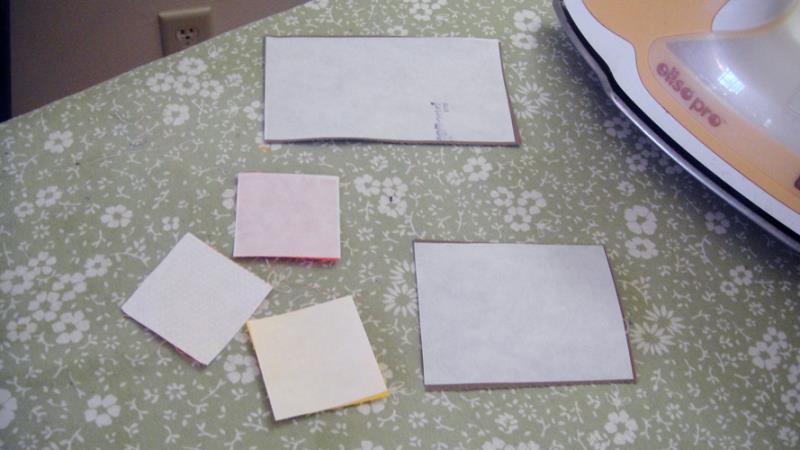
Press each applique piece several times with Magic Sizing® or spray starch, this helps prevent fraying. Following the manufacturer’s instructions fuse Heat N Bond Lite® to the back of each applique piece.
(Click Image to Enlarge)
Step 3:
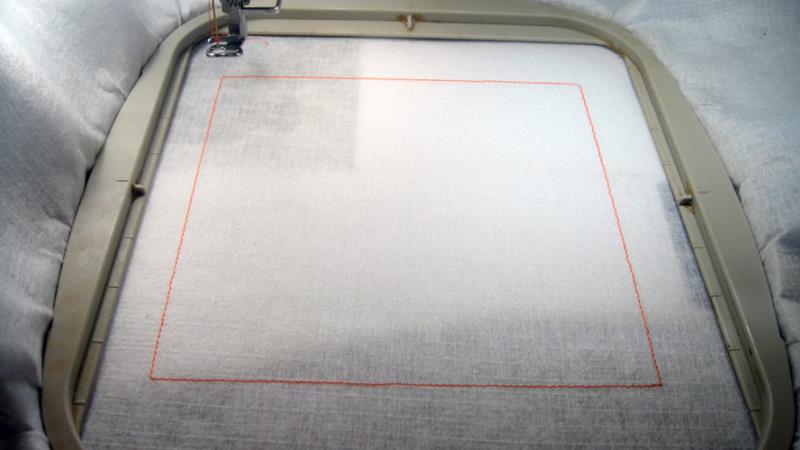
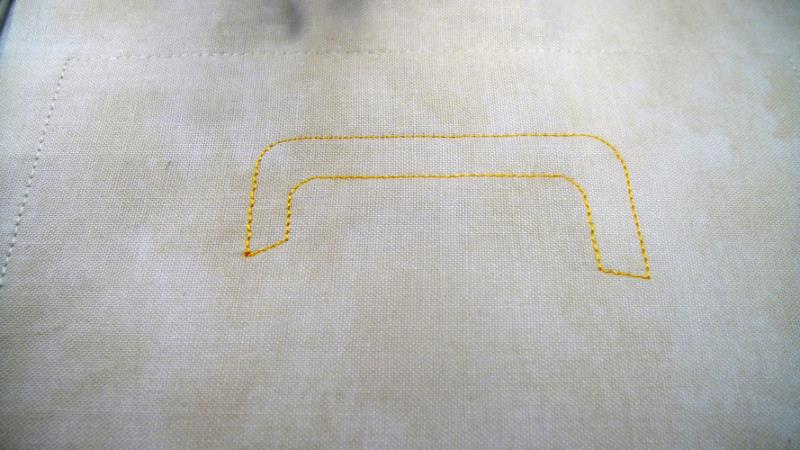
Run the 1st color stop (CS) in a neutral thread as a placement line for the fabric. A brighter color was used in the photo so that the outline would show better in the picture.
(Click Image to Enlarge)
Step 4:
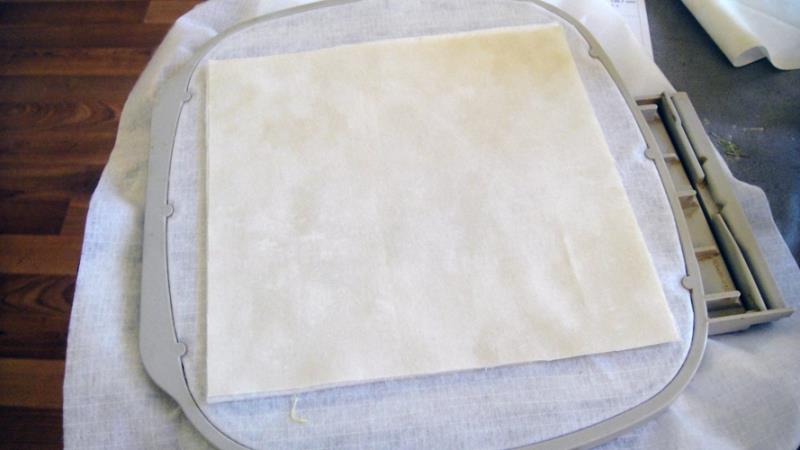
Spray adhesive on the wrong side of the 7” quilt background fabric and position over the placement line so that the fabric exceeds the placement line by ½” on all sides. Run CS 2 in water soluble thread to tack down the fabric.
(Click Image to Enlarge)
Step 5:
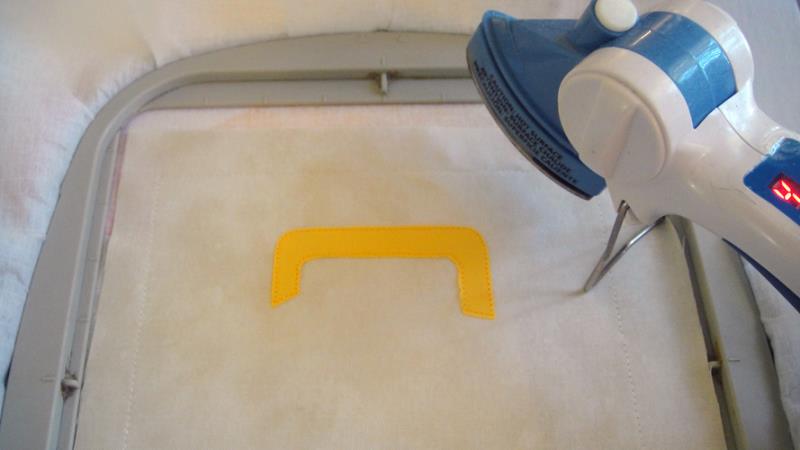
Change your top thread to the thread that matches your truck applique fabric. Run CS 3 as a placement line for the top of the truck. Peel the paper from the 4” x 3” applique fabric, spray the back with adhesive and position over the placement line. Run CS 4 to tack down the applique.
(Click Image to Enlarge)
Step 6:
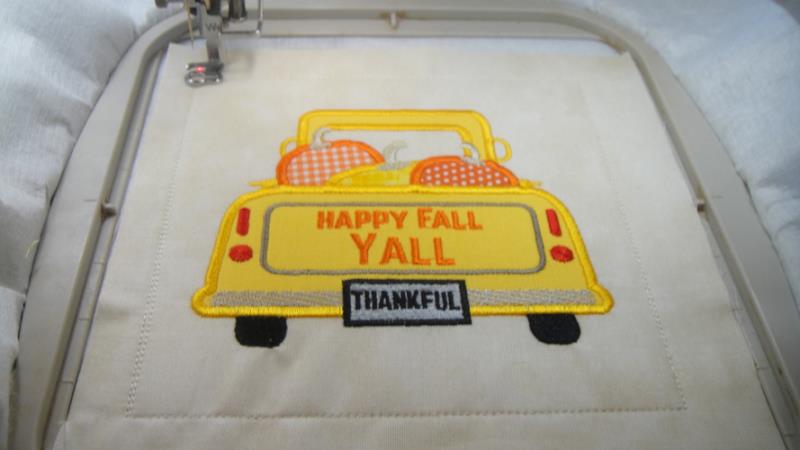
Trim the applique fabric right up to the tack down lines and press the applique. Run CS 5 to border the applique and to do the detail work on the sides of the truck.
(Click Image to Enlarge)
Step 7:
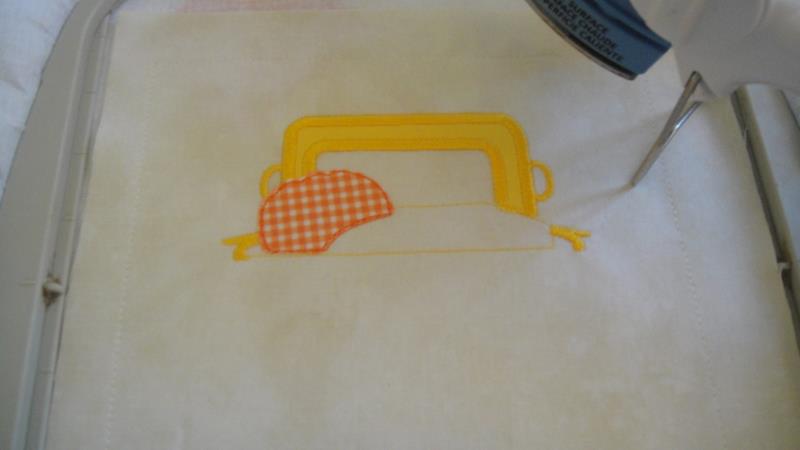
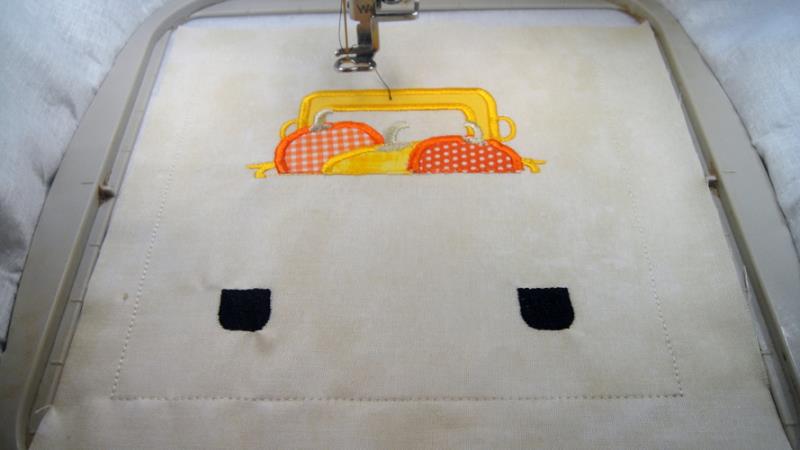
Change the top thread to orange. Run CS 6 as a placement line for the 1st pumpkin. Peel the paper backing from an orange 2” pumpkin fabric, spray and position the fabric over the placement line and tack down with CS 7. Trim the applique and press. Run CS 8 to border the pumpkin.
(Click Image to Enlarge)
Step 8:
Repeat Step 7 running gold thread for CS 9, 10 and 11 and orange thread for CS 12, 13 and 14 to applique the other two pumpkins. Then run CS 15 in chamois and CS 16 in black to embroider the pumpkin stems and the tires onto the block.
(Click Image to Enlarge)
Step 9:
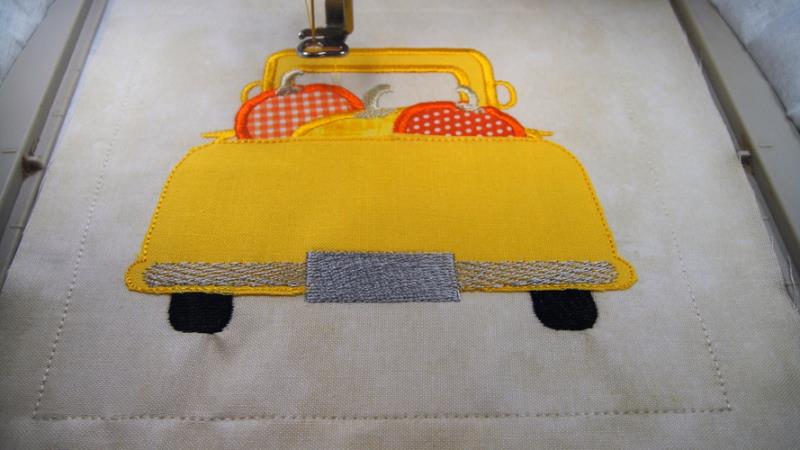
Change back to the gold thread. CS 17 and 18 are the placement line and tack down for the truck bed. Apply the applique in the same way as above. Change to smoke thread CS 19 will embroider the bumper and license plate before CS 20 in gold will border the truck bed.
(Click Image to Enlarge)
Step 10:
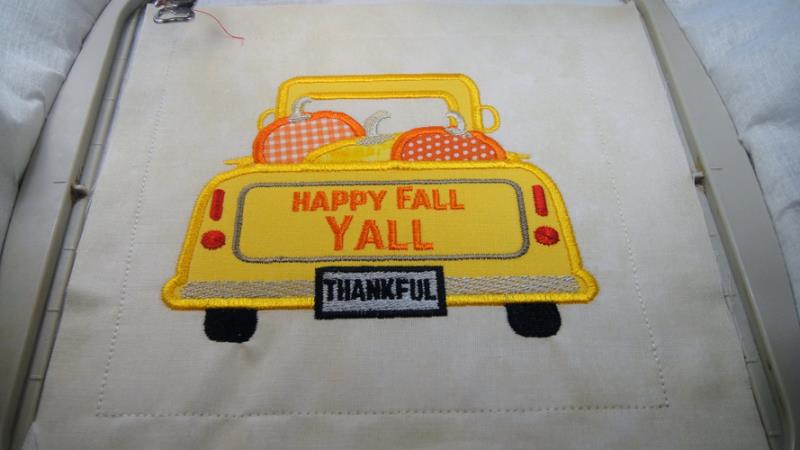
Follow the color chart to embroider the detail on the truck through the color stop that embroiders the tail lights.
(Click Image to Enlarge)
Step 11:
Remove the hoop from the machine – do not unhoop- place the hoop face down on a flat surface. Spray adhesive on the Battilizer® and position over the block on the back of the hoop. Spray adhesive on the wrong side of the back fabric, place it over the Battilizer®.
(Click Image to Enlarge)
Step 12:
Change the top thread to water soluble thread and run CS 25 to tack down the back fabrics.
(Click Image to Enlarge)
Step 13:
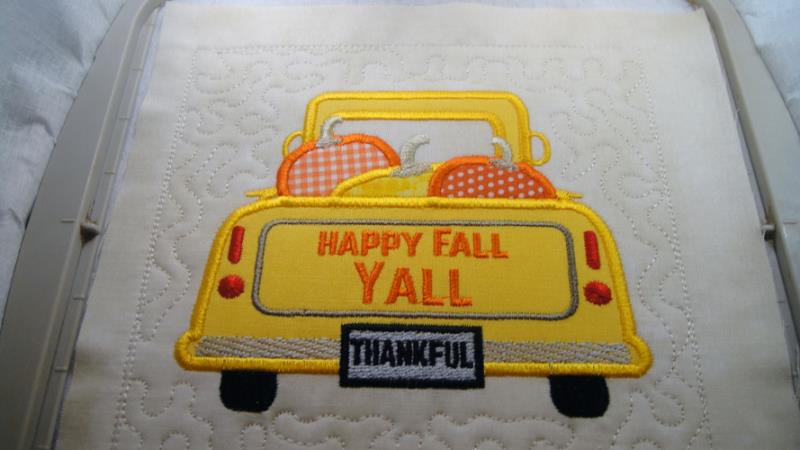
Run the last color stop in ivory or the color of your choice to quilt the block.
(Click Image to Enlarge)
Step 14:
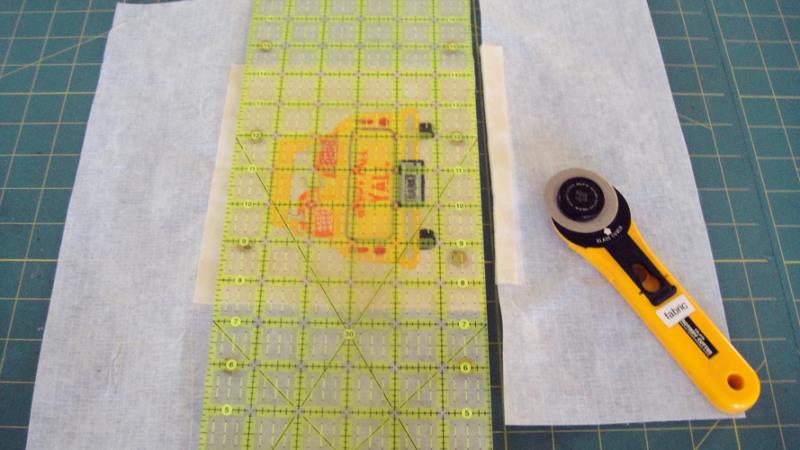
Note that the water-soluble thread outline stitched in Step 12 may be slightly outside the original water soluble thread outline stitched in CS 2 due to the pull that the embroidery has had on the fabric. Use the outside stitched water soluble thread as the guide to trim the block. Lay the ¼ lines of a see-through ruler along the water-soluble stitching and trim all edges of the block to ¼”.
(Click Image to Enlarge)
Step 15:
(Click Image to Enlarge)
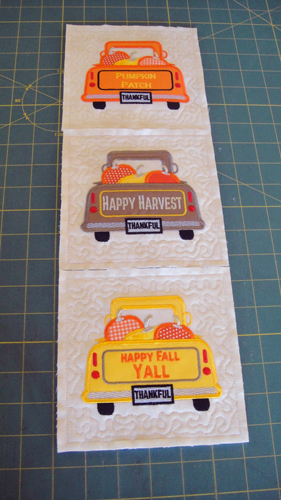
Following the individual color charts repeat the above instructions to make the other two truck blocks.
Step 16:
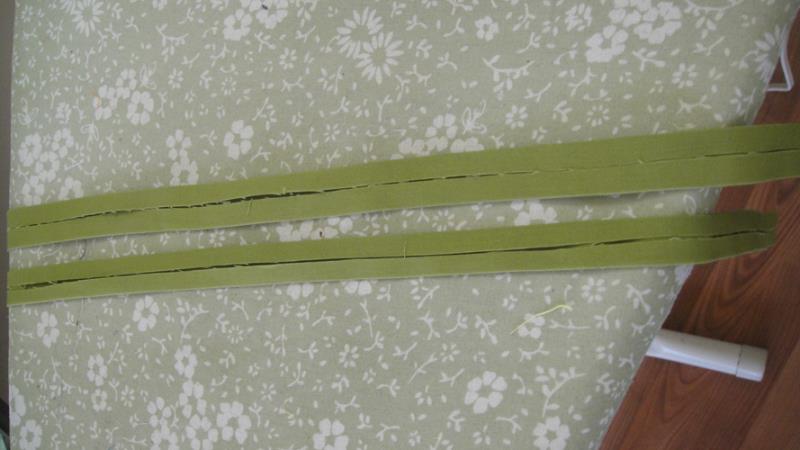
From the olive green fabric cut 2 2 ¼” strips for binding, 1 1 ½” strip for the front sashing and 1 1 ¼” for the back sashing. Spray Magic Sizing® on the sashing strips, fold the long edges in to meet at the center of the strips and press.
(Click Image to Enlarge)
Step 17:
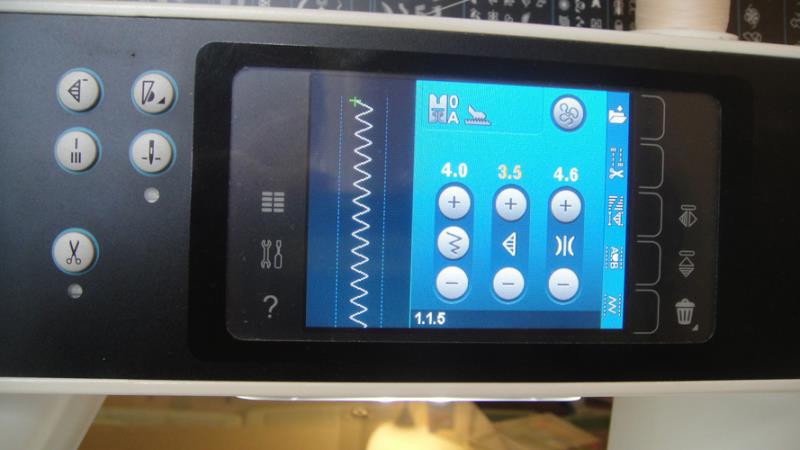
Set your sewing machine zigzag stitch to a width of 4 to 5 mm and fairly spaced out. The stitch is set in this photo to be space 3.5mm apart. You can use invisible thread or regular sewing thread in the top and bobbin for the next step.
(Click Image to Enlarge)
Step 18:
(Click Image to Enlarge)
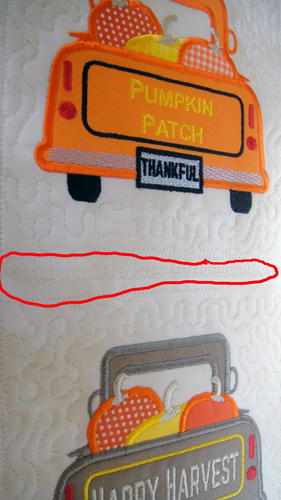
Align the top block and middle block and butt the two edges together. Zigzag over the two blocks without overlapping the blocks. Do the same to join the third block below the middle block.
Step 19:
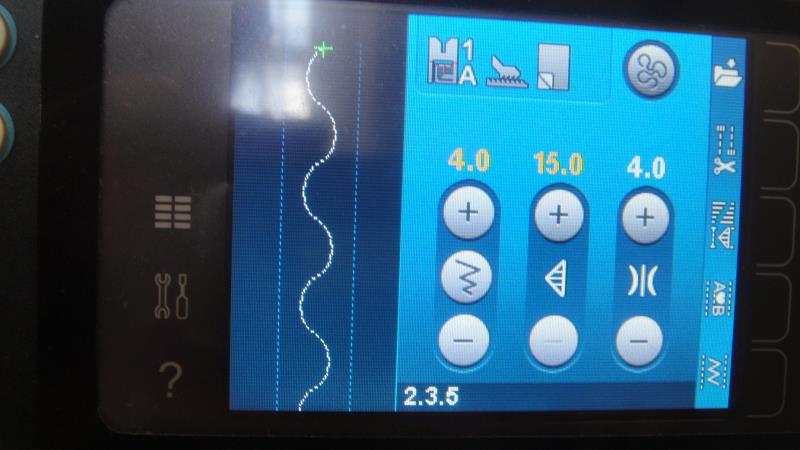
Switch to the invisible thread in the top and bobbin and select a serpentine stitch for the next step in making your wall hanging.
(Click Image to Enlarge)
Step 20:
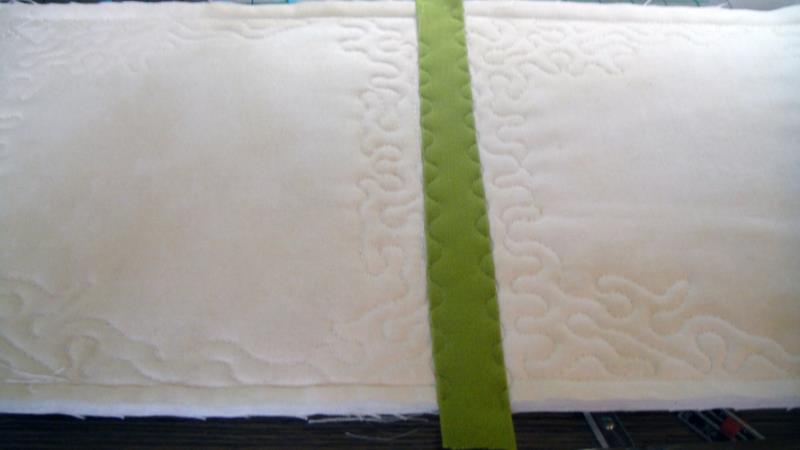
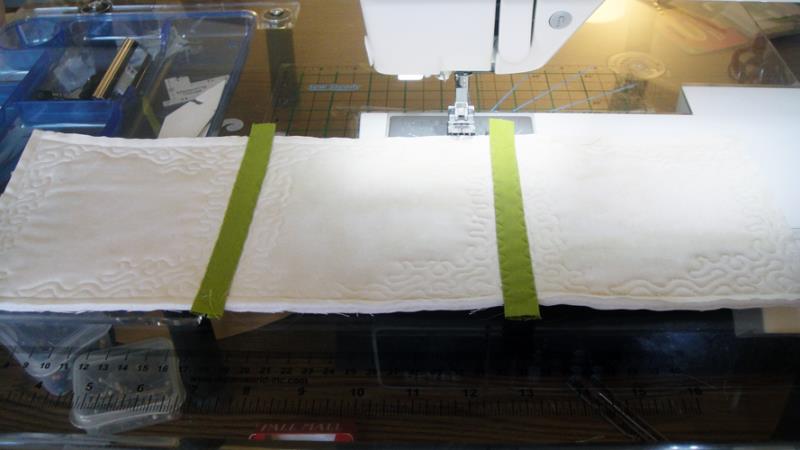
Center the narrower sashing strip right side up over the zig-zagged seam having the sashing extend about ½” over the sides of the blocks. Stitch down both sides with the serpentine stitch.
(Click Image to Enlarge)
Step 21:
Repeat Step 20 over the second zig-zagged seam joining the blocks. Turn the blocks to the right side and repeat this procedure with the wider sashing strip over the two seams on the front of the wall hanging.
(Click Image to Enlarge)
Step 22:
(Click Image to Enlarge)
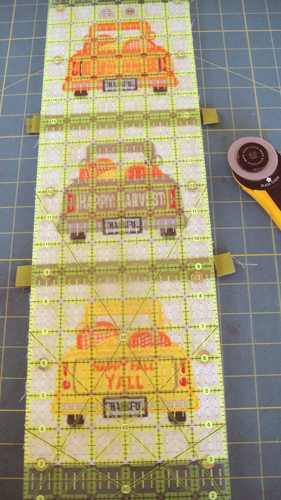
Trim the excess sashing from each side of the wall hanging and squaring up the wall hanging if necessary.
Step 23:
Bind as desired with the two 2 ¼” strips cut in Step 16. You can use the steps in our article “ Binding Small Embroidery Projects” if you do not have a preferred method.
(Click Image to Enlarge)
Step 24:
Attach the wall hanging to a 10” Ackfeld wire hanger with their small clips. Congratulations Vintage Fall Truck Wall Hanging is complete!
Award winning Digitizer, Embroidery Educator, Author and a Consultant to the Industry, Pat Williams has 30 years of experience in the embroidery industry. Pat has won multiple awards for her digitizing expertise including the 2007 Impressions Awards Grand Championship, Best of Show as well as the 1st and 2nd Place Awards. Pat’s love of digitizing has afforded her the opportunity to write numerous articles for Impressions magazine in the United States and Images Magazine in Europe. In 2001 Pat was named “Embroidery Educator of the Year.” For many years Pat taught digitizing seminars at the ISS Shows in Long Beach, CA and for Compucon software. She now resides in Tucson, AZ.