Border OptionsHugging border, circle, square, or rectangle — with a 3mm satin stitch.
Backing OptionsAvailable with iron-on, sew-on, or velcro backing.
Fast ShippingShipped quickly from the USA.
Free Online Tools
Powerful embroidery utilities that save time and prevent costly mistakes.
Stitch AssistantRECOMMENDED
Get the exact stabilizer, machine settings, needle, and thread color sequence for every embroidery design you purchase — based on that design's stitch density, dimensions, and color count.
Easy to construct lined zippered pencil bag using your fabric scraps and a whimsical embroidery design. So many designs to choose from the embroidery site to personalize as these versatile pencil pouches make great gifts for all as the new school year begins.
Step 1:
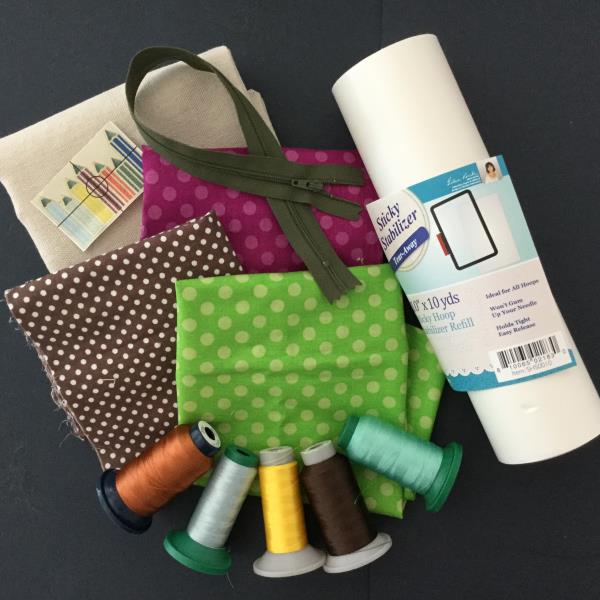
Gather all materials and review instructions before beginning. Print out the template of the embroidery design.
(Click Image to Enlarge)
Step 2:
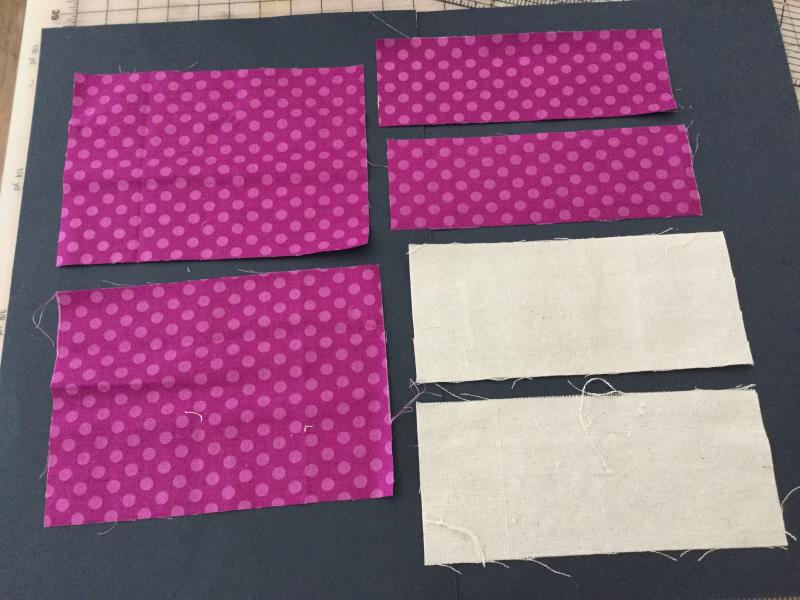
Cut the following fabric pieces: 2 @ 9” x 4” of heavy cotton fabric ( i.e. denim, canvas) this will be your upper panel and used to stitch out the embroidery design. 2 @ 9” x 3” ( the lower panels) 2 @ 9” x 6 ½” (the lining)
(Click Image to Enlarge)
Step 3:
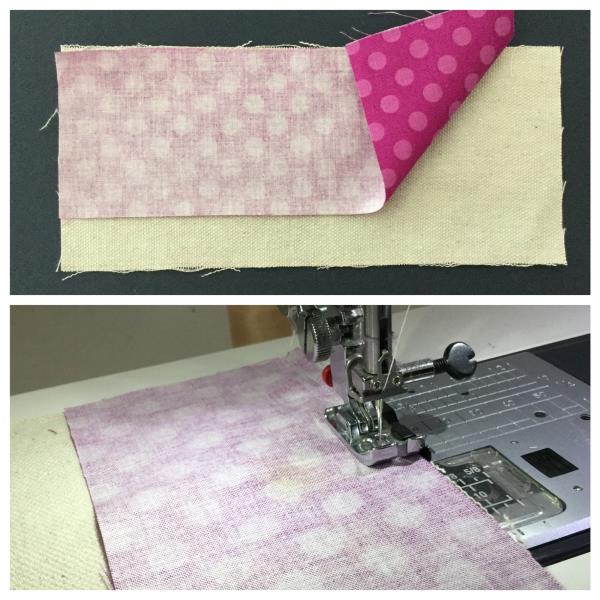
Using one of your upper and lower panels. Stitch right sides together at the lengthwise edge. Do the same for the 2nd set of panels.
(Click Image to Enlarge)
Step 4:
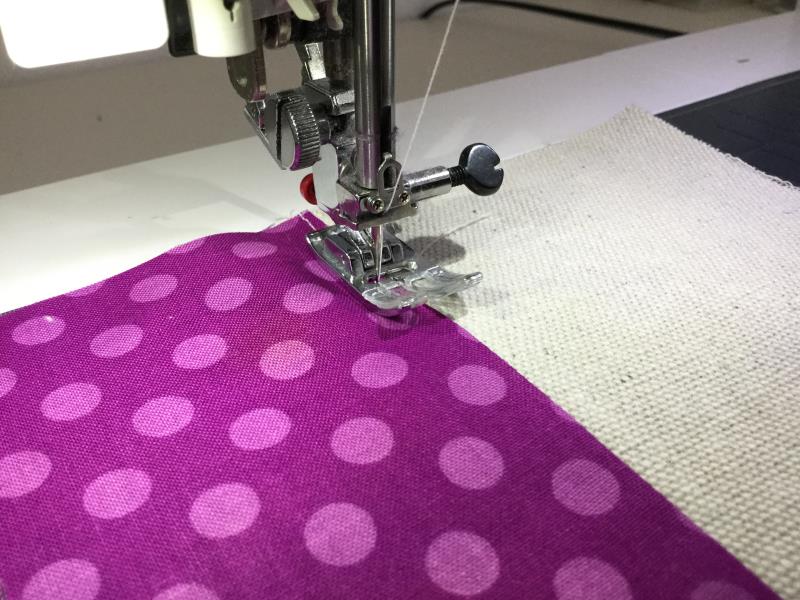
Press and top stitch on the lower panel right below the seam.
(Click Image to Enlarge)
Step 5:
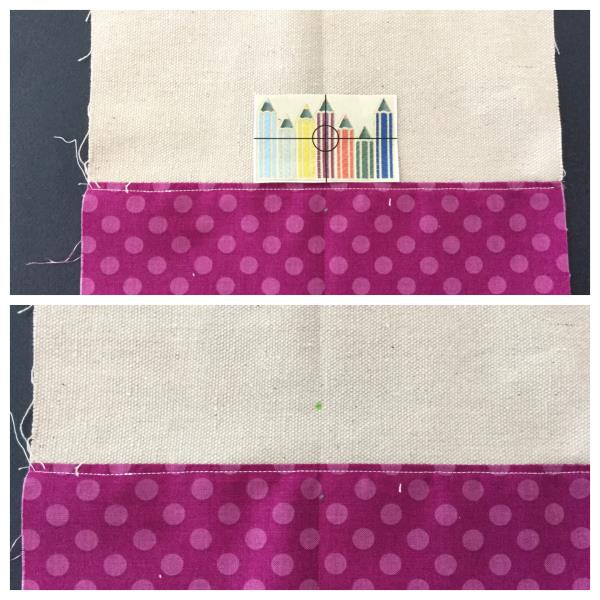
Using your design template. Center place on the upper panel above the seam. Center mark using a vanishing fabric marker or a chalk pen.
(Click Image to Enlarge)
Step 6:
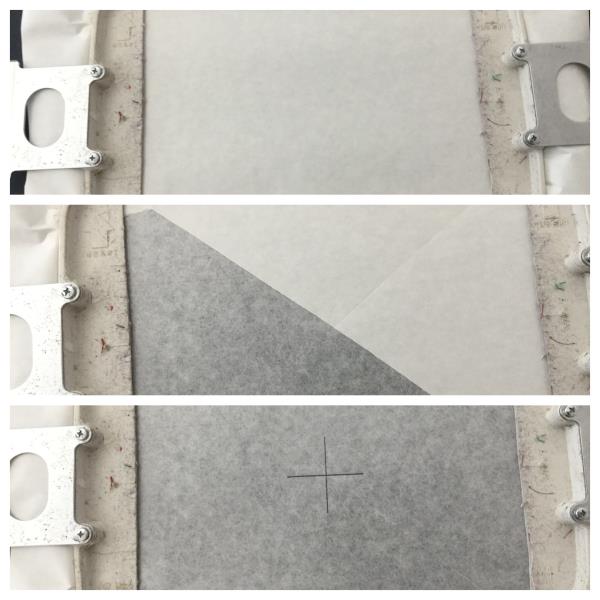
Hoop sticky stabilizer. Score the first layer of paper and remove to reveal adhesive. Center mark with a crosshair.
(Click Image to Enlarge)
Step 7:
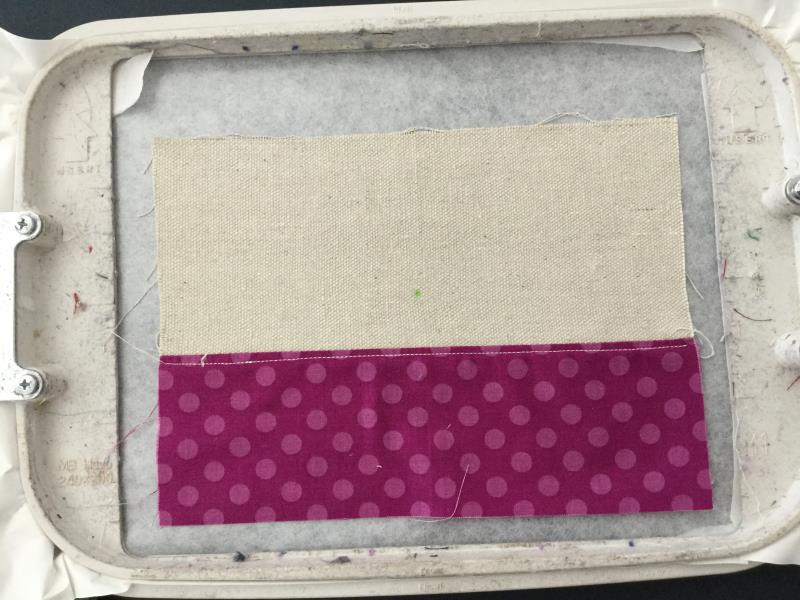
Center place the sewn panel on the hooped stabilizer. Fingertip press down and smooth out to secure.
(Click Image to Enlarge)
Step 8:
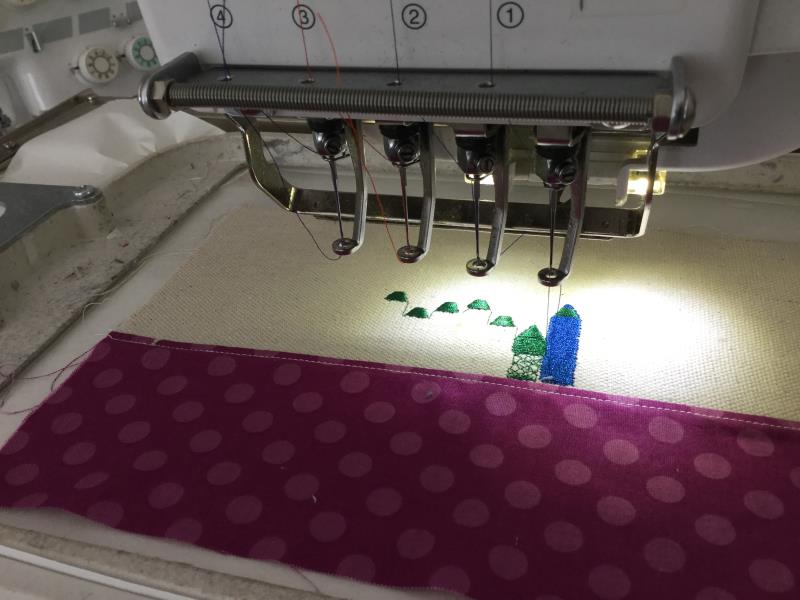
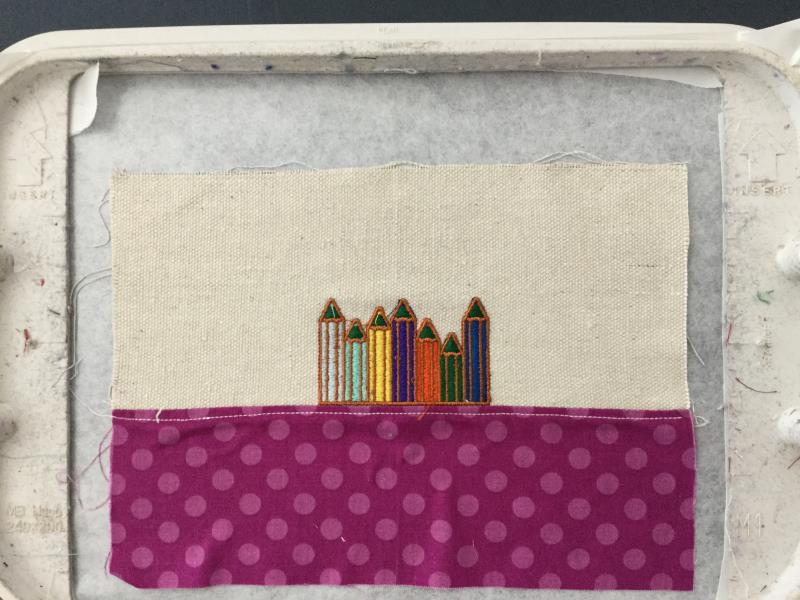
If you haven’t already done so, load embroidery design into your machine. Attach hoop. “trace” per your machines instructions for center alignment. Make any necessary adjustments to center. Begin the embroidering process.
(Click Image to Enlarge)
Step 9:
When embroidering complete. Remove hoop from the machine. Cut all jump stitches and thread ends. Front and back. Remove stabilizer.
(Click Image to Enlarge)
Step 10:
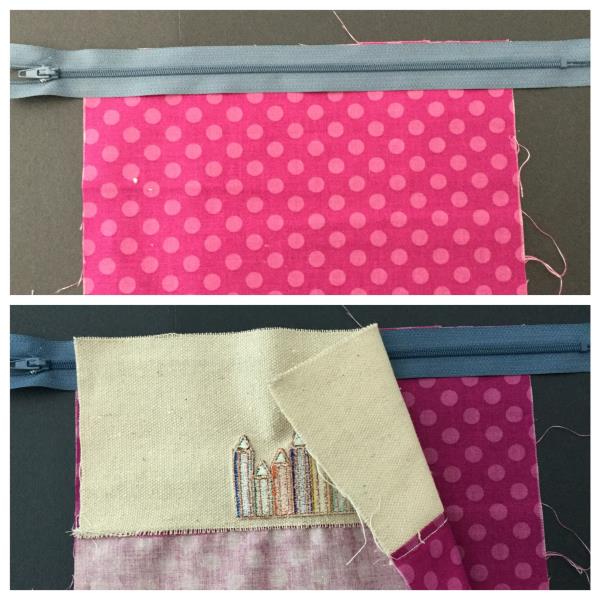
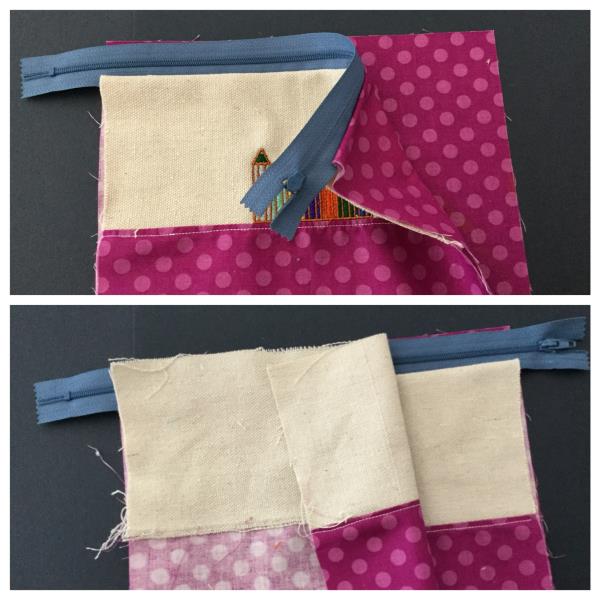
Using one of your cut lining pieces. Place face up on your work table and place zipper on top aligning top edges. Place your embroidered panel on top aligning top edges.
(Click Image to Enlarge)
Step 11:
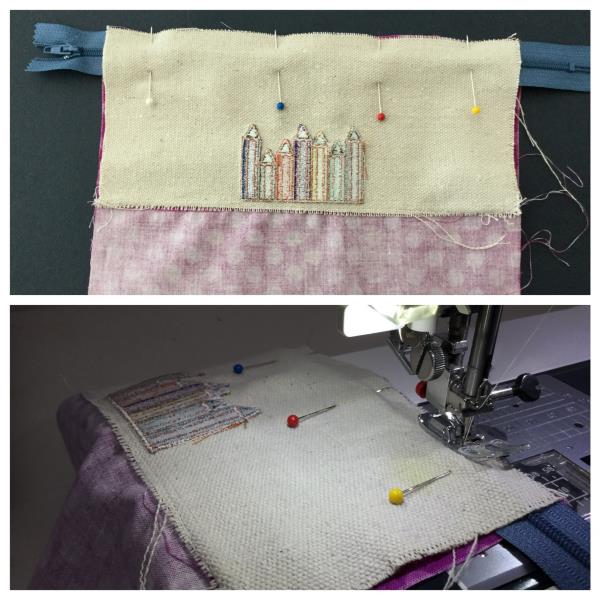
Pin through all layers to secure. And stitch down 1/8” away from zipper teeth. ( opt. zipper foot)
(Click Image to Enlarge)
Step 12:
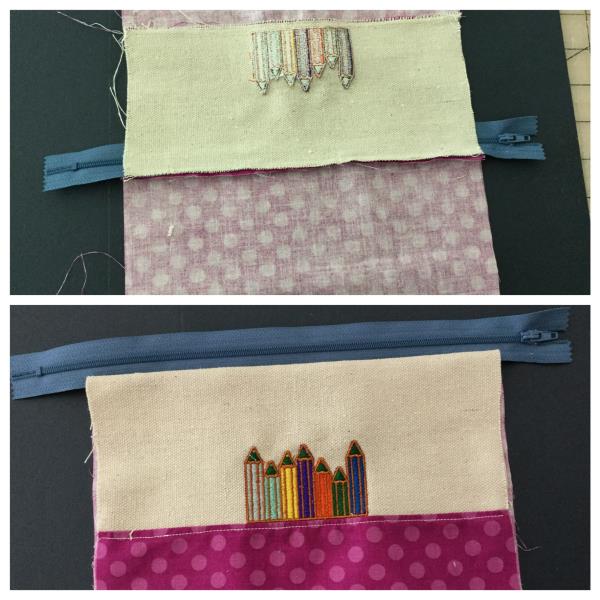
Flip over your outer panel to lay down on top of the lining. Wrong sides together.
(Click Image to Enlarge)
Step 13:
Using your other lining piece. Lay right side up on your work table. Align upper edge of the zipper to upper edge of the lining piece. Take your other sewn panel and align all upper edges. Right sides together. Secure with pins through all layers. Stitch through all layers 1/8" away from zipper teeth.
(Click Image to Enlarge)
Step 14:
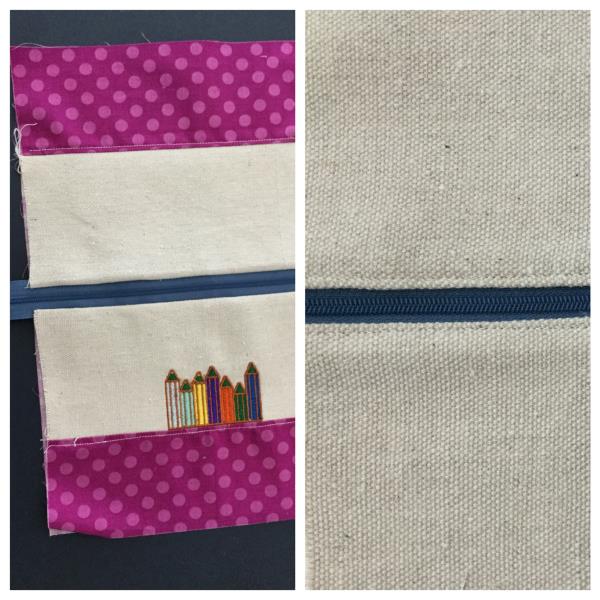
Fold out each panel and top stitch 1/8” down from each zipper seam.
(Click Image to Enlarge)
Step 15:
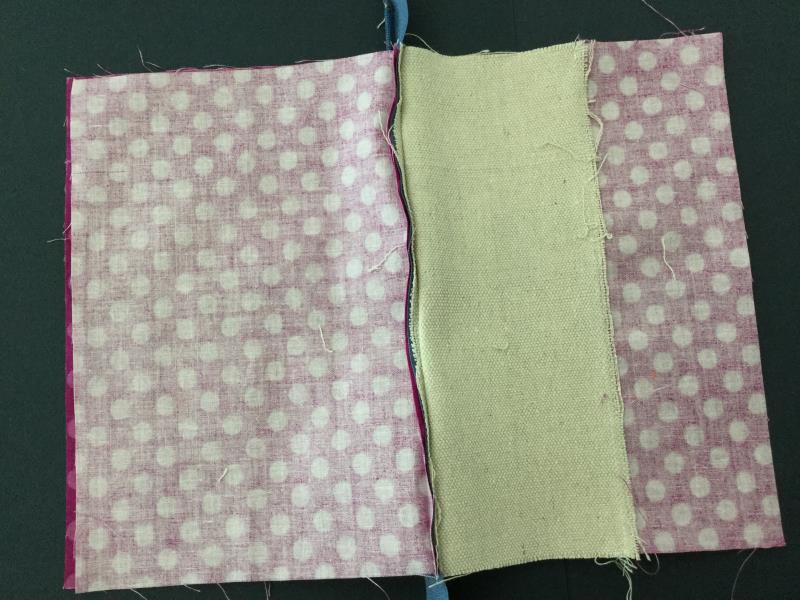
Unzip the zipper about halfway. Open panels so that each side sections of the outer panel and lining are right sides together.
(Click Image to Enlarge)
Step 16:
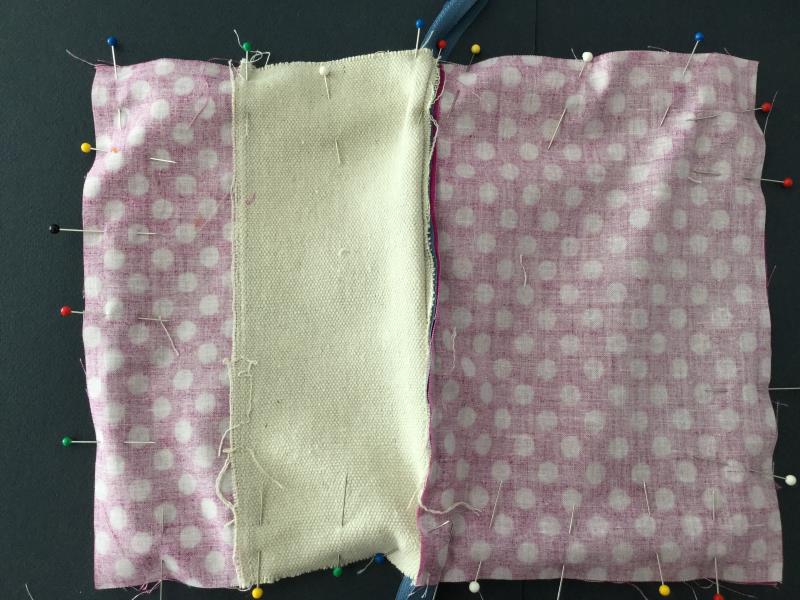
Matching up sewn panel side seams, side, and bottom edges. Pin in place.
(Click Image to Enlarge)
Step 17:
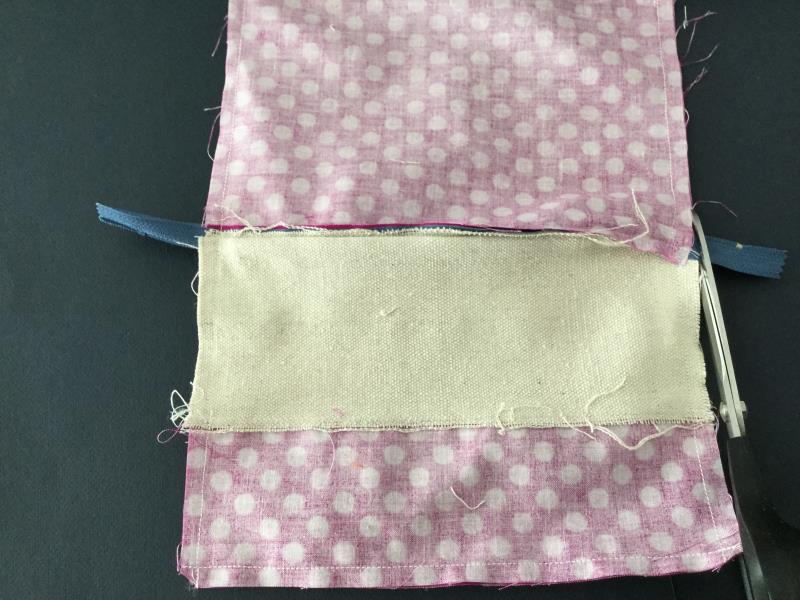
Fold zipper, at teeth, in half lengthwise. Ends of the zipper will be sticking out from each side. Stitch sides and bottom leaving a 4” opening in the bottom of the lining for turning. Clip corners and excess zipper.
(Click Image to Enlarge)
Step 18:
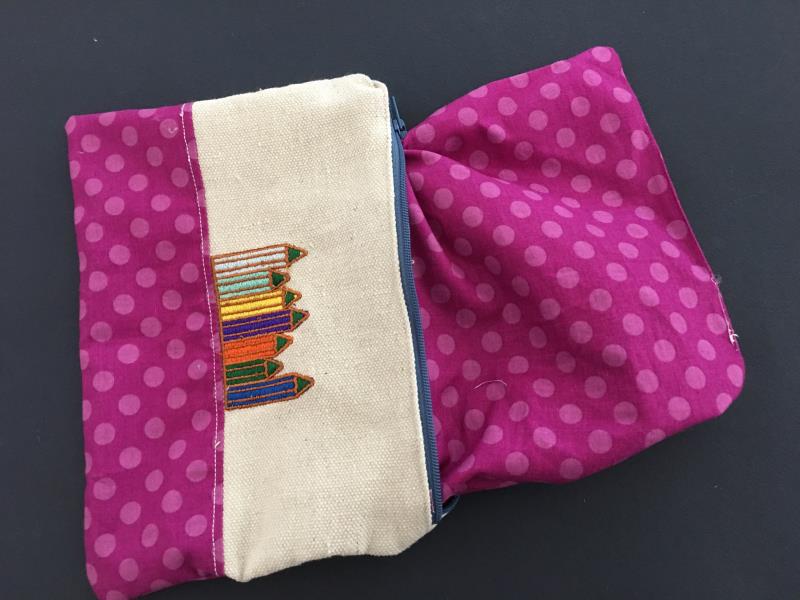
Turn right side out through the opening. Press. Stitch opening closed.
(Click Image to Enlarge)
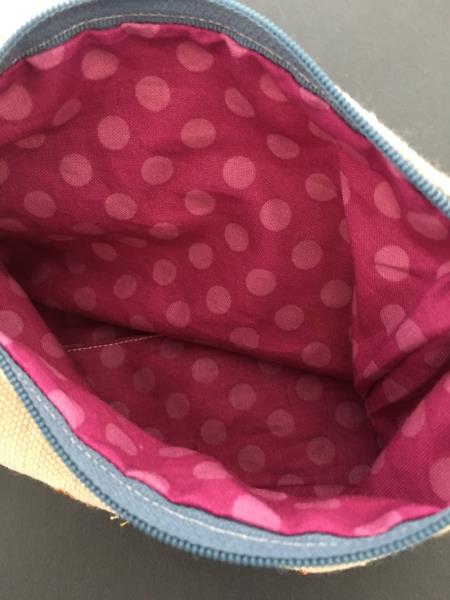
Step 19:
Push the lining into the bag.
(Click Image to Enlarge)
Step 20:
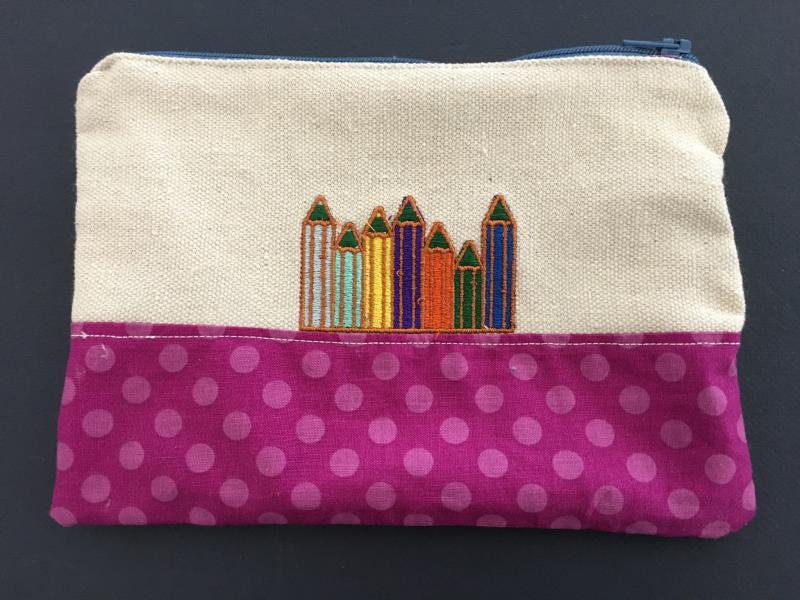
Viola!! Your " Back To School" pencil pouch is now complete. Make a few more! So many other uses. And you'll be making room for more fabric scraps!