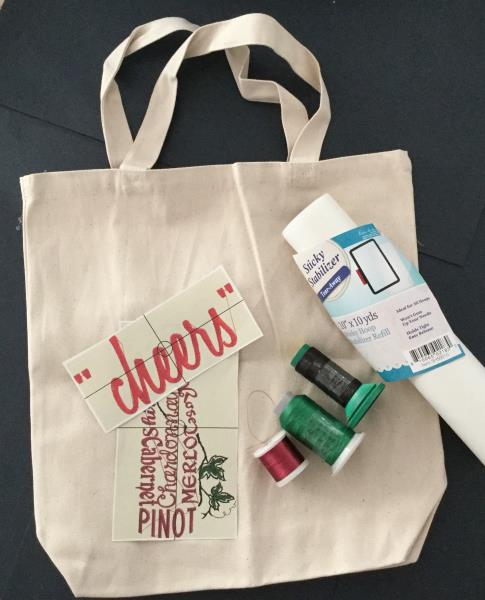
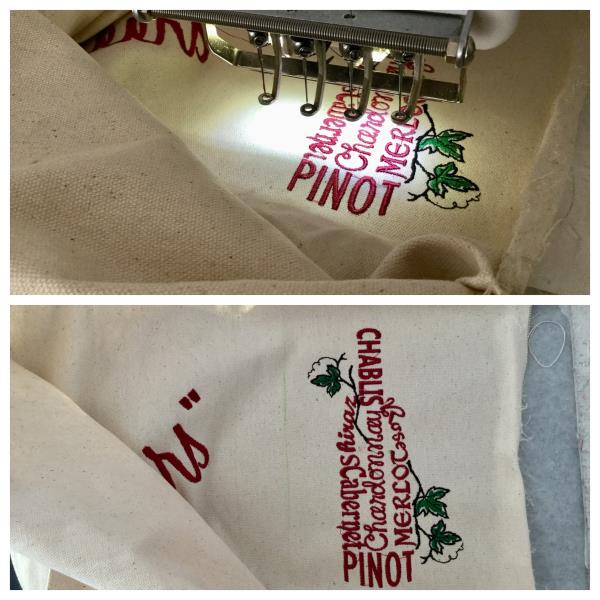
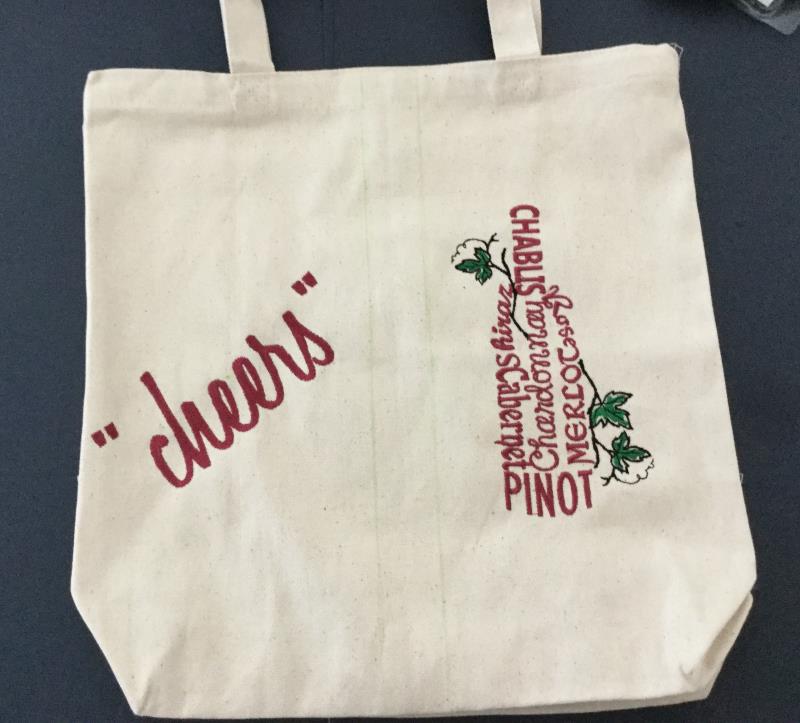
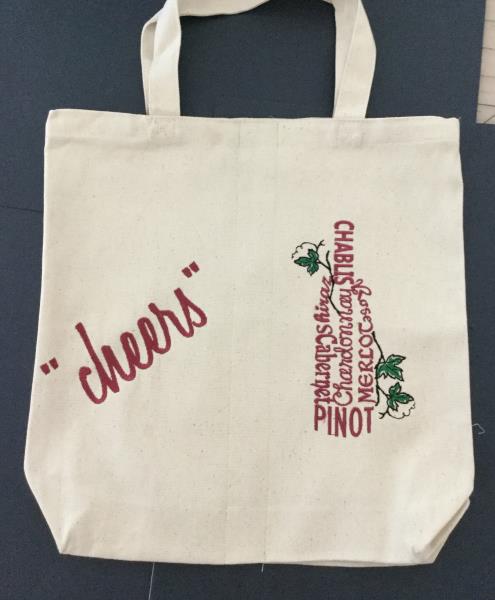
This two wine bottle carrying bag is simple to make using a purchased canvas tote. Double seams down the middle of tote keeps the bottles separated and clink free.
A purchased canvas tote, a fun embroidery design, creates this simple to make two bottle carrying tote. More than just a wine carrier. So many embroidery designs to choose from to personalize so to suit any gathering or gift bottle bag needs.
Step 1:
Gather all supplies and review instructions before beginning. The Honeyscript Font used in this tutorial is not a keyboard font. These are individual letter files. Load the letter files on your machine and use them like a built-in font per your machine’s instructions. If you have embroidery software you can bring each letter file into your software program and create a word per your software instructions
(Click Image to Enlarge)
Step 2:
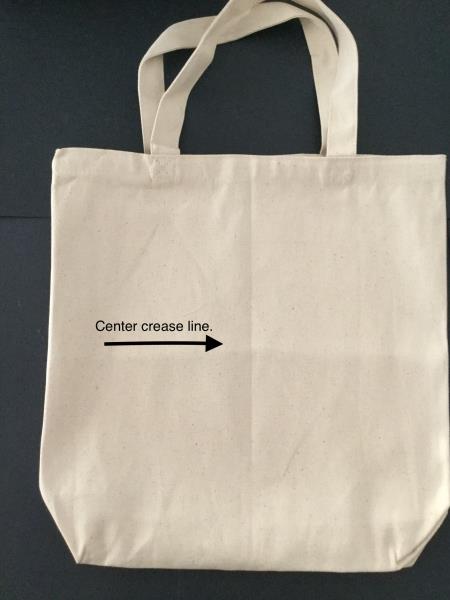
Find the center of the bag by folding in half lengthwise and finger pressing to form a crease down the middle.
(Click Image to Enlarge)
Step 3:
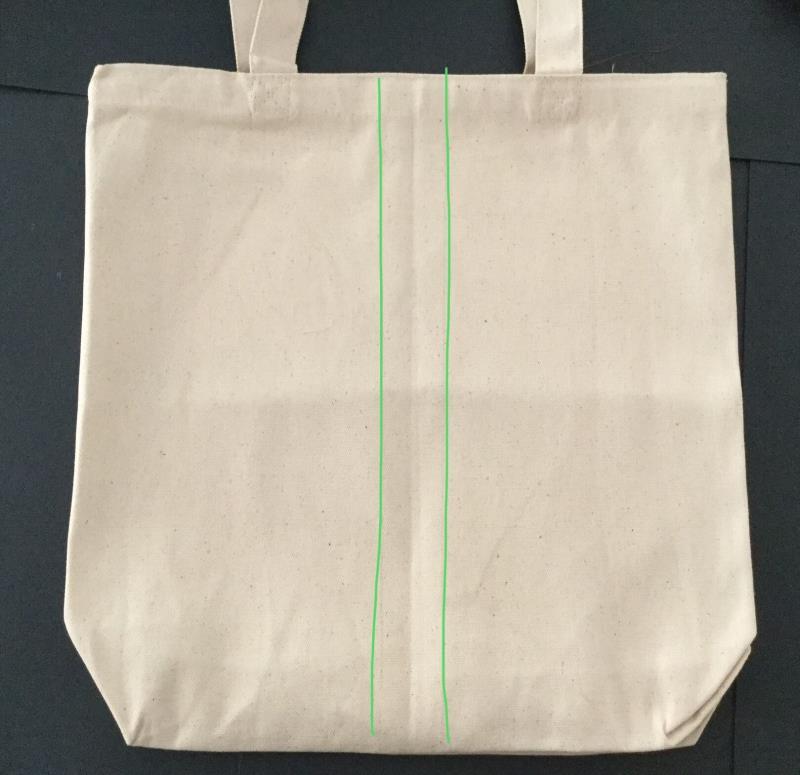
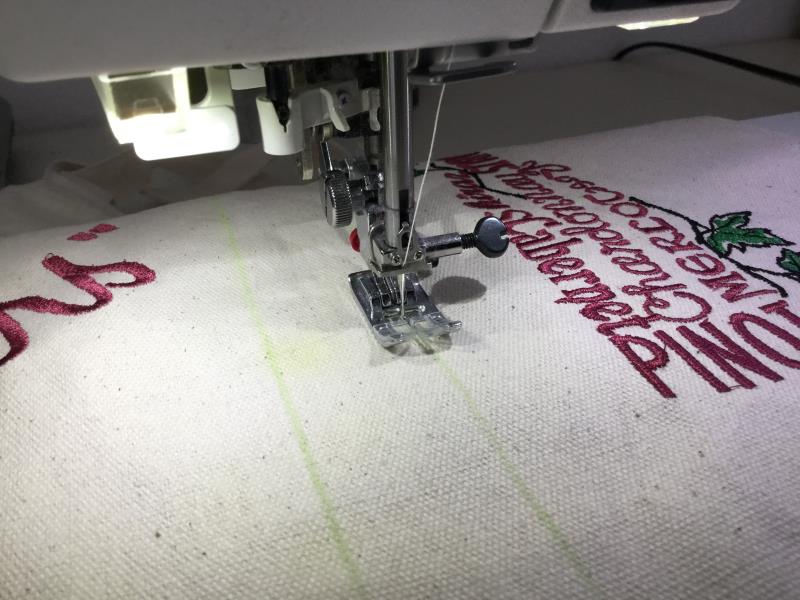
Using your chalk or fabric erase pen draw two straight stitch lines from the top of the bag to bottom. Measure 1” on each side from the crease line.
(Click Image to Enlarge)
Step 4:
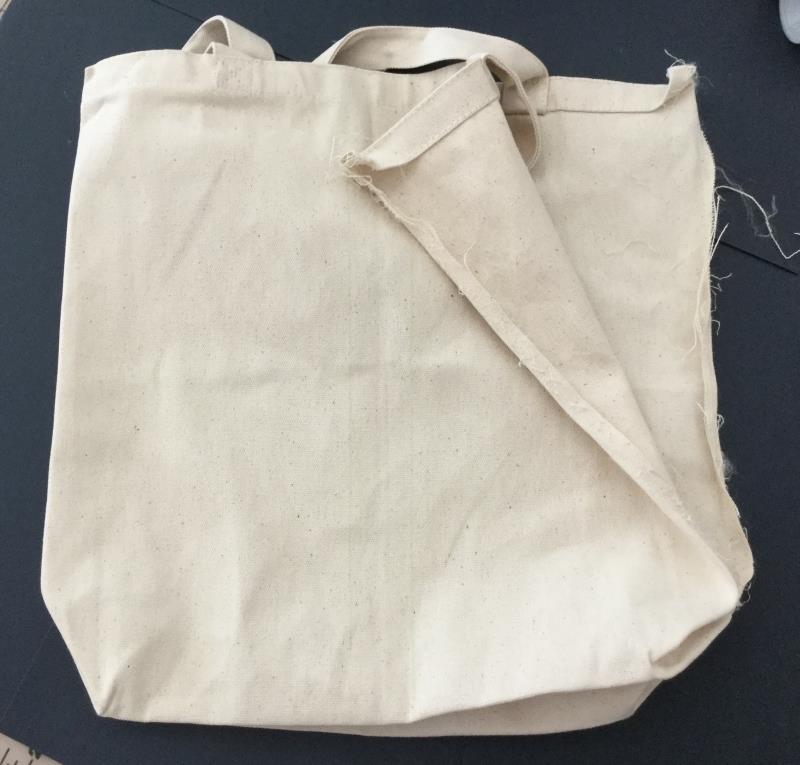
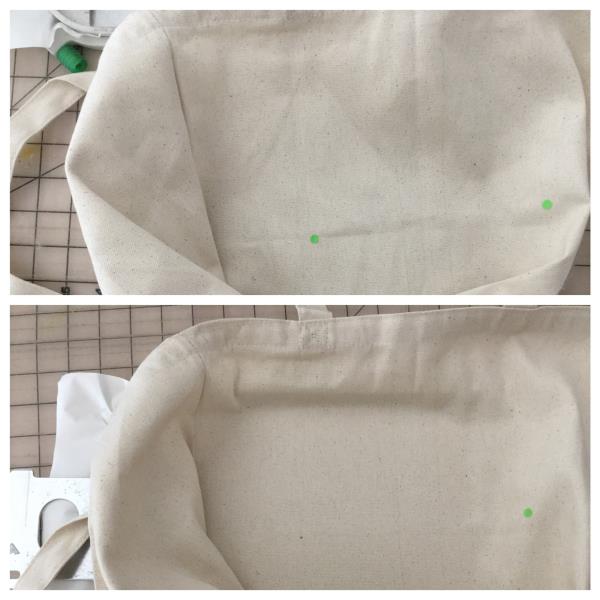
Open seam for easier hooping access.
(Click Image to Enlarge)
Step 5:
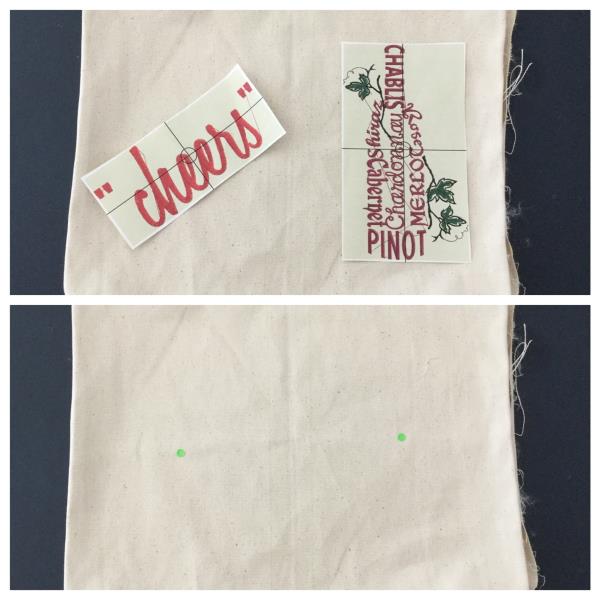
Center design templates and center mark.
(Click Image to Enlarge)
Step 6:
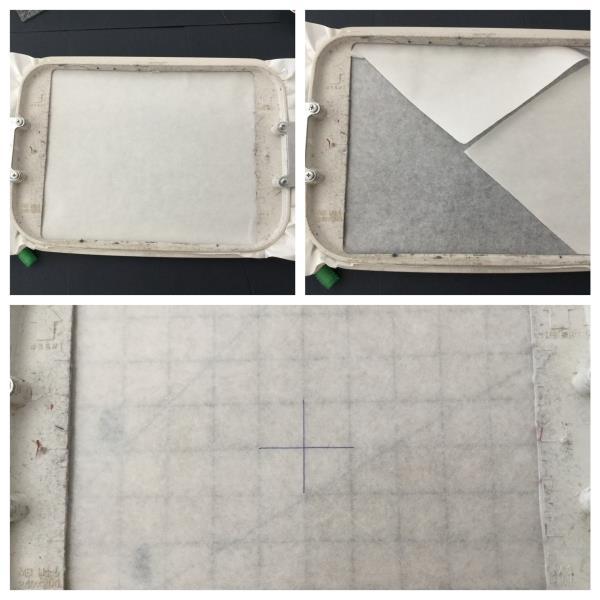
Hoop sticky stabilizer. Using a straight pin, score the paper and pull it away to reveal the adhesive layer. Mark with crosshair.
(Click Image to Enlarge)
Step 7:
I embroidered my first design ("cheers")closest to the sewn seamed side of the bag first. Place the 1st design center mark onto the stabilizer. Fingertip press to secure.
(Click Image to Enlarge)
Step 8:
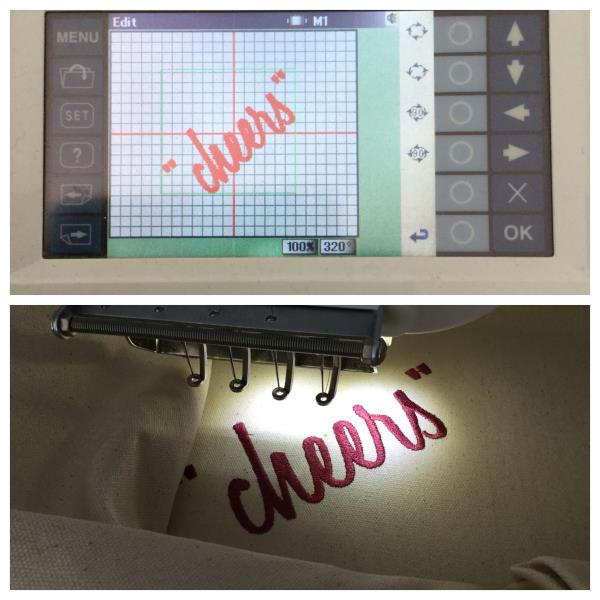
Create your design. Load your “cheers” design into your machine. The “cheers” design is angled so to fit in the bottle chamber. Refer to your machine’s instruction on how to edit. Begin the embroidering process. Once complete remove hoop from the machine. Cut all jump stitches and loose thread ends. Remove stabilizer.
(Click Image to Enlarge)
Step 9:
Follow the same steps for the 2nd embroidery design for the other bottle chamber.
(Click Image to Enlarge)
Step 10:
Stitch up the side seam. Turn right side out and iron press.
(Click Image to Enlarge)
Step 11:
Stitch on each of the two drawn middle stitch lines from the top of hemmed edge to the bottom of the bag.
(Click Image to Enlarge)
Step 12:
Now stand back and admire your duo bottled wine bag carrier! Add a couple of bottles and you're ready to go!