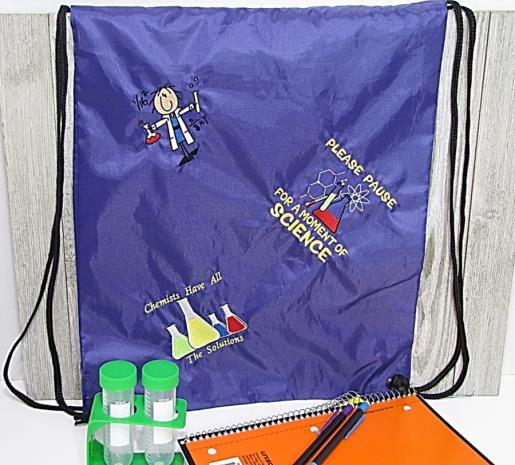
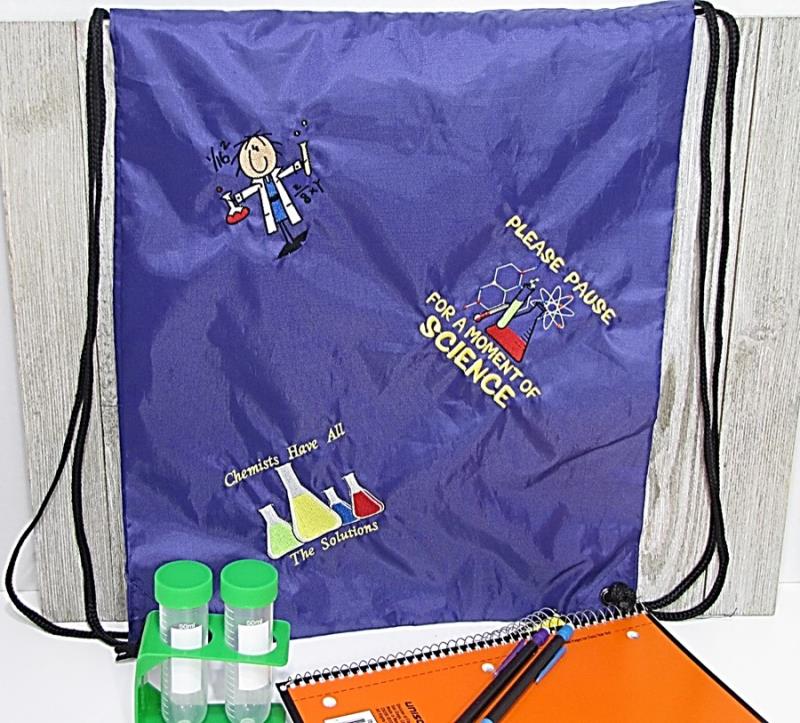
For the scientist on the go! Any scientist will appreciate this fun science camp drawstring backpack. The colorful designs tell the world they love science and the backpack will hold all kinds of notebooks and supplies.
Step 1:
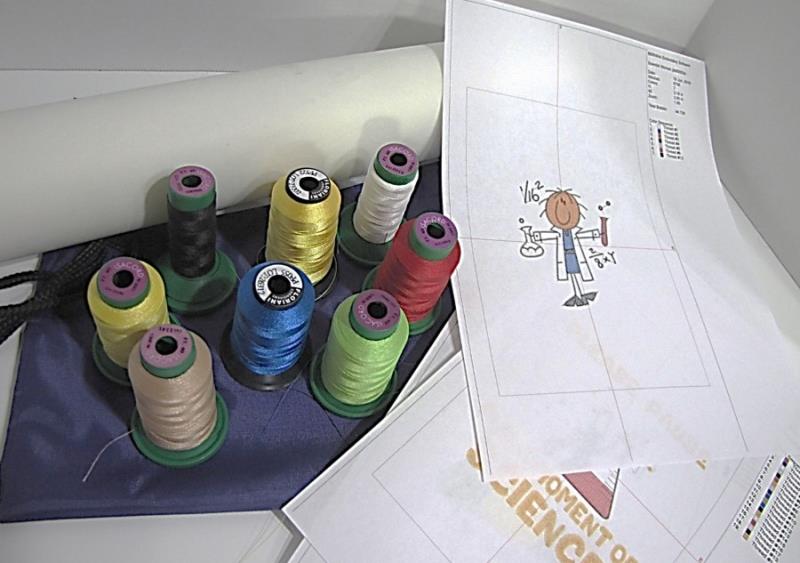
Gather the materials and read through the instructions before beginning. Print out a paper template of the design and color sequence.
(Click Image to Enlarge)
Step 2:
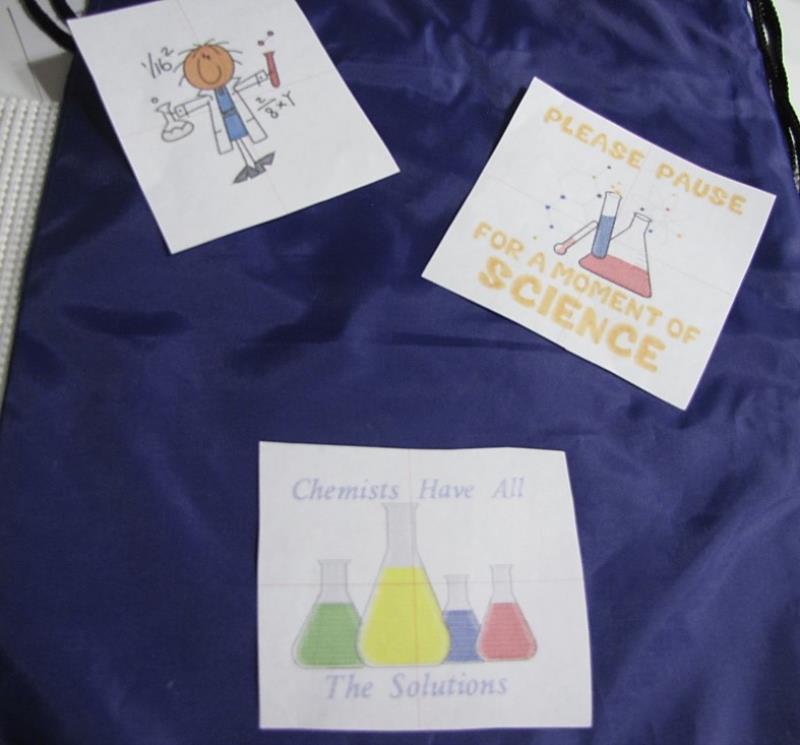
Cut the paper templates to approximate size and place them on the backpack until you find a pleasing arrangement.
(Click Image to Enlarge)
Step 3:
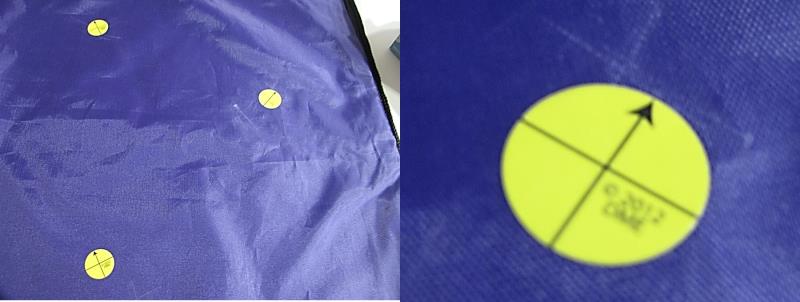
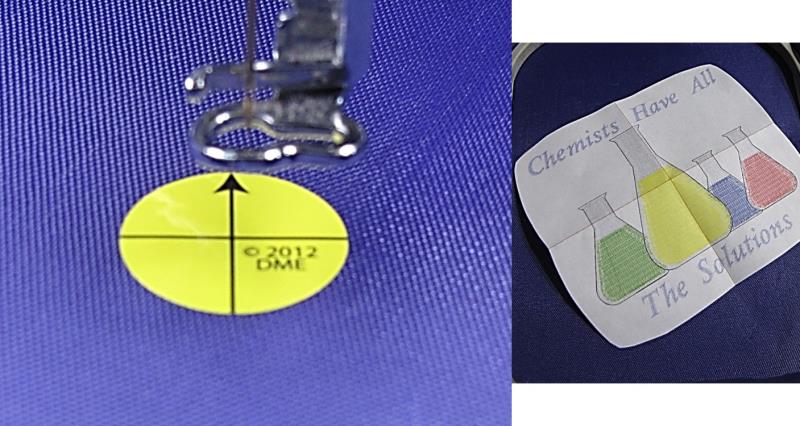
Using target stickers, mark the location of each design, using the handy arrows to indicate the top of the design for proper directional placement.
(Click Image to Enlarge)
Step 4:
Turn the backpack inside out and release one of the side seams from the top to the lowest possible point, leaving the reinforced corner grommet areas intact.
Step 5:
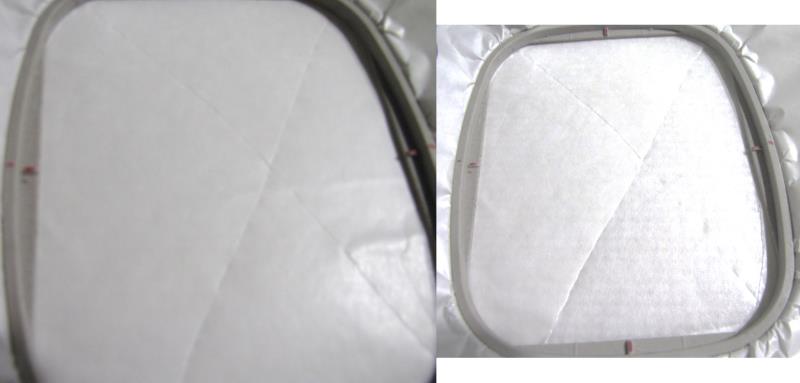
Hoop the sticky stabilizer, shiny side up. Score the shiny side around the inner perimeter of the hoop and in an “X” pattern. Remove the shiny paper to expose the sticky surface.
(Click Image to Enlarge)
Step 6:
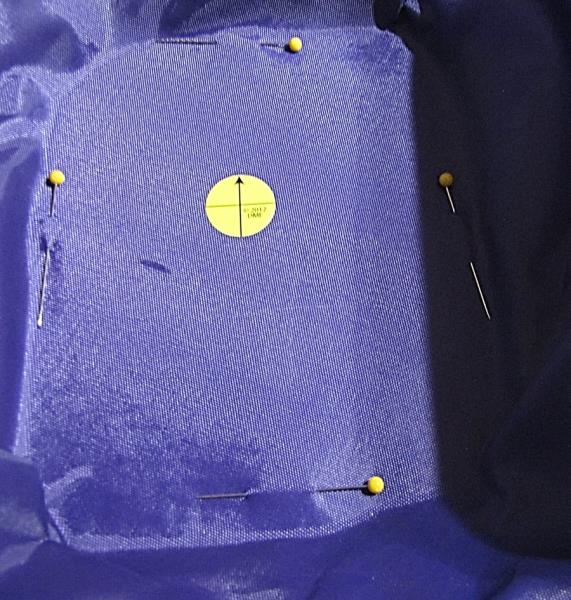
You may leave the backpack inside out or turn it right side out, whichever works better for you. Using one of the previously positioned target stickers, place the backpack on the sticky stabilizer, adjusting the center and the angle to work with your design. Pay attention to the arrow indicating the top of the design when hooping. Pin around the perimeter of the hoop to ensure that the backpack doesn’t pull away from the stabilizer.
(Click Image to Enlarge)
Step 7:
Place the hooped backpack on your machine, being careful to make sure the drawstrings and excess backpack fabric are not in or under the embroidery area. Confirm placement of the design with your paper template.
TIP: Be sure to remove the paper template AND target sticker before stitching.
(Click Image to Enlarge)
Step 8:
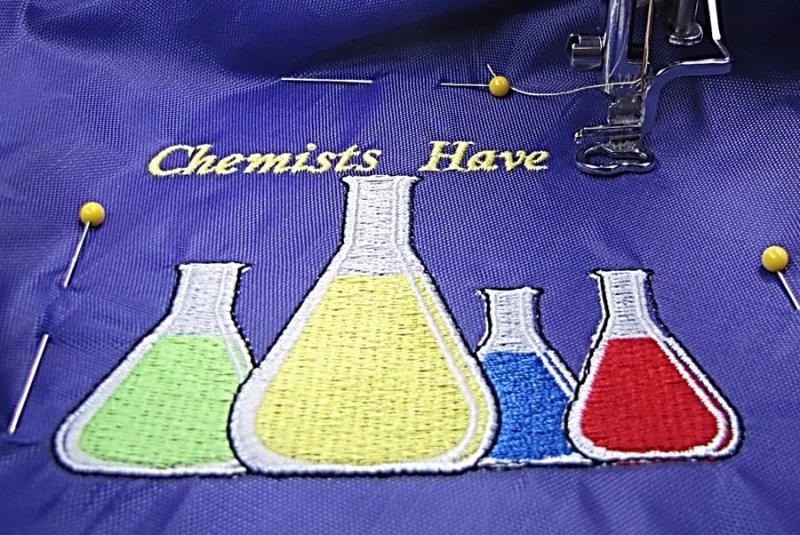
Stitch the first design following the color sequence.
(Click Image to Enlarge)
Step 9:
Following steps 5-7, stitch out the remaining 2 designs, placing them using the previously positioned target stickers.
TIP 1: Remember to check the embroidery area to make sure the drawstrings and excess backpack fabric aren't under or in the embroidery area each time you remove and replace it on the machine.
TIP 2: Remember to remove the paper template AND target sticker before stitching each of the remaining designs!
(Click Image to Enlarge)
Step 10:
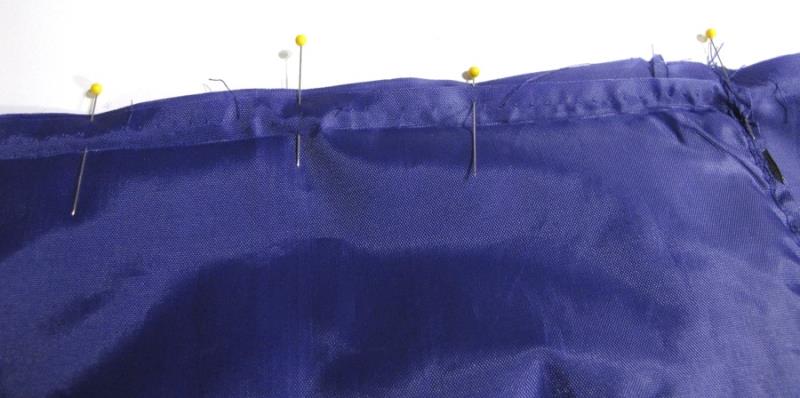
Turn the backpack inside out if necessary. Line up the seam you released in step 4. Pin and re-stitch using your regular sewing machine.
(Click Image to Enlarge)
Step 11:
Congratulations! You finished this fun and useful Science Camp Drawstring Backpack. I know your scientist will enjoy it!
Martha has been sewing since childhood. She is a maker of garments, quilter and machine embroiderer. Martha loves all things fabric and fabric-related.